Removal and installation of intake manifold, replacement of gasket
|
|
|||
|
14-450 Removal and installation of intake manifold, replacement of gasket
|
|||
|
|
|||
|
Removal
|
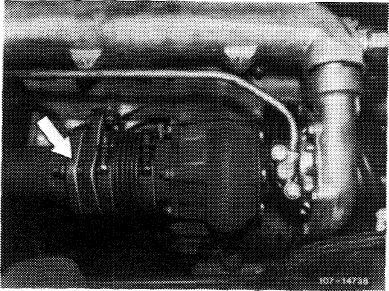 |
||
|
1 Remove air cleaner (09—400).
|
|||
|
2 Unscrew fastening nuts (arrow) on exhaust flange.
|
|||
|
|
|||
|
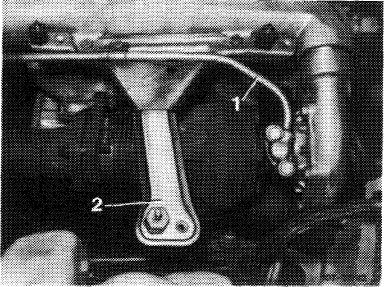
3 Unscrew engine oil feed line (1) on turbocharger and fastening clamp.
|
 |
||
|
|
|||
|
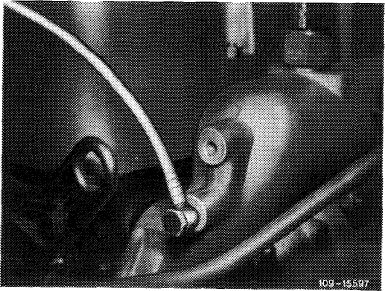
4 Unscrew pressure line to switchover valve on intake manifold.
|
 |
||
|
|
|||
|
14.8-450/1 F2
|
|||
|
|
|||
|
|
|||
|
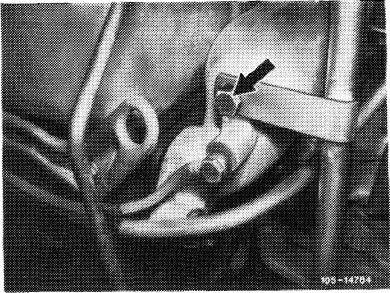
5 Unscrew fastening bracket (arrow) for oil pipe of automatic transmission.
|
 |
||
|
|
|||
|
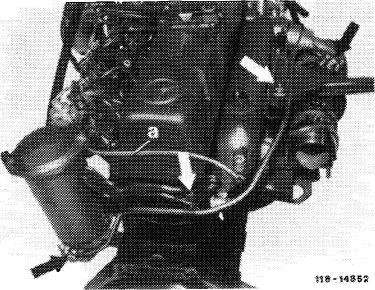
6 Loosen engine oil line (arrow) on oil filter and fastening clamp for engine oil line on cylinder head. On model 126, remove center part of partition for better access.
|
 |
||
|
|
|||
|
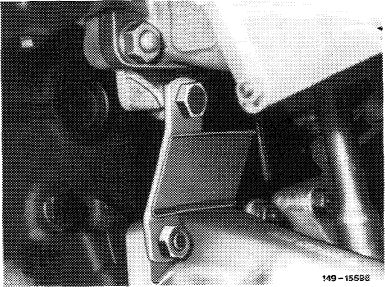
7 Unscrew supporting bracket for exhaust manifold on engine carrier.
|
 |
||
|
|
|||
|
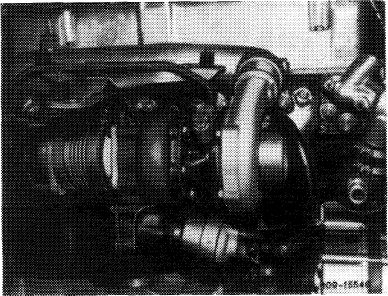
8 Unscrew fastening nuts for intake manifold and exhaust manifold, remove intake manifold and exhaust manifold together with exhaust gas turbocharger.
|
 |
||
|
|
|||
|
14.8-450/2 F2
|
|||
|
|
|||
|
|
||
|
9 Clean intake manifold and exhaust manifold. Check flange surfaces with straightedge and refinish on surface plate, if required.
10 When replacing intake manifold or exhaust manifold, unscrew all unscrewable parts and mount on new parts.
|
||
|
|
||
|
Installation
|
||
|
|
||
|
11 For installation proceed vice versa using new gasket and new exhaust nuts.
12 Adjust throttle linkage (30-300).
13 Adjust idle speed (07.1-100).
|
||
|
|
||
|
14.8-450/3 F2
|
||
|
|
||
Poprzedni