Removal and installation of injection valves
|
|
||||
|
07.3-215 Removal and installation of injection valves
|
||||
|
|
||||
|
Tightening torques (reference values)
|
Nm
|
|||
|
|
||||
|
Injection lines to fuel distributor
|
10-12
|
|||
|
|
||||
|
Injection lines to injection valves
|
10-15
|
|||
|
|
||||
|
Removal
|
||||
|
|
||||
|
1 Remove air cleaner.
2 Unscrew injection lines from injection valves and on fuel distributor. When loosening injection lines, apply counterhold to injection valves.
|
||||
|
|
||||
|
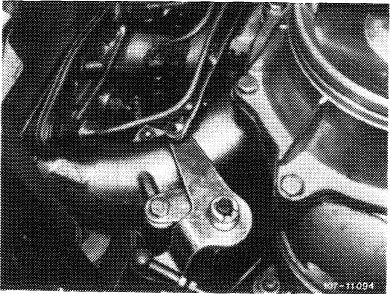
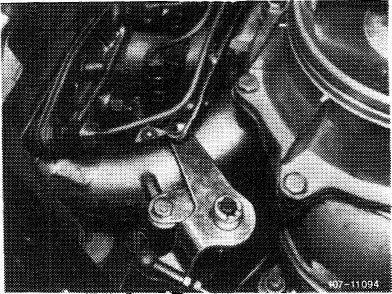
3 Loosen fastening nuts and remove fastening bridges.
For removing injection valves from cylinder 5, remove 6 pressure dampers.
Attention!
When removing fastening bridges, apply counterhold to injection valves, so that injection valves and insulating sleeves are not pulled out at the same time.
|
 |
|||
|
|
||||
|
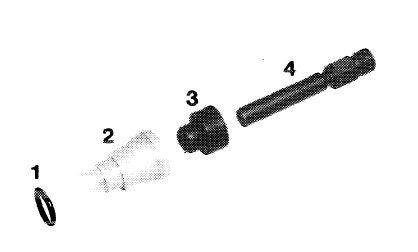
4 Pull out injection valves while applying counterhold to insulating sleeves (2). If the insulating sleeves are pulled out, install new O-rings (1).
|
 |
|||
|
|
||||
|
107-11773
|
||||
|
|
||||
|
07.3.2 I la —21 5/1
|
F 2
|
|||
|
|
||||
|
|
|||
|
Installation
|
 |
||
|
5 Install injection valves in vice versa sequence. For this purpose, transfer rubber sealing rings (3) or replace, if required.
Install fastening bridges in such a manner that the lugs are at the left.
Note: Mount pulled-out insulating sleeves with new O-rings.
6 Connect injection lines while paying attention to tightening torques as reference values.
Attention!
When tightening injection lines, apply counterhold to injection valves as well as to double thread connections on fuel distributor.
7 Run engine and check all fuel connections for leaks.
|
|||
|
|
|||
|
07.3.2 I la-21 5/2 F2
|
|||
|
|
|||