Mounting of crankshaft
WIS 03-320
Data
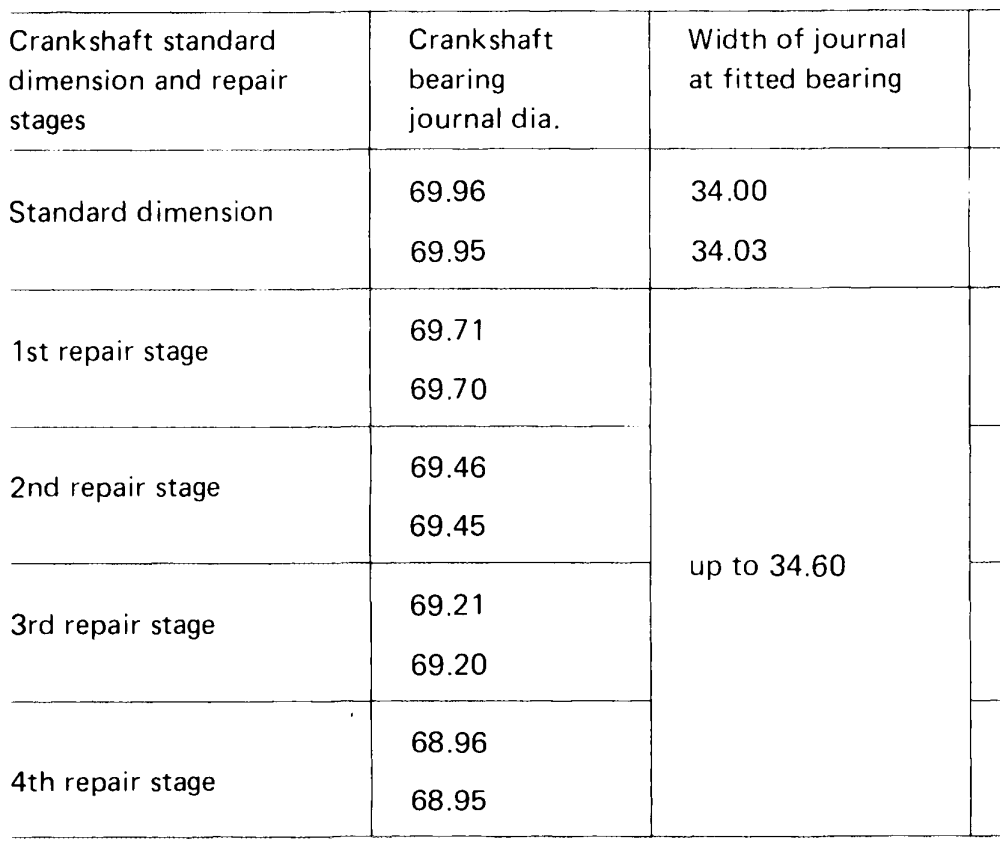
Width of pin Crankpin dia.
51.96 32.00
51.95 32.10
51.71
51.70
51.46
51.45 up to 32.30 51.21
51.20
50.96 50.95
Basic bore and bearing play Crankshaft bearing
Connecting rod bearing
Basic bore dia. 74.50 55.60
74.52 55.62
Permissible out-of-round 0.01 and conicity of basic bore .
when new 0.031–0.068″) 0.031–0.068″) Bearing play radial — _ wear limit 0.08
when new 0.10–0.22 0.12–0.26 Bearing play axial — wear limit 0.30 0.50
1) For radial play try for mean value.
. Wall thickness crankshaft Width of fitted Wall thickness
Bearing shells
bearing bearing shells bearing connecting rod
Standard dimension 2.25 33.80–33.90 1.80
1st repair stage 2.37 1.92 34.40–34.602) 2nd repair stage 2.50 2.05 3rd repair stage 2.62 2.17 4th repair stage 2.75 2.30
2) The fitted bearing shells for 1st to 4th repair stage are supplied at oversize width and must be finished to fit ground crankshaft bearing journal.
Tightening torques Nm
Crankshaft bearing bolts 90
Initial torque 40–50 Connecting rod nuts Angle of rotation torque 90—-100°
Balancing disc to crankshaft 270–330
Initial torque 30–40 Neck down screws for flywheel ee a or driven plate Angle of rotation torque 90–100°
Special tools
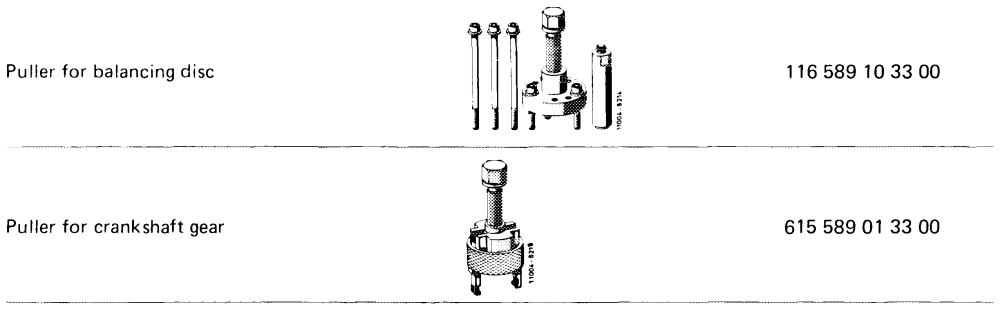
Detent – 110 589 00 40 00
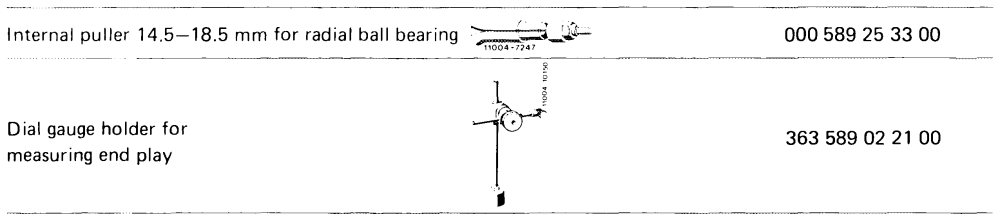
*y a Countersupport for internal puller – 000 589 33 33 00
Engine removed and disassembled.
Main oil ducts in crankcase open. (With steel balls, refer to 01–130). Carefully clean oil ducts in crankcase and crankshaft.
Check crankshaft for cracks, accurate size and hardness (03-318).
Association of crankshaft bearings, installation of
crankshaft
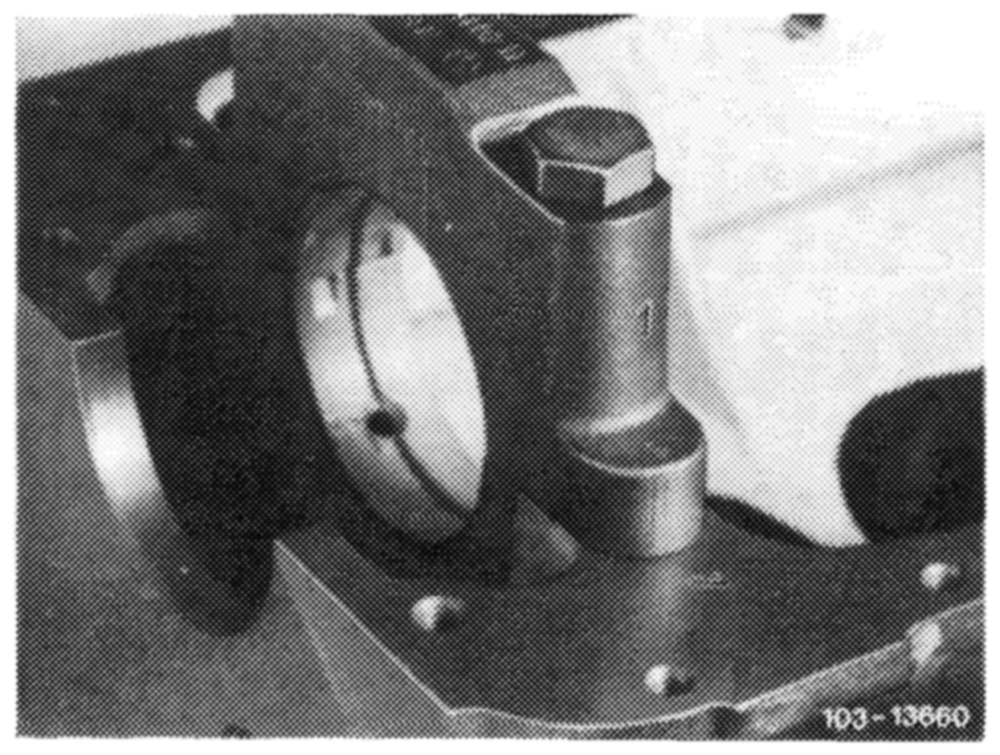
1 Install crankshaft bearing caps. Pay attention to identification, 1 is at front.
Do not interchange crankshaft bearing caps.
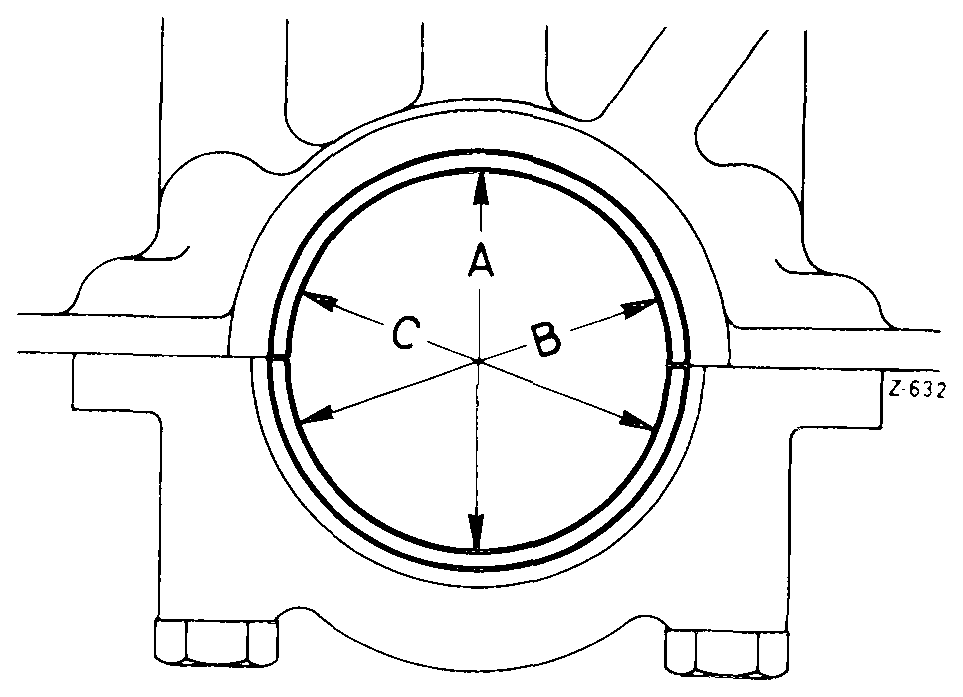
2 Tighten bolts to 90 Nm.
3 Measure basic bore in direction of A, B and C on 2 levels (conicity).
If a basic bore exceeds the specified value or is conical touch up bearing cap contact on a surface plate up to max. 0.02 mm.
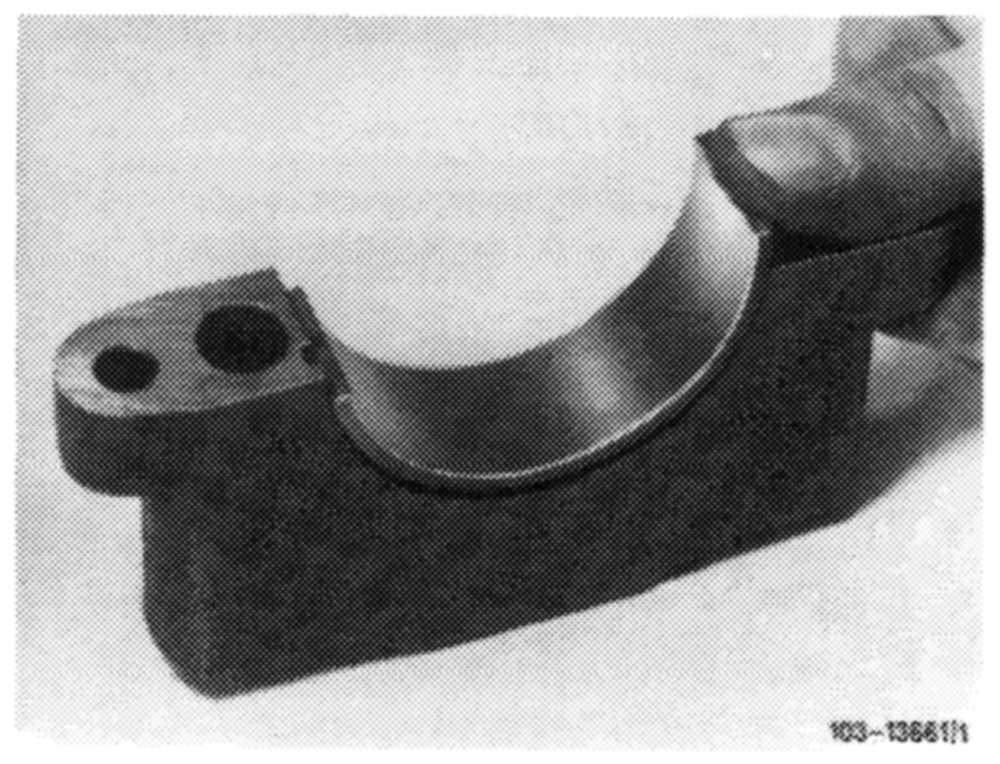
4 Insert crankshaft bearing shells and mount bearing cap. Tighten bolts to 90 Nm.
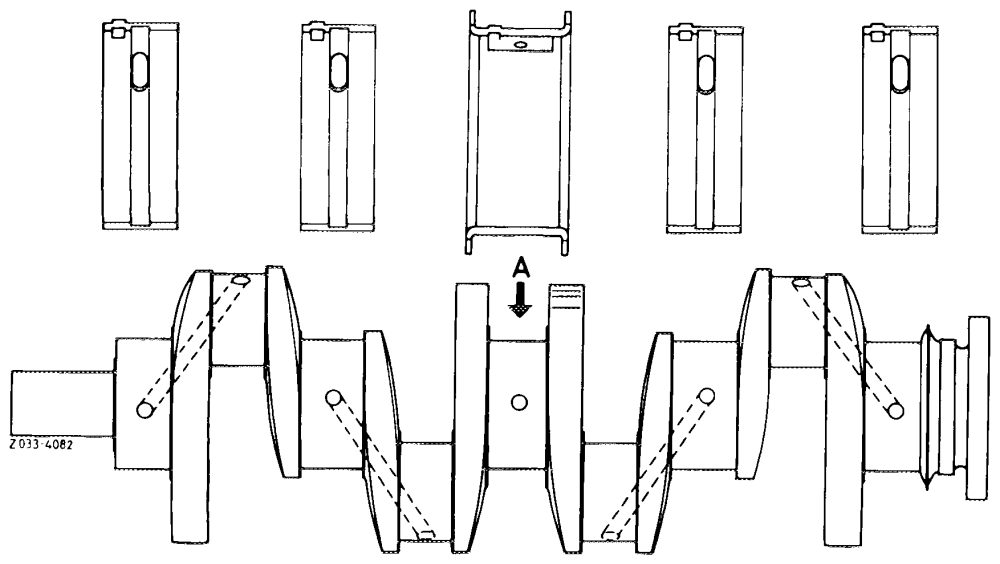
Housing
= S— fe =
Cover
= _
1 2 3 4 5 Fitted bearing
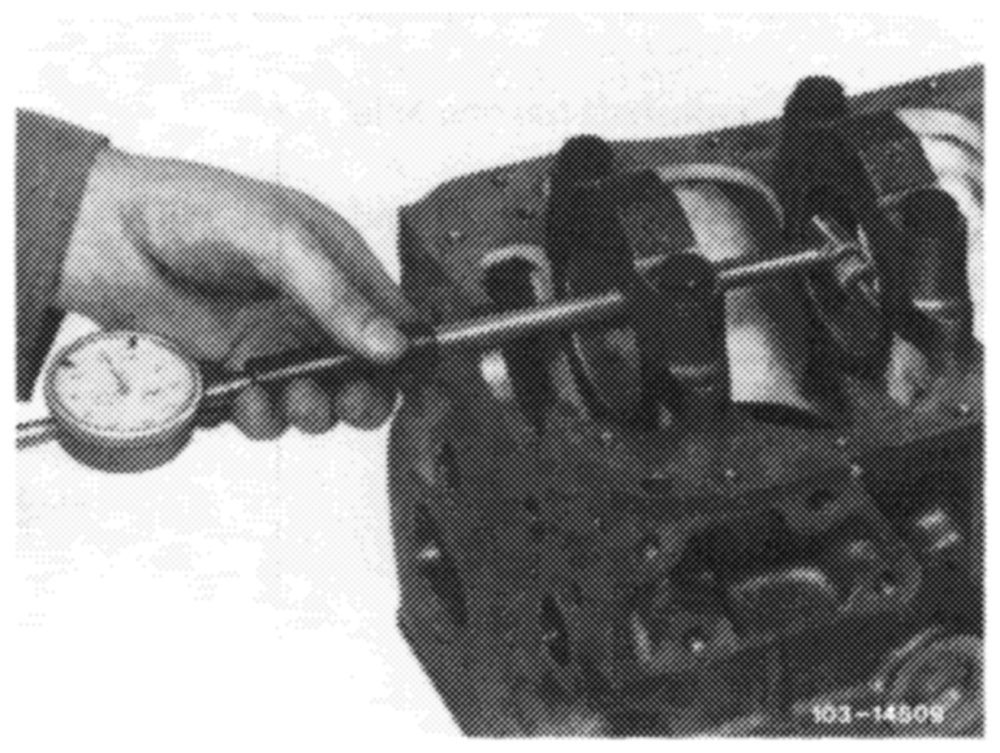
5 Measure and make note of bearing dia.
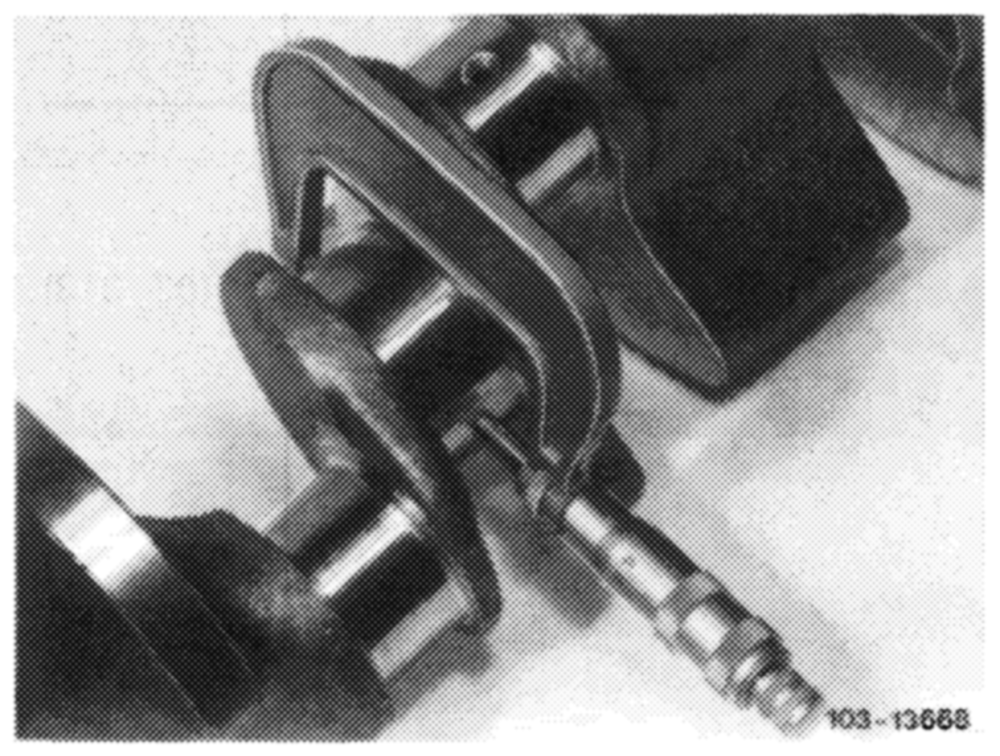
6 Measure crankshaft bearing journal, find crankshaft bearing radial play.
Note: The bearing play can be corrected by changing bearing shells, while trying for mean value of specified bearing play. Crankshaft bearing shells without color coding are thicker than those with blue color coding, while taking into account that the thickness of walls without and with color coding may overlap.
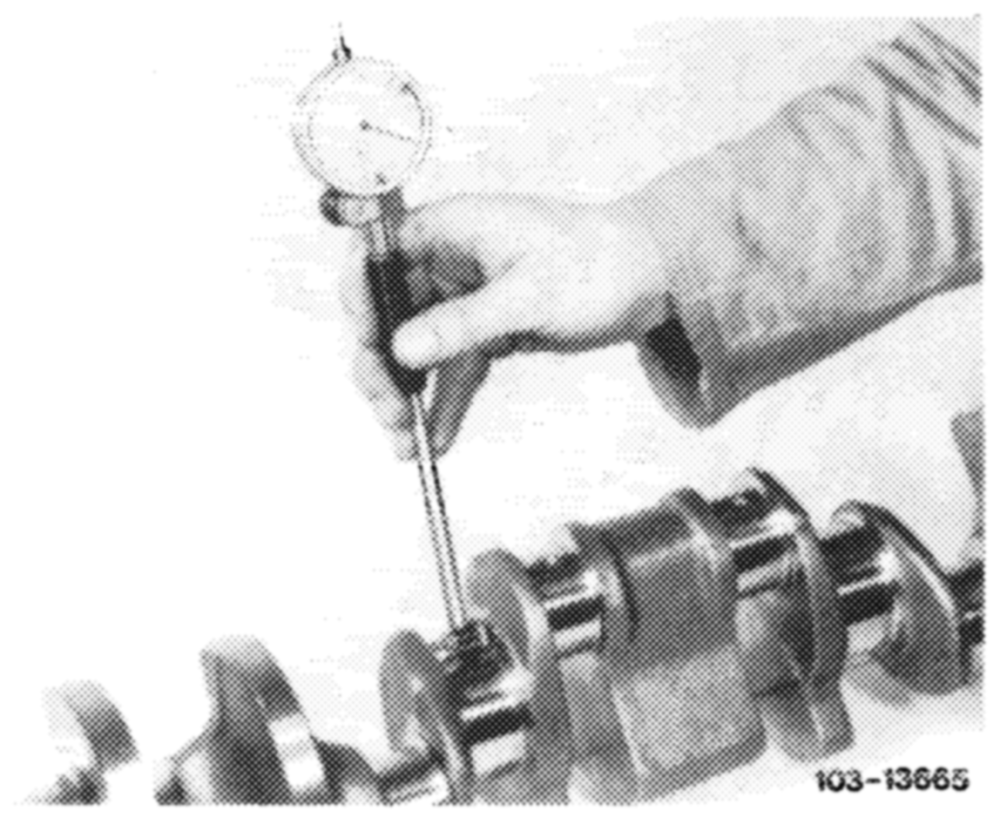
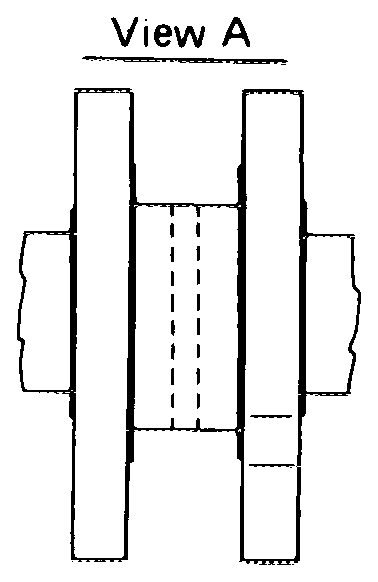
7 Measure width of fitted bearing journal and of fitted bearing.
Find crankshaft bearing axial play.
Note: Fitted shells of repair stages are supplied at oversize.
Machine both fitted bearing shells together on both sides to width of fitted bearing journal, minus axial play. Try for bottom value of 0.10 mm
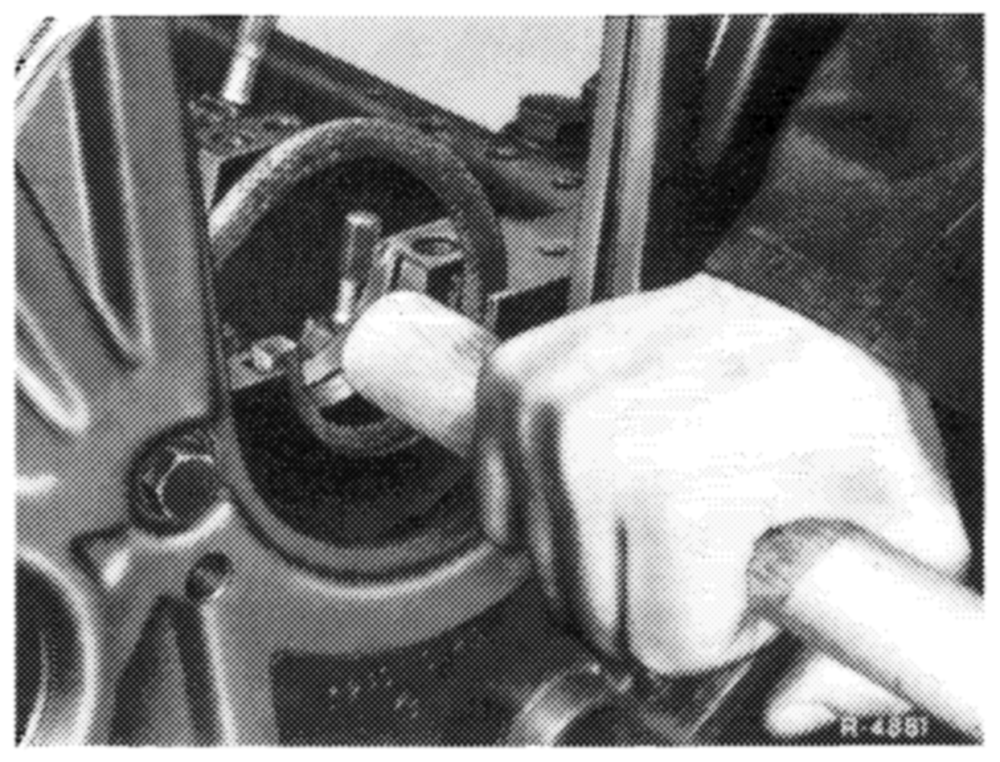
8 Replace rear crankshaft radial sealing ring (03-327).
9 Provide bearing shells, crankshaft and radial sealing ring with engine oil and mount crankshaft.
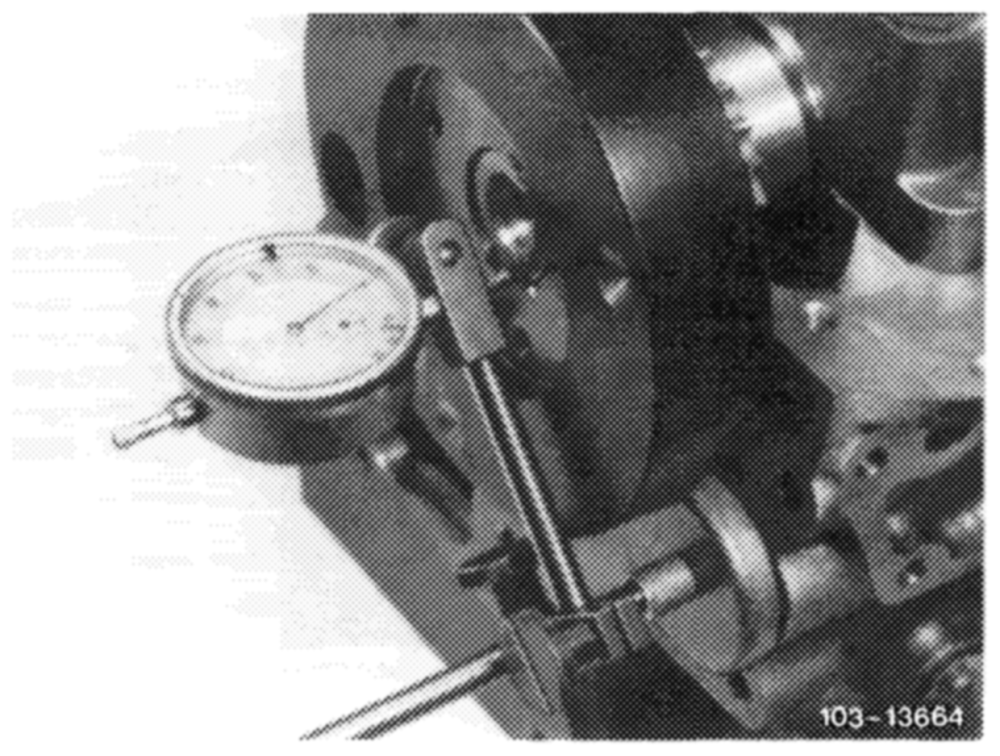
10 Tighten crankshaft bearing caps to 90 Nm.
11 Measure crankshaft bearing axial play.
12 Rotate crankshaft manually and check for easy Operation.
Association of connecting rod bearing and installation
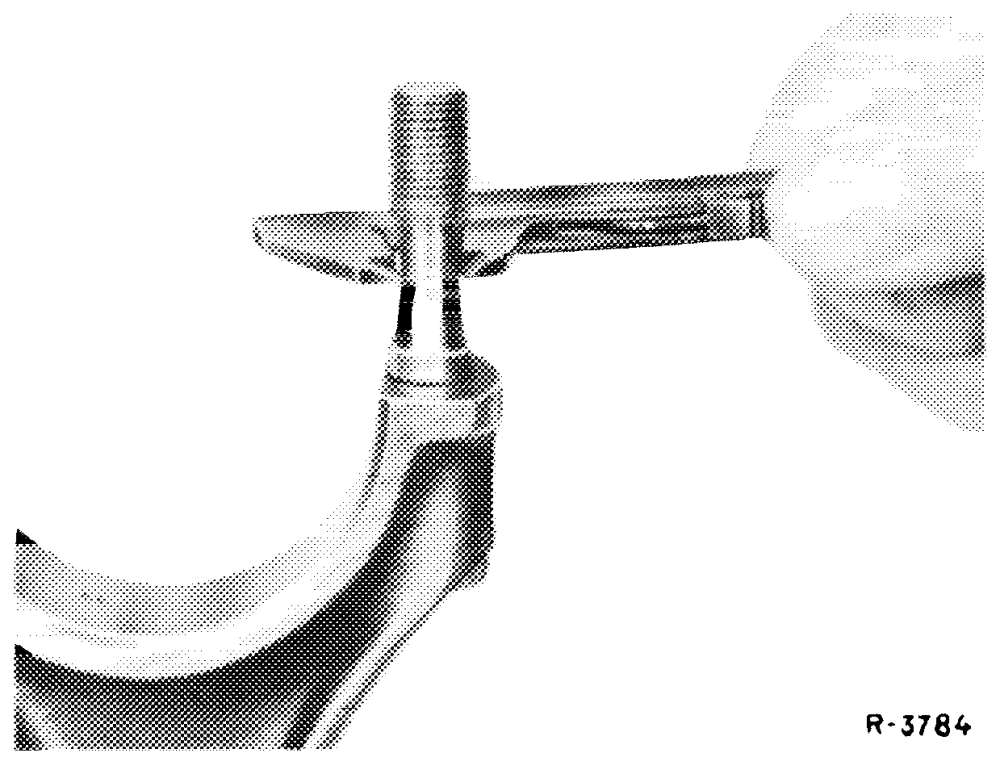
of connecting rod
13 Check connecting rod bolts (03-310).
14 Recondition connecting rod and square (O3—313).
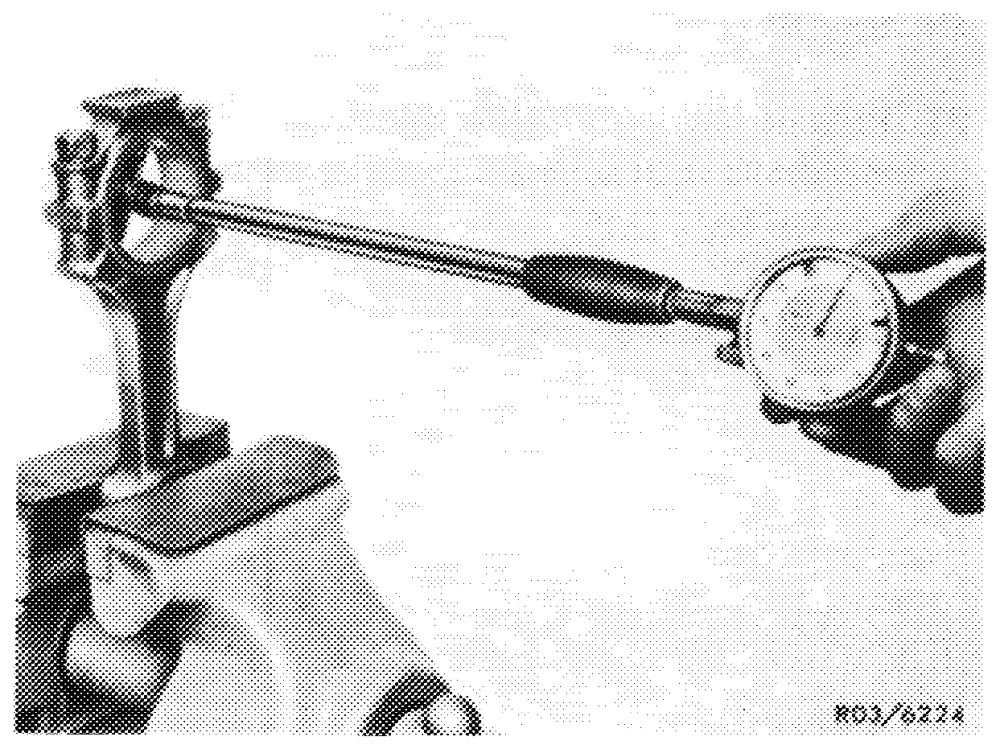
to identification. Tighten connecting rod nuts to 40–50 Nm.
16 Measure basic bore in two directions. If a basic bore exceeds the specified value or is conical, touch up bearing cap contact surface on a surface plate up to max. 0.02 mm.
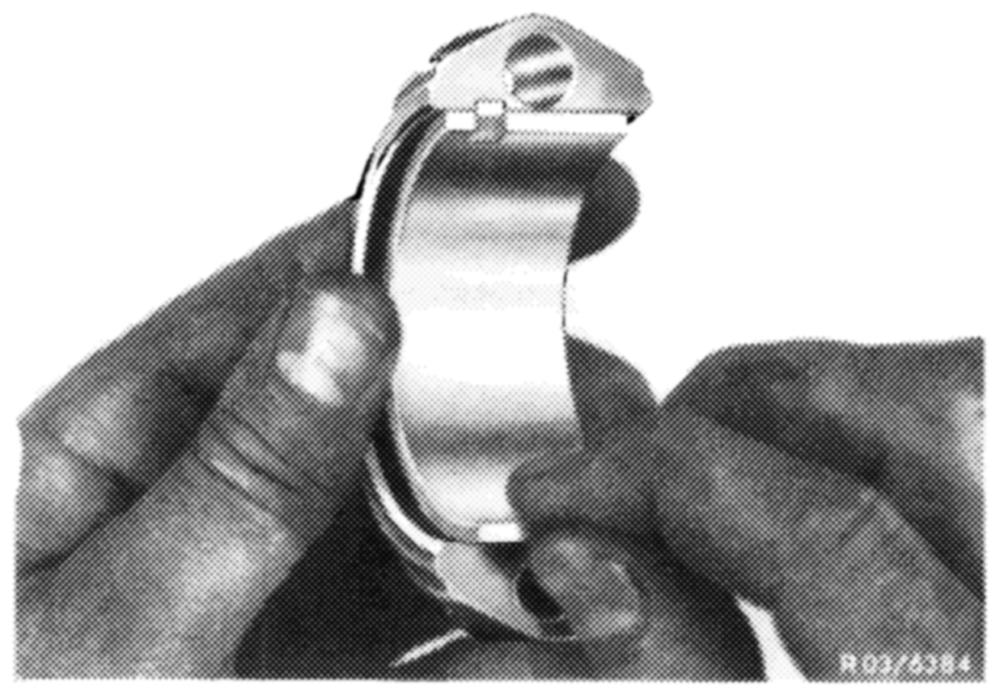
17 Insert connecting rod bearing shells, mount connecting rod bearing cap and bearing shells and tigthen connecting rods to 40—50 Nm.
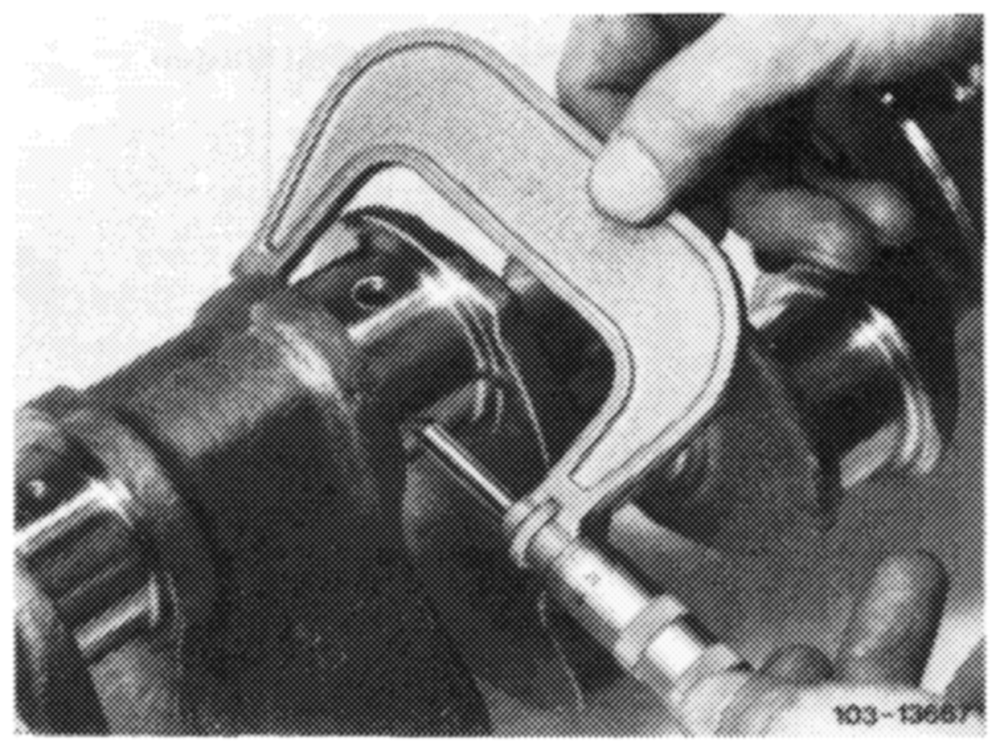
18 Measure and make note of bearing dia.
19 Measure crankpins, determine connecting rod bearing radial play.
Note: The bearing play can be corrected by changing bearing shells, while trying for mean value of specified bearing play. Crankshaft bearing shells without color coding are thicker than those with blue color coding, while taking into account that the thickness of walls without and with color coding may overlap.
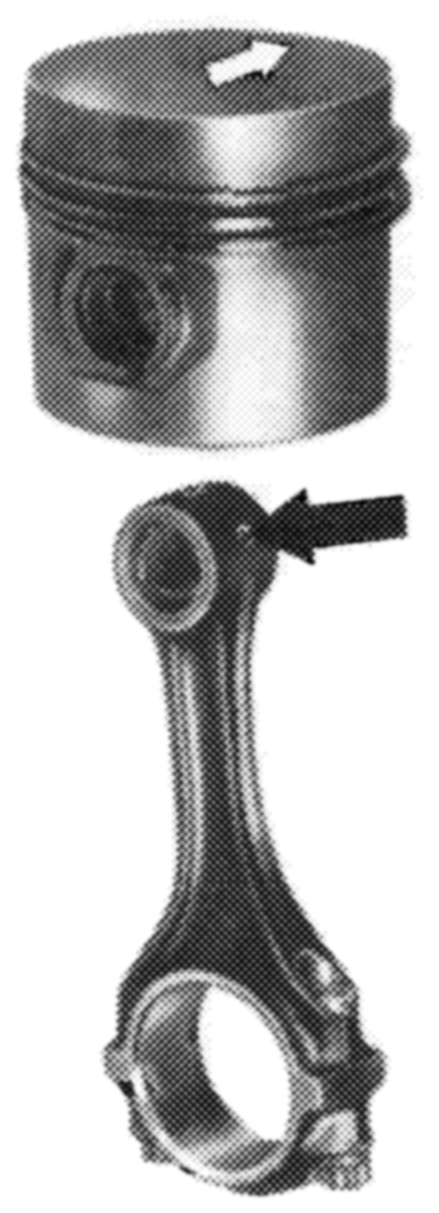
cylinder walls with engine oil, install connecting rod with piston (03-316).
Pay attention to identification.
103 ~ 9446
22 Tighten connecting rod nuts to 40—50 Nm initial torque and 90—100° angle of rotation torque.
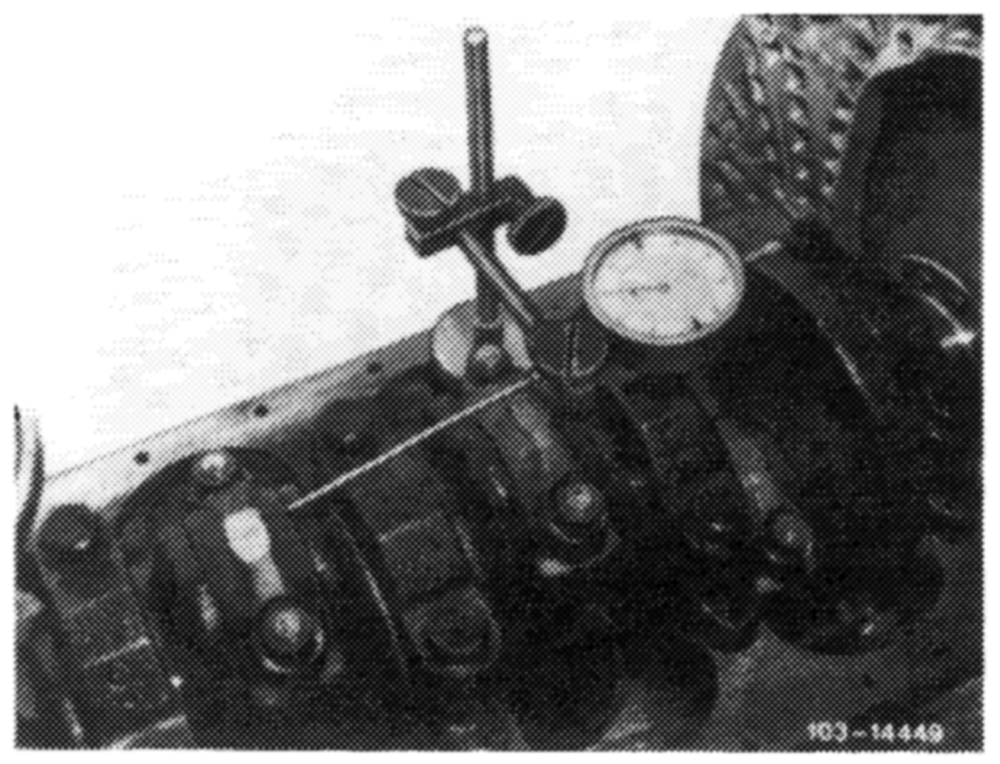
23 Measure connecting rod bearing axial play. Check connecting rod in piston for clearance.
Attention! Disassemble oil pump and clean, replace if required. Renew oil pressure relief valve. Disassemble oil filter upper half and clean. Carefully clean air-oi! cooler.
Install initial operation oil filter element. Change engine oil and oil filter element after 1000–1500 km.
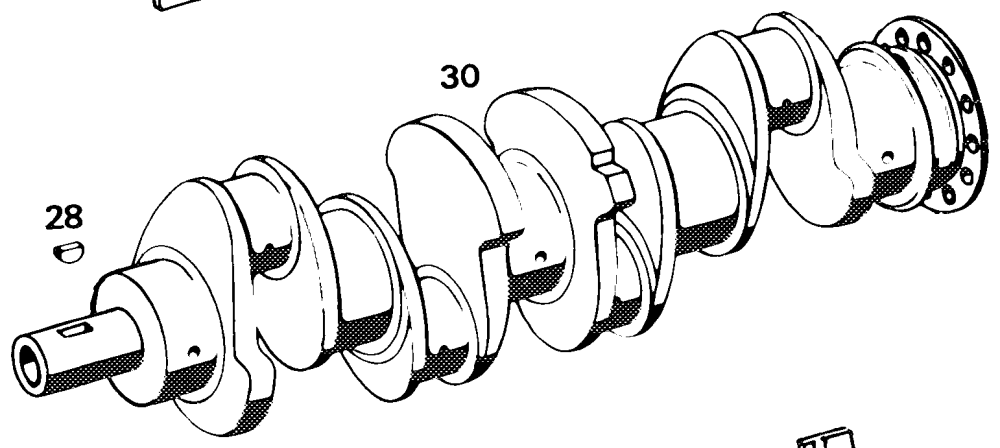
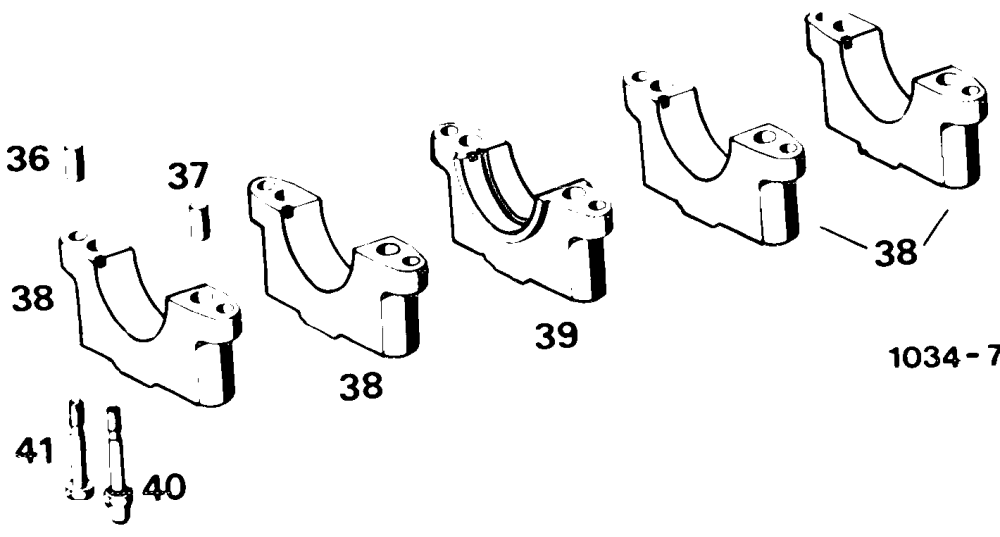
Crankshaft and bearing shells
7797/1
5 cyl. pins 10m 6 x 16 Woodruff key 5 cyl. pins 8 m6 x 16 Crankshaft Upper bearing shells Crankshaft bearing cap Crankshaft bearing cap — fitted bearing Lower bearing shells Fitted bearing shells 9 bolts M 12 x 75 Ball bearing 6202 Bolt M 12 x 75 with internal thread Closing ring