Mounting of crankshaft
WIS 03-320
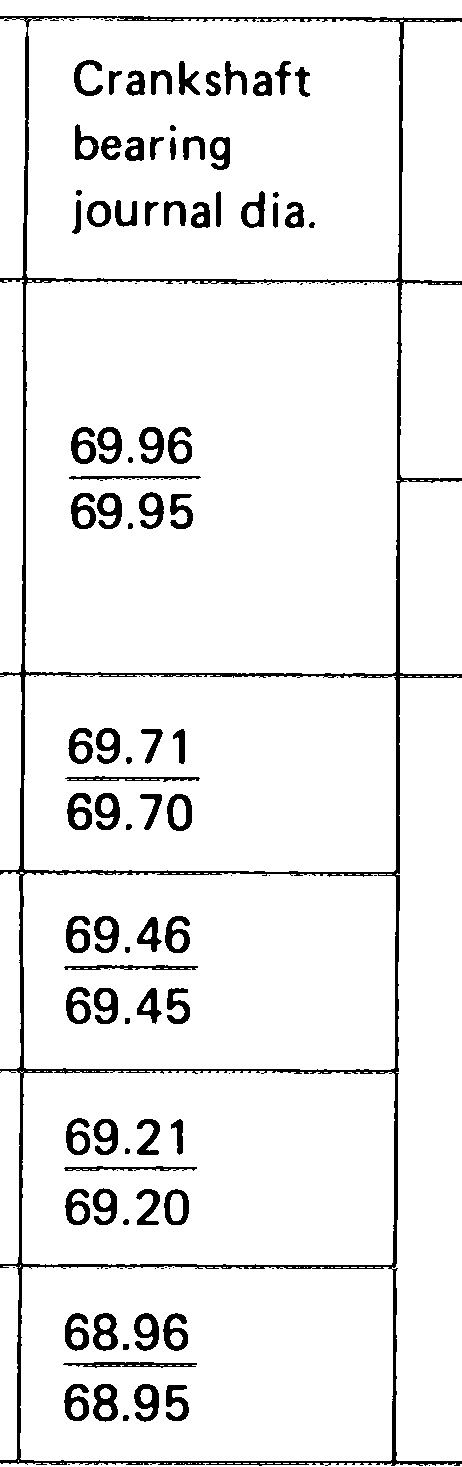
Data
Crankshaft Fitted bearing Crankpin dia. Width of pin standard dimension Pertinent thickness Width of and repair stages of thrust washers journal
34.00 2.15 34.03 51.96 32.00 Standard dimension 51.95 32.10 34.10 2.20 34.13
51.71 2.25 1st repair stage 34.20 51.70 34.23
51.46 or 2nd repair stage or 51.45 2.35 to 32.30 51.21 3rd repair stage 51.20 or 50.96 4th repair stage 2.40 50.95
| Basic bore and bearing play | Crankshaft bearing | Connecting rod bearing | ||
| Basic bore dia. | 74.50 74.52 | 55.60 55.62 | ||
| Basic bore width on fitted bearing | 29.48 29.50 | |||
| Connecting rod width | 31.84 31.88 | |||
| Permissible out-of-true of basic bore | 0.01 | |||
| Permissible conicity of basic bore | 0.01 | |||
| Bearing play radial | when new | 0.031–0.073′) | ||
| wear limit | 0.08 | |||
| axial | when new | 0.10–0.25 | 0.12–0.26 | |
| Bearing play | wear limit | 0.30 | 0.50 | |
1) For radial play try for mean value.
Bearing shells
Wall thickness Wall thickness crankshaft bearing connecting rod bearing
Standard dimension 2.25 1.80
2.37 1st repair stage 1.92 2.50 2nd repair stage 2.05 3rd repair stage 2.62 2.17 2.75 2.30 4th repair stage
Tightening torques
Nm
Crankshaft bearing bolts 90
initial torque 40–50 Connecting rod nuts 90–100° angle of rotation torque
Bolt M 18x 1.5.x 45 on crankshaft
30–40 initial torque Necked-down screws for flywheel or driven plate 90–100° angle of rotation torque
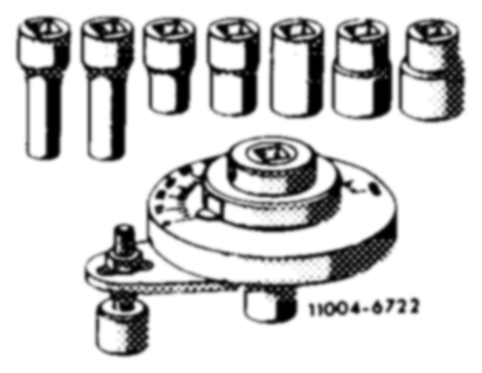
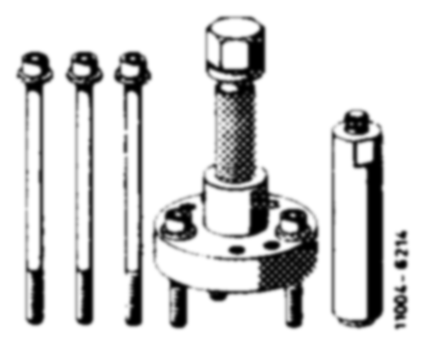
Special tools Angle of rotation tool Puller for balancing disc – 116 589 10 33 00
Puller for crankshaft gear – 615 589 01 33 00
Detent – 110 589 00 40 00
Dial gauge holder for 116 589 12 2100 measuring end play – 116 589 01 13 00
Engine removed and disassembled.
Main oil ducts in crankcase open (also refer to 01–130).
Oil spray nozzles removed (18-040).
Oil ducts in cylinder crankcase and in crankshaft carefully cleaned.
Check crankshaft for cracks, dimensional! stability and concentricity (03–318).
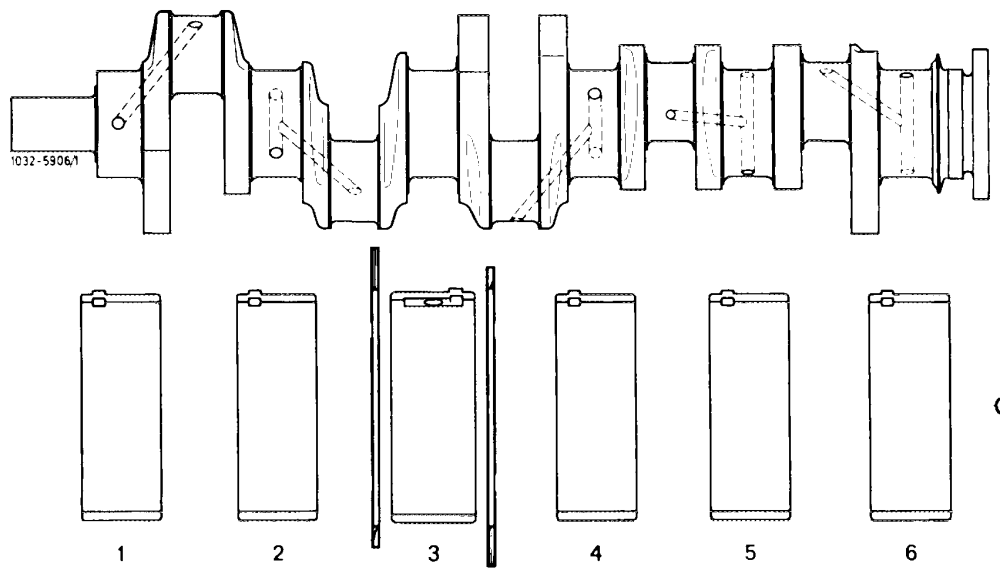
For durability, the 3rd crankshaft bearing (fitted bearing) has been provided with standard bearing shells and thrust washers.
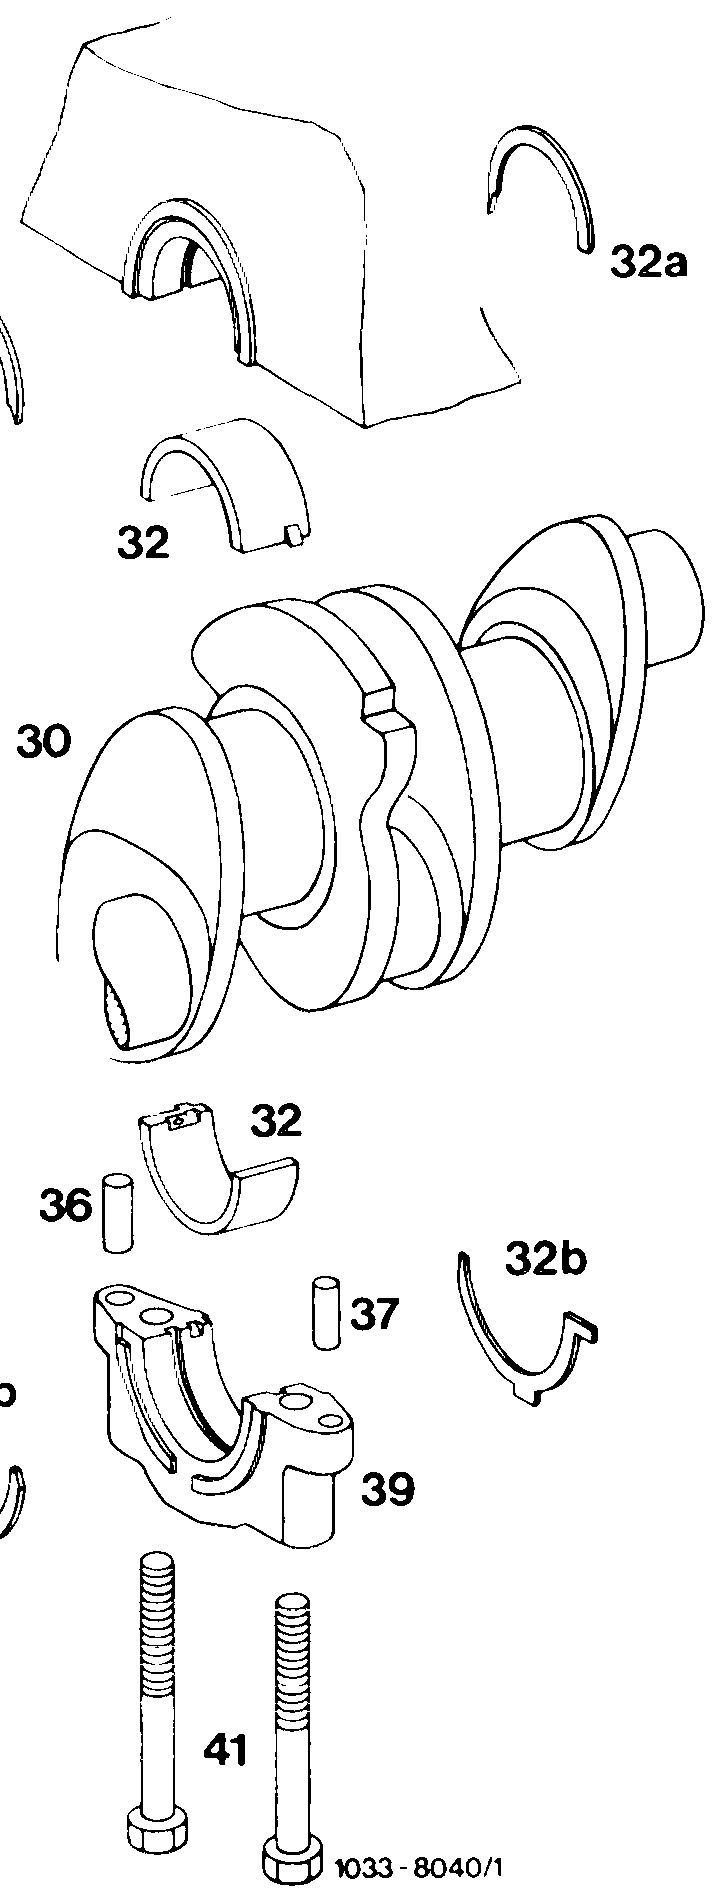
The thrust washers absorb the axial forces of the crankshaft.
The thrust washers (32a and 32b) inserted in cylinder crankcase and in bearing cap on both sides are similar in design.
As a protection against distorsion and to avoid assembly faults, the thrust washers in bearing cap are provided with two holding lugs each, with the lower lug placed out of center. In addition, all thrust washers are chamfered at one end.
32 Bearing shells 36 Cylindrical pin 10m 6 x 16 32a Thrust washers in 37 Cylindrical pin 8m6x 16 cylinder crankcase 39 Bearing cap 32b Thrust washers in 41 BoltsM 12x 75 bearing cap
When reconditioning crankshafts, regrind width of fitted bearing journals to one of the dimensions named in table (section ‘‘Data”’).
Coordinate thrust washers in accordance with pertinent journal widths (table).
Always install thrust washers of uniform thickness on both sides.
Regrinding of thrust washers is not permitted.
Spare part thrust washers are available in sets only. One set consists of an upper and a lower thrust washer (32a and 32b).
Thrust washer sets
Thickness in mm Set part no.
2.15 617 586 19 03
2.20 617 586 20 03
2.25 617 586 21 09
2.35 617 586 22 03
2.40 617 586 31 03
Due to the higher combustion pressures the fatigue strength of connecting rod bearing shells has been improved by changing the composition of the material.
On these engines, do not install connecting rod bearing shells of engine 617.912.
To improve bearing shell seat in cylinder crankcase on engine 617.950, the standout of the bearing shells has been increased from 0.000–0.030 mm to 0.030–0.060 mm. On engines 617.951/952, from start of series.
Installation
Engine Engine end no.
617.950 003 768 617.951/952 Start of series
Coordinating crankshaft bearings, installing crankshaft
1 Install crankshaft bearing cap. Pay attention to identification, 1 is at the front.
Do not interchange crankshaft bearing caps.
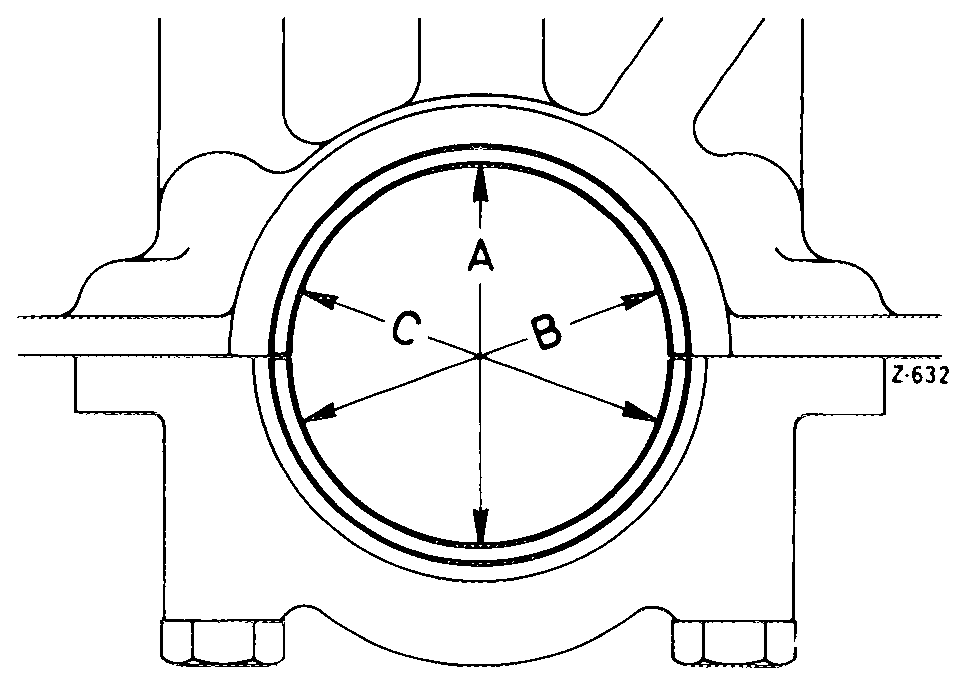
2 Tighten bolts to 90 Nm.
3 Measure basic bore in direction A, B and C on two levels (conicity).
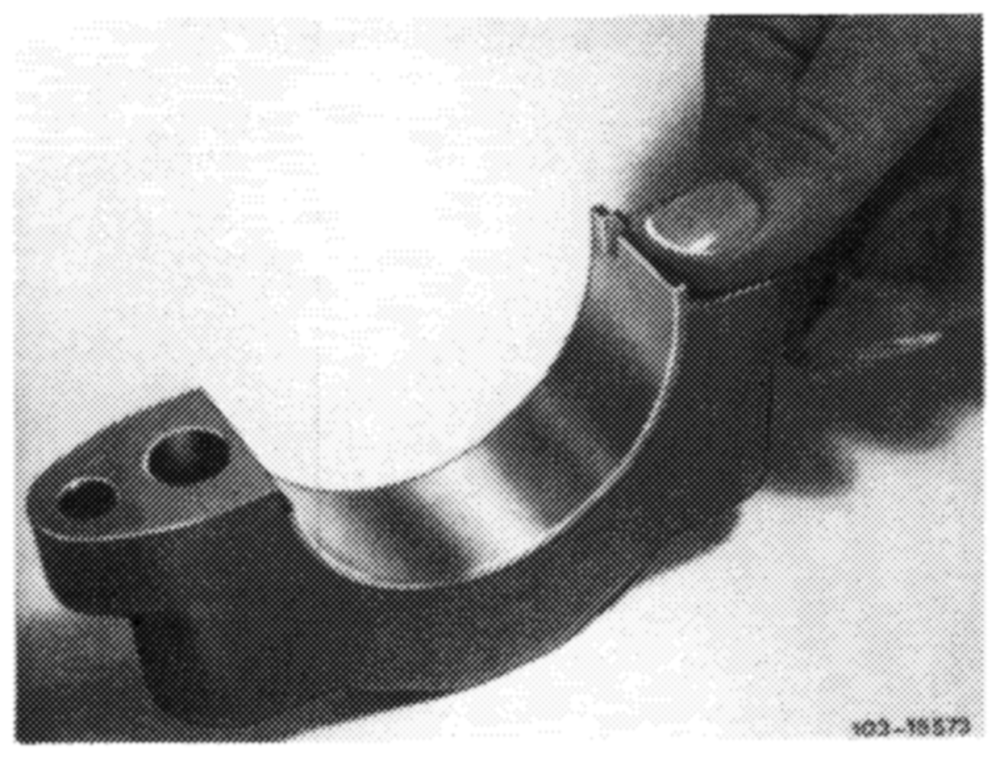
If a basic bore exceeds the specified value or is conical, touch up bearing cap at its contact surface on a surface plate by max. 0.02 mm.
4 Insert crankshaft bearing shells and mount bearing cap. Tighten bolts to 90 Nm.
Housing
Cover
Fitted bearing
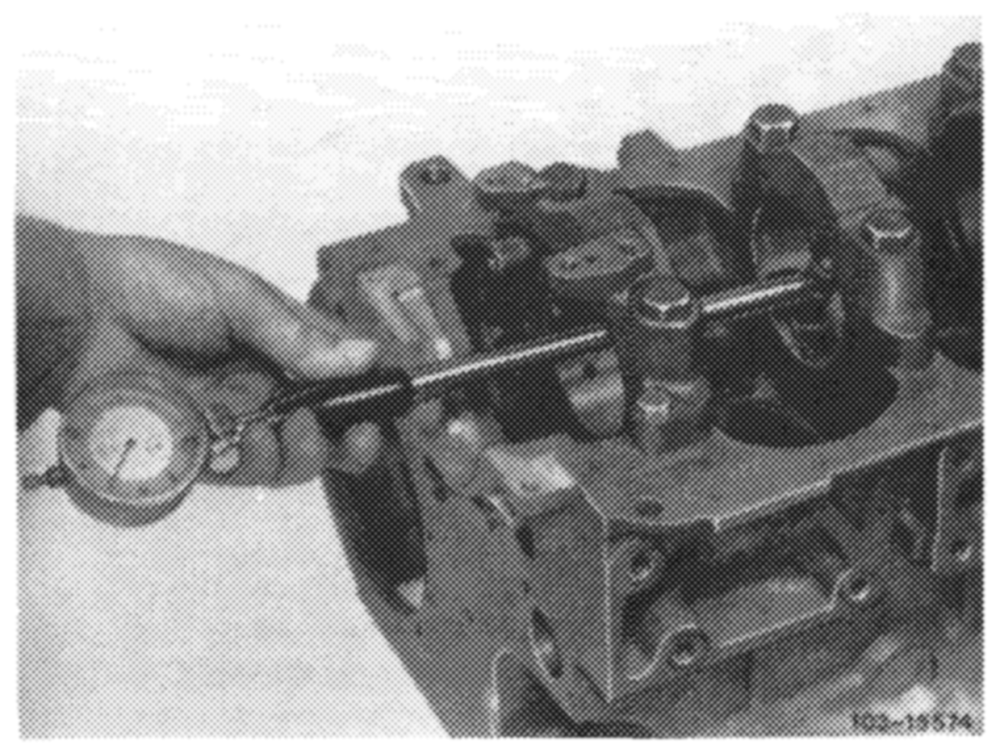
5 Measure bearing dia. and write down.
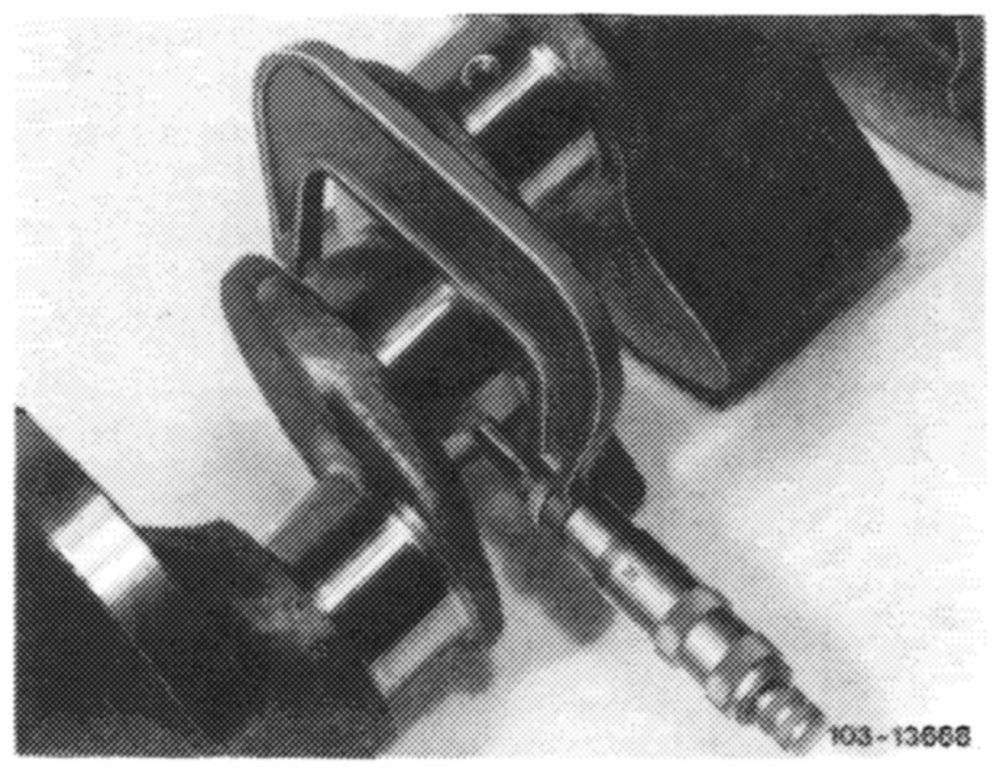
6 Measure crankshaft bearing journal, find crankshaft bearing radial play.
Note: The bearing play can be corrected by exchanging bearing shells, while trying for mean value of specified bearing play.
Crankshaft bearing shells without color coding are thicker than those with blue color coding, while taking into account that the wall thicknesses without color coding and those with color coding may overlap.
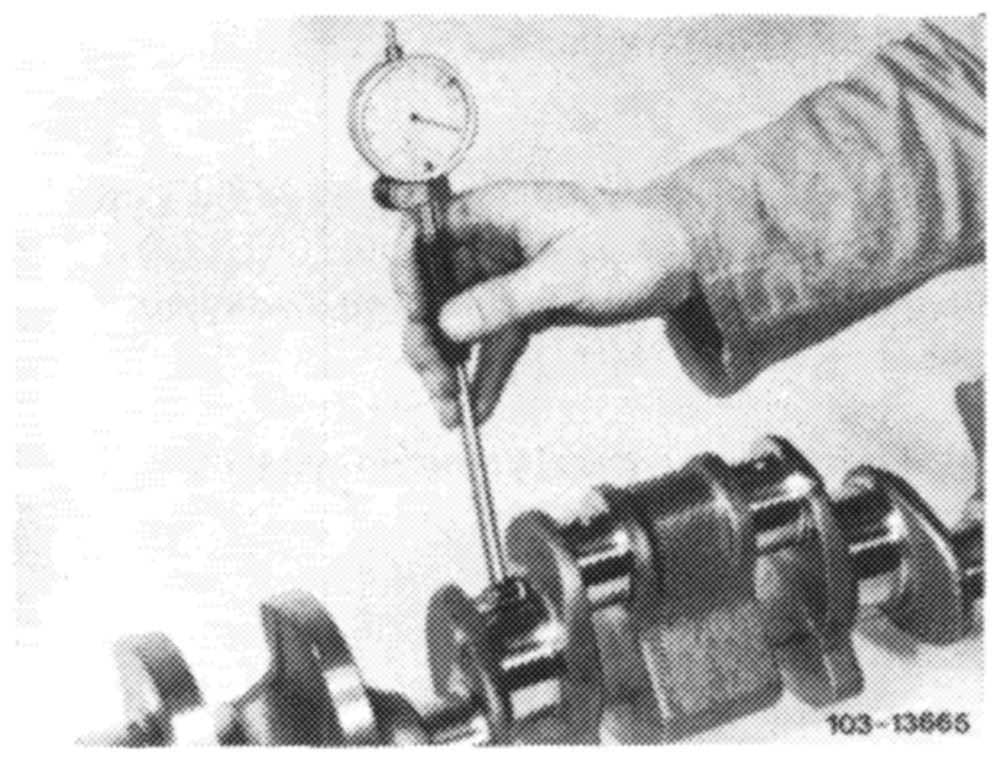
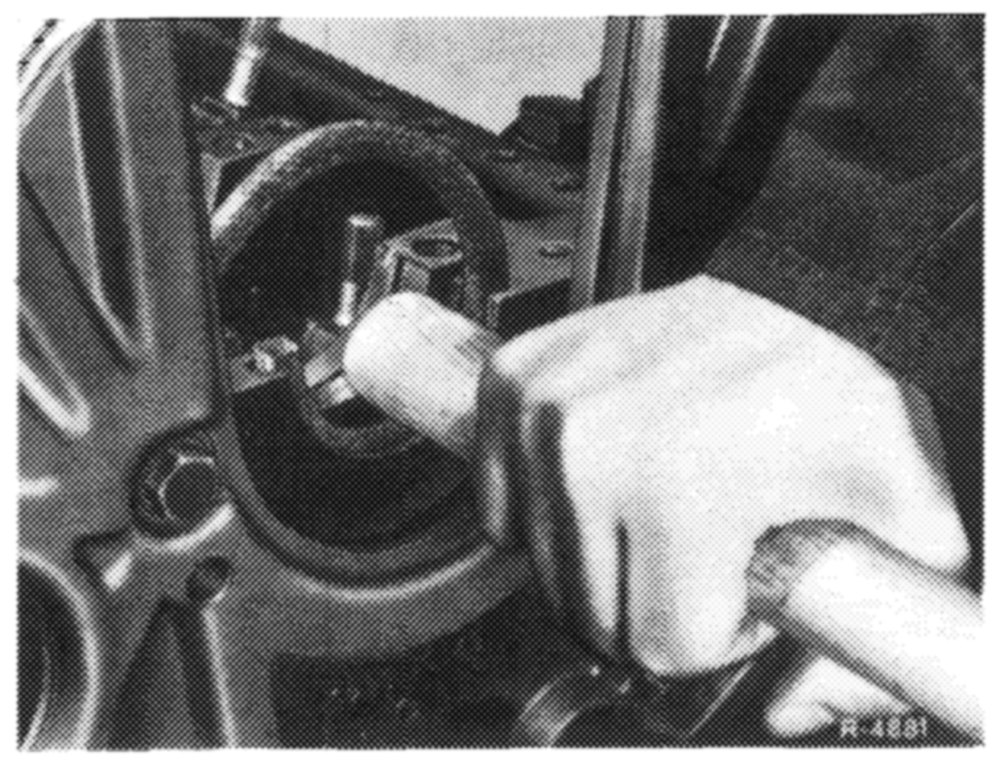
7 Measure width of fitted bearing journal and use pertinent thrust washers (refer to table, section “Data’’).
8 Renew rear crankshaft radial sealing ring (03-327).
9 Provide bearing shells, crankshaft and radial sealing ring with engine oil and insert crankshaft.
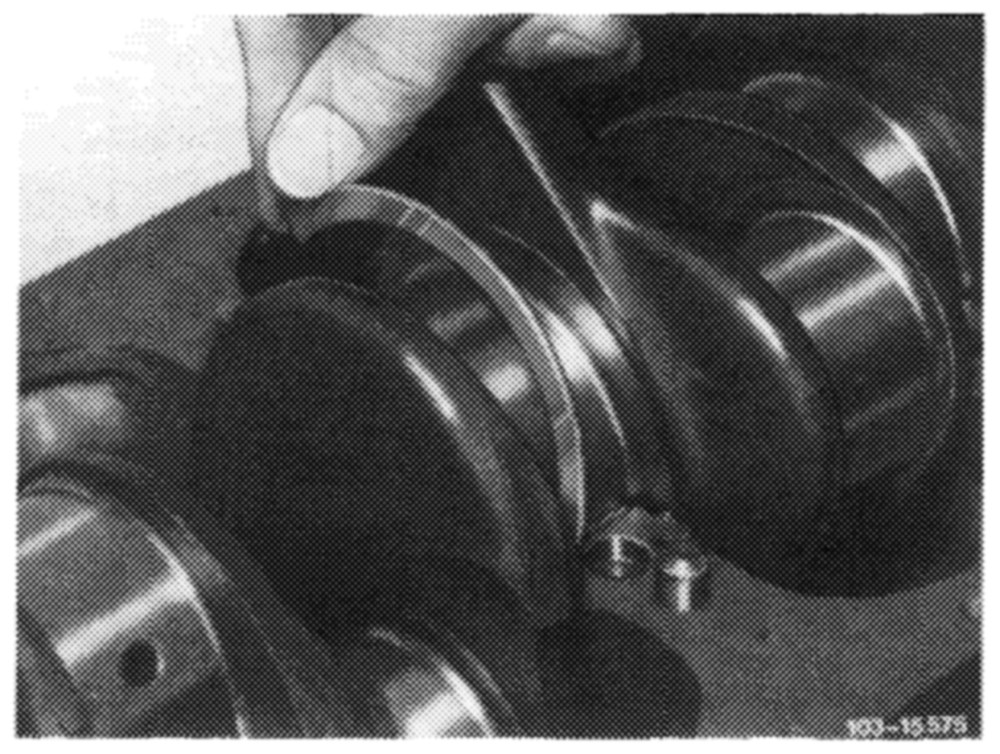
10 Provide thrust washers with engine oil and slip into grooves on fitted bearing (cylinder crankcase).
Attention!
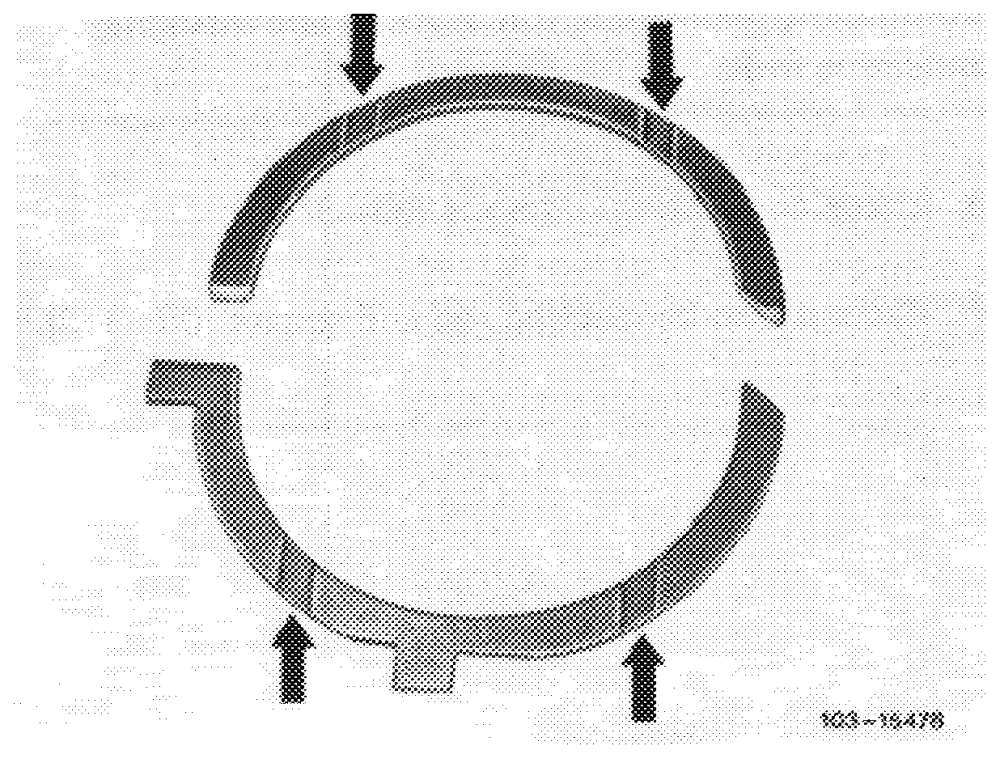
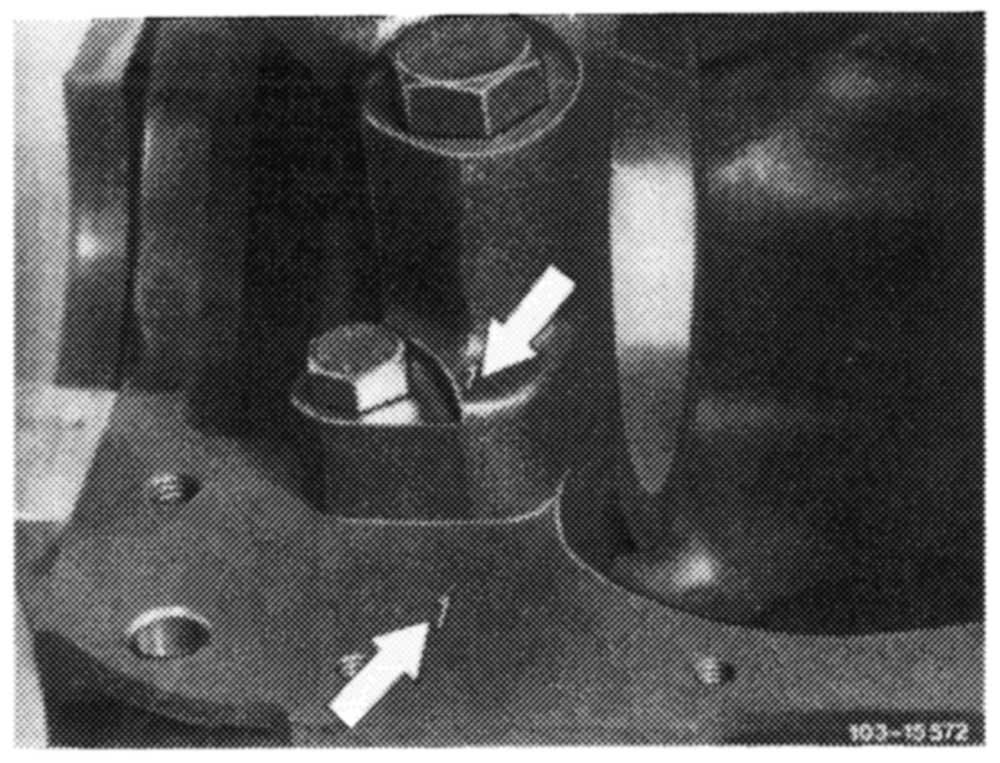
The two oil grooves (arrows) in thrust washers should face crankshaft webs.
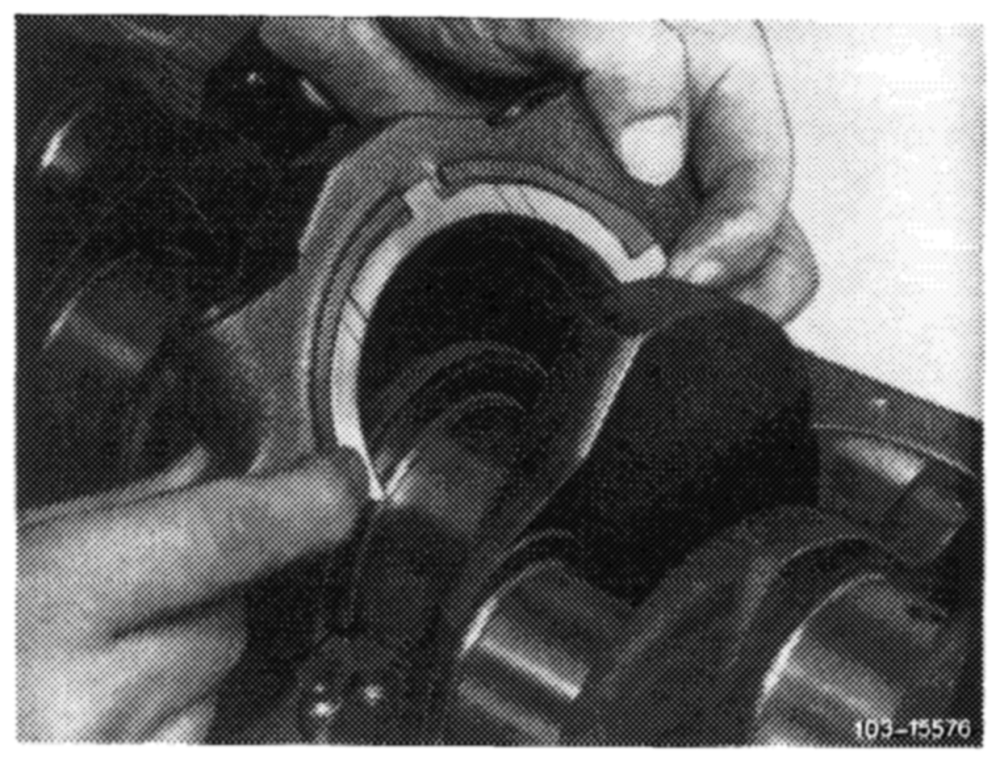
Attention! Provide thrust washers with engine oil and place into grooves on fitted bearing cap. The two oil grooves (arrows) in thrust washers should face crankshaft webs.
Hold both thrust washers in position and mount fitted bearing cap.
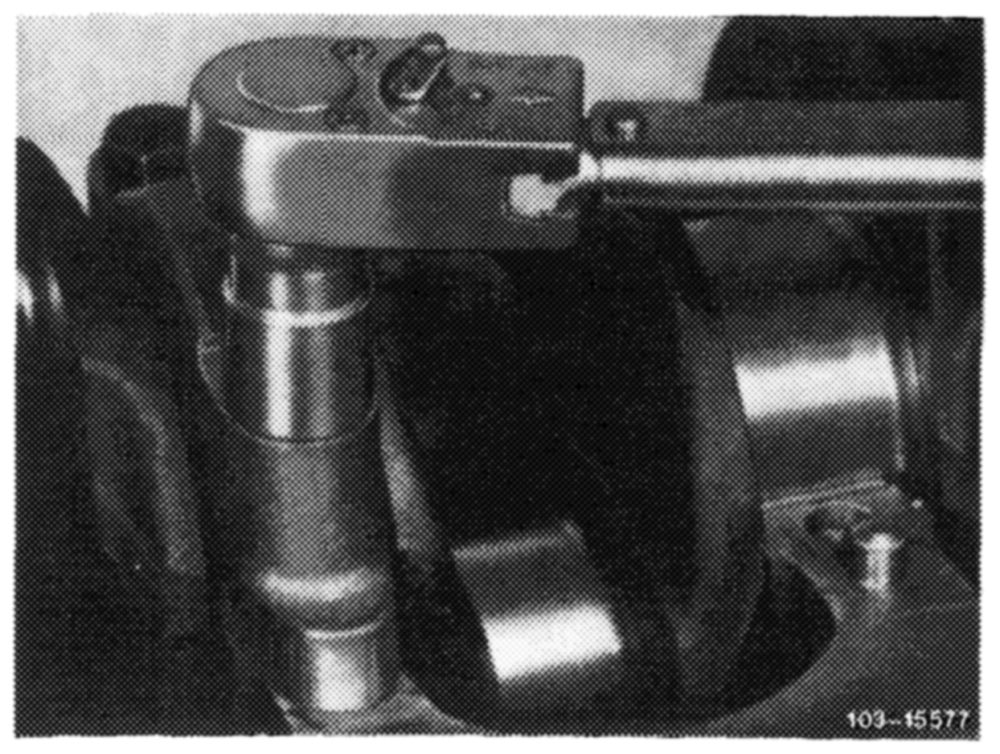
12 Mount crankshaft bearing cap.
13 Tighten all bearing caps to 90 Nm.
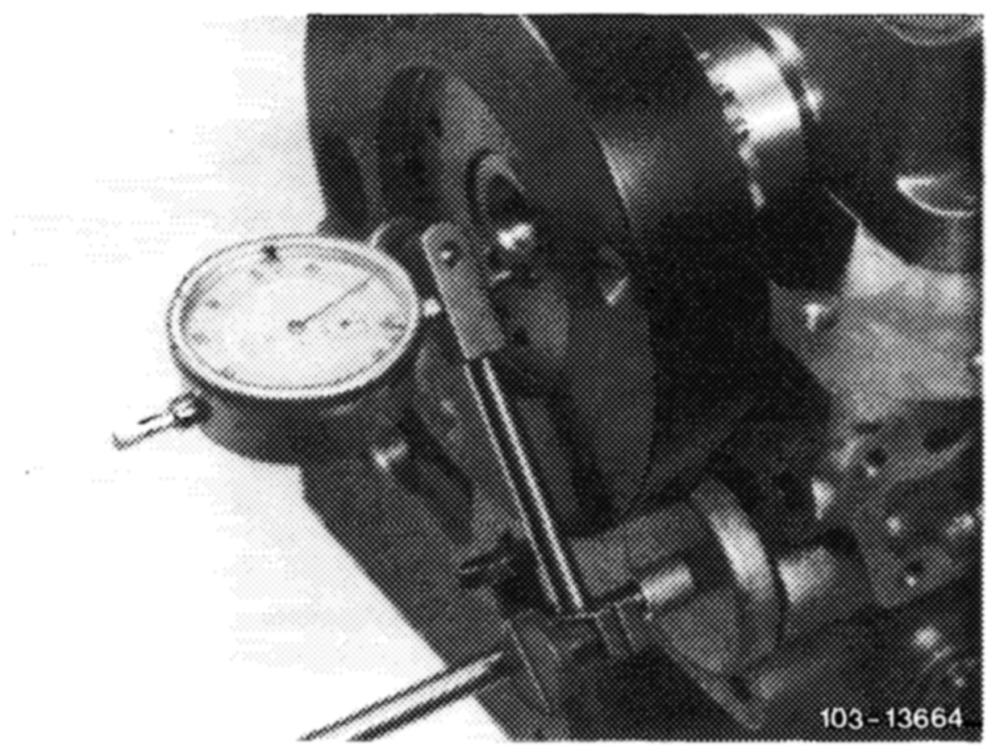
14 Measure crankshaft bearing end play.
15 Turn crankshaft manually and check for unobstructed running.
Coordinating connecting rod bearings and installing
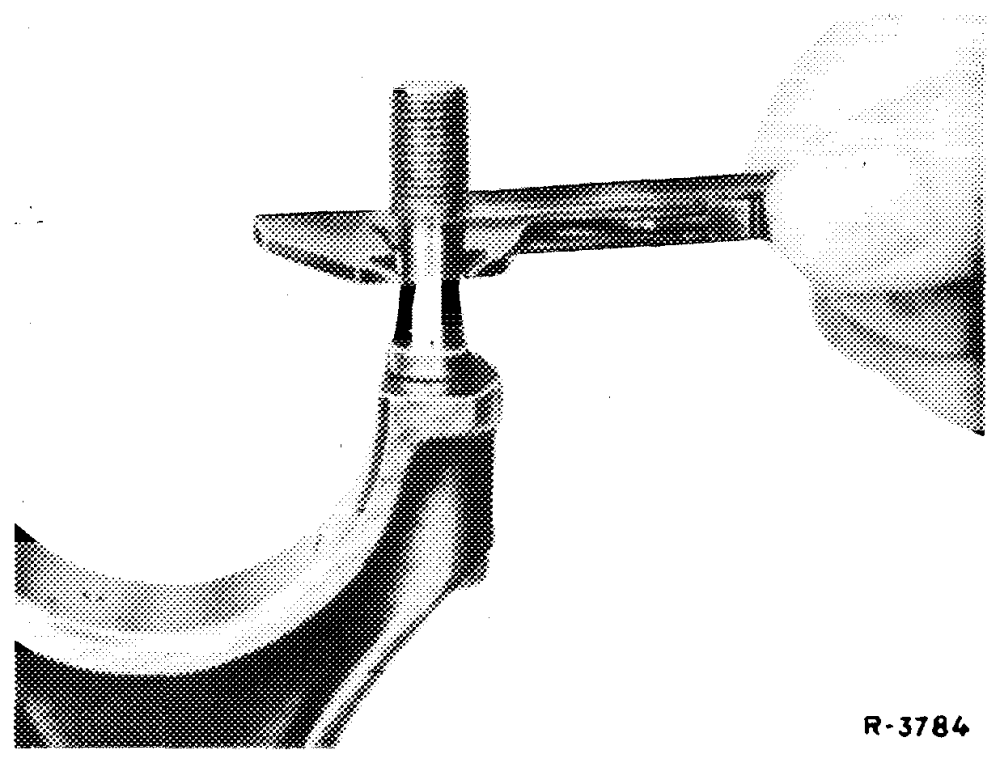
connecting rods
16 Check connecting rod bolts (03—310).
17 Recondition connecting rod and square (03—313).
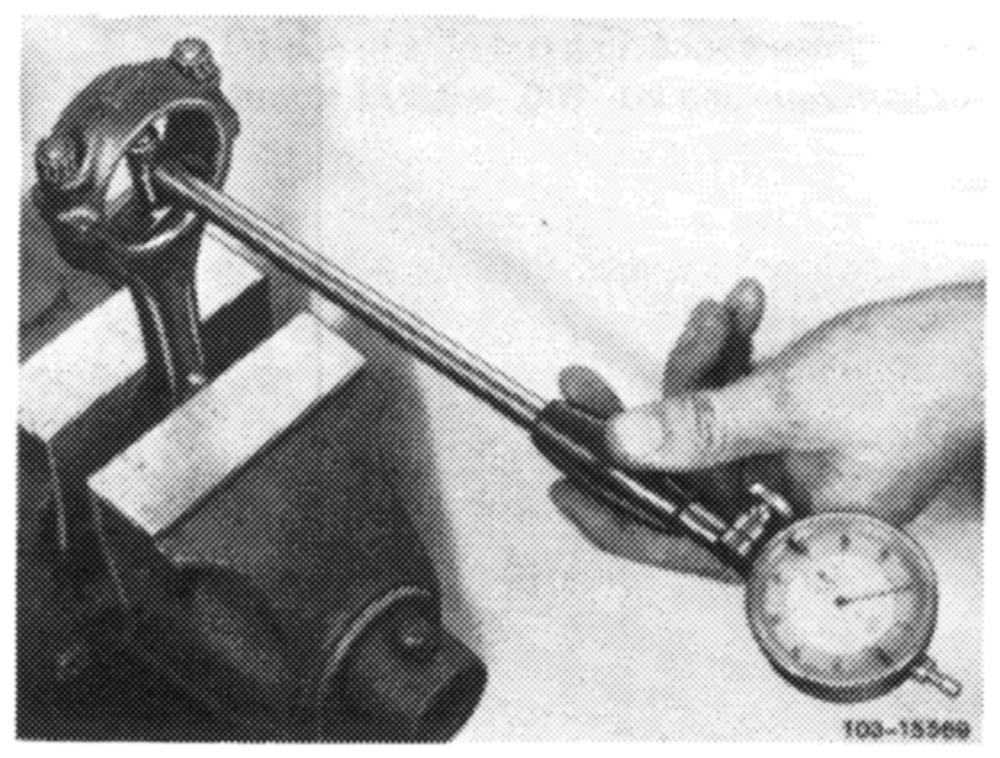
attention to identification. Lubricate connecting rod nuts and tighten to 40–50 Nm.
19 Measure basic bore in two directions. On a basic bore which exceeds the specified value or is conical, touch up bearing cap at its contact surface on a surface plate by max. 0.02 mm.
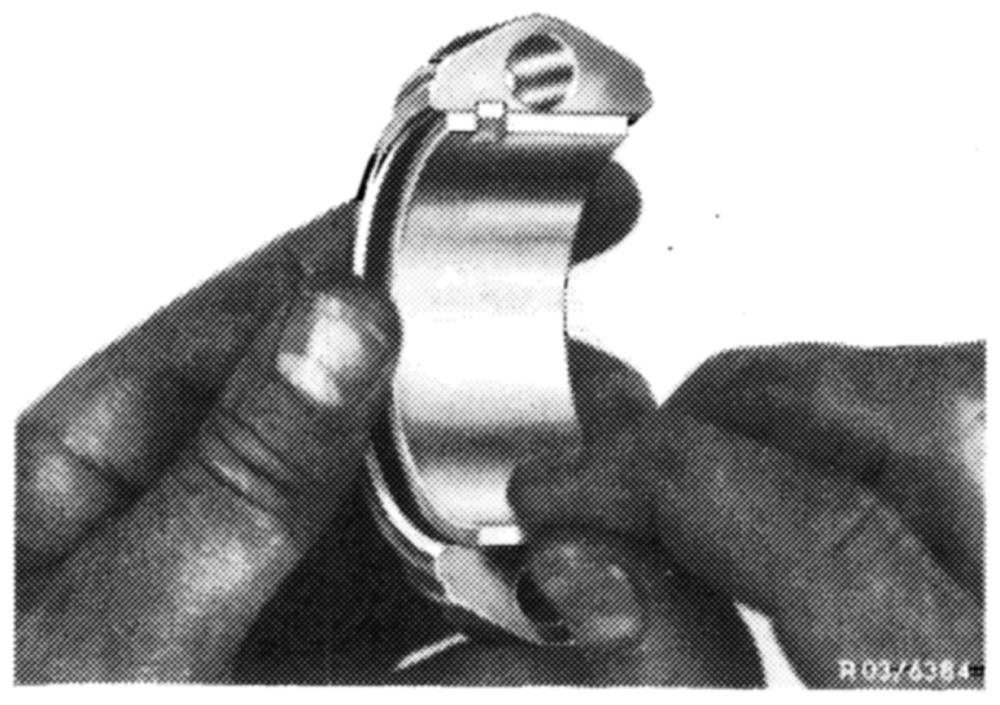
20 Insert connecting rod bearing shells, mount connecting rod bearing cap with bearing shells and tighten connecting rod nuts to 40—50 Nm.
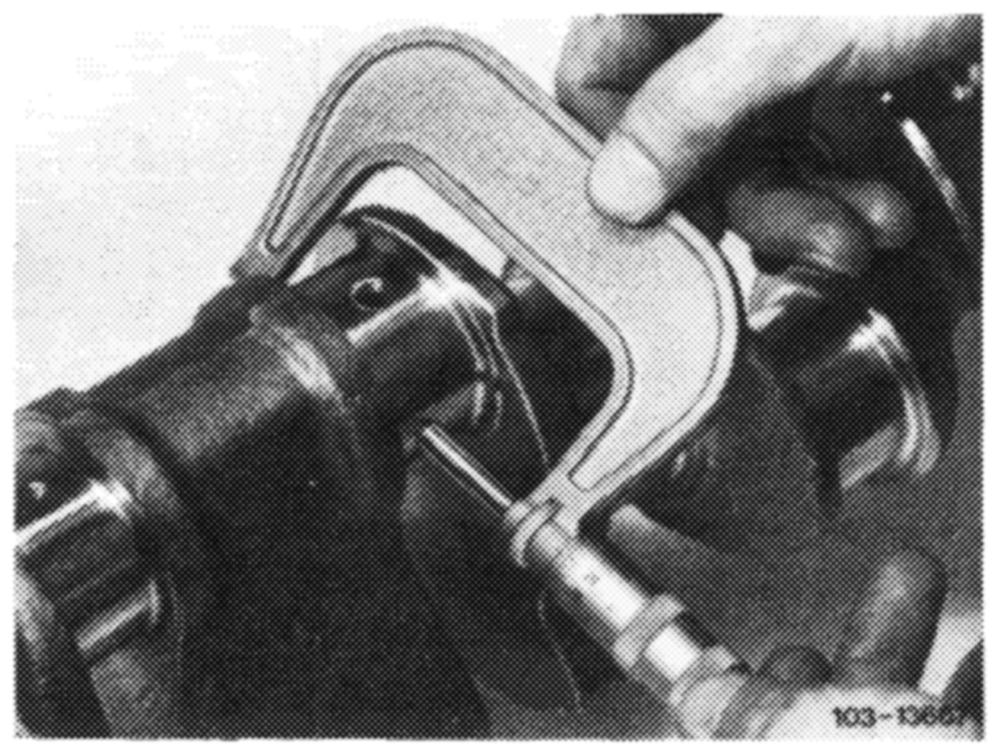
21 Measure bearing dia. and write down.
22 Measure connecting rod bearing journal, find connecting rod bearing radial play.
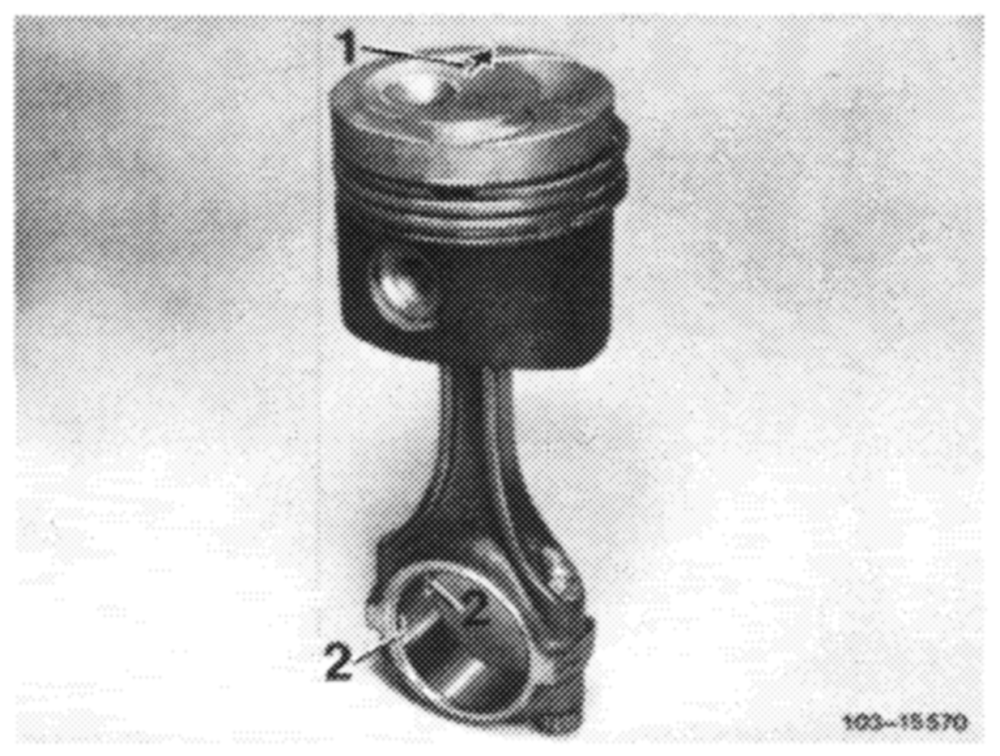
Note: The bearing play can be corrected by exchanging bearing shells, while trying for mean value of specified bearing play. Connecting rod bearing shells without color coding are thicker than those with blue color coding, while taking into account that the wall thicknesses without color coding and those with color coding may overlap.
23 Mount piston on connecting rod (03-316).
24 Provide bearing shells, crankshaft, piston and cylinder walls with engine oil, install connecting rod with piston (03-316).
Pay attention to identification.
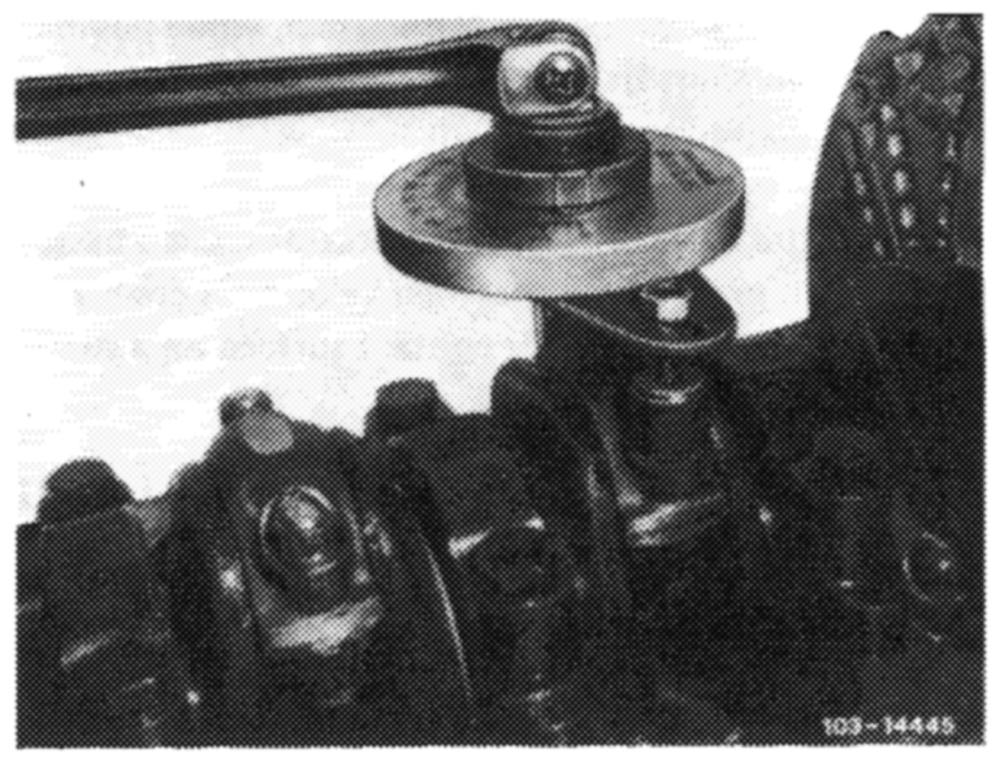
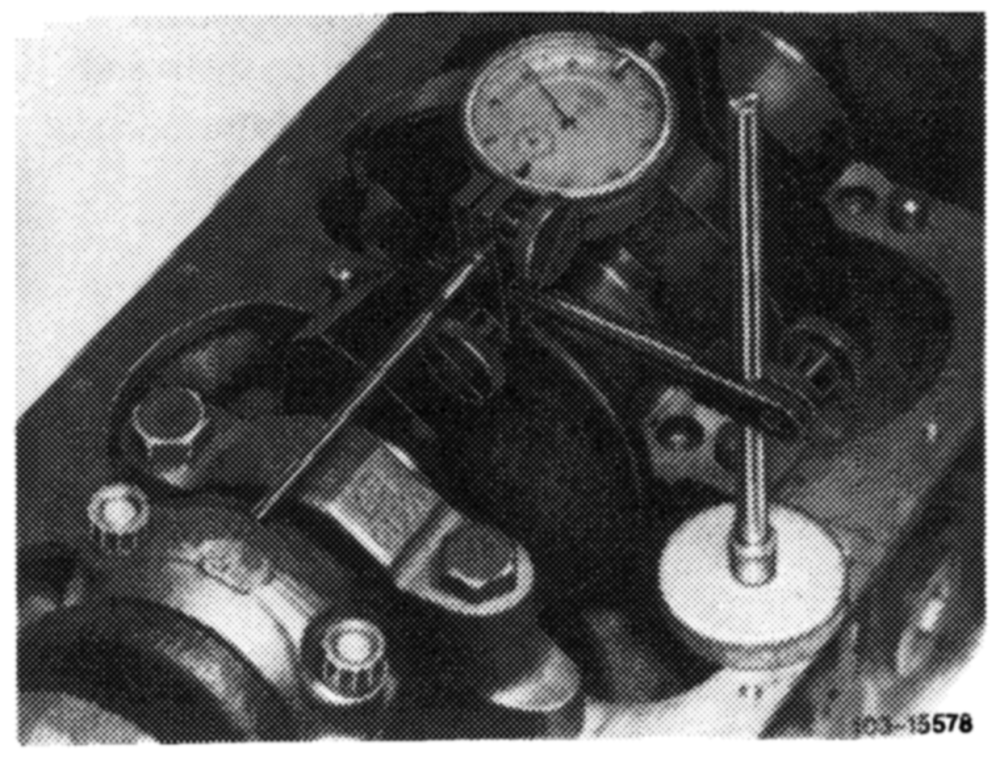
26 Measure connecting rod bearing end play. Check connecting rod for easy operation in piston.
Attention! Disassemble and clean oil pump and renew, if required. Renew oil pressure relief valve, disassemble oil filter and clean. Carefully clean air-oil cooler. Clean oil spray nozzles (18–040).
Install initial operation oil filter element. Change engine oil and oil filter element after 1000–1500 km.
Crankshaft and bearing shells
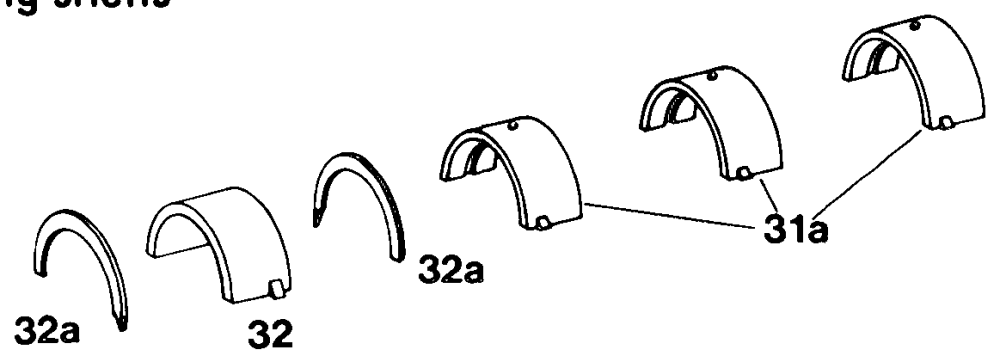
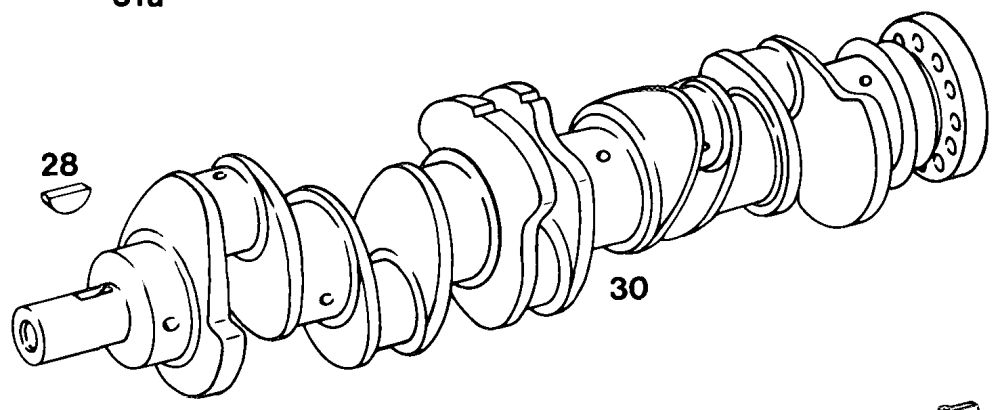
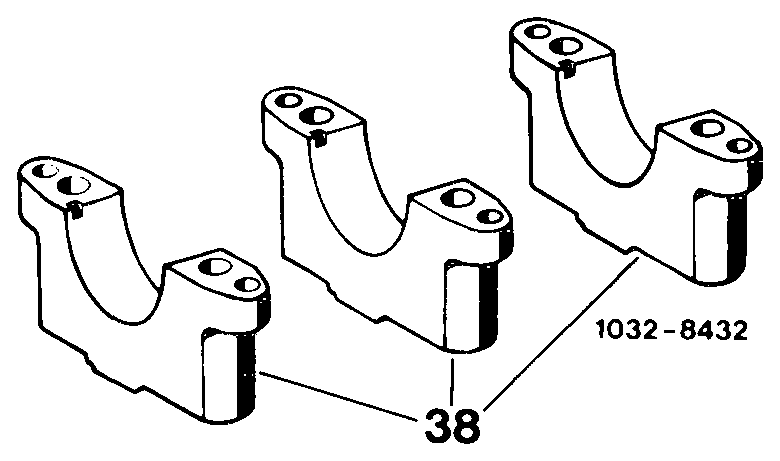
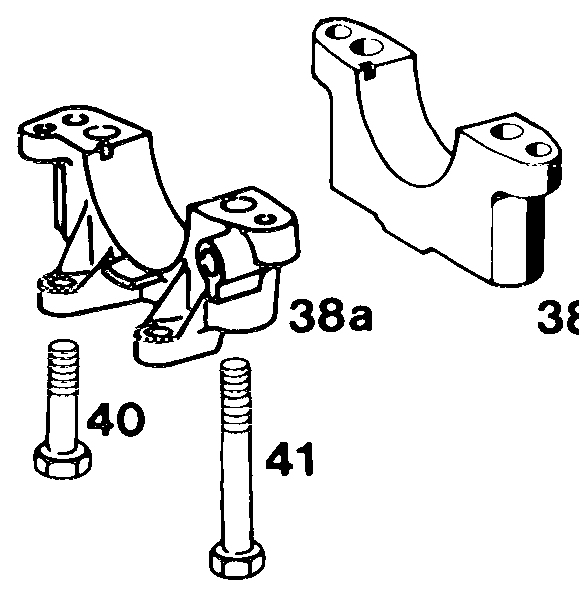
28 Woodruff key 36 6 Cylinder pins 10m 6 x 16
30 Crankshaft 37. 6 Cylinder pins 8m 6 x 16 31a Bearing shells upper halves 38 Camshaft bearing cap 31b Bearing shells lower halves 38a Camshaft bearing cap no. 1
32 Bearing shells (fitted bearing) 39 Camshaft bearing cap (fitted bearing) 32a Thrust washers upper halves 40 BoltM8x 25 32b Thrust washers lower halves 41 12 boltsM 12×75