Removing and installing overflow reservoir
WIS 20-4540
Operation no. of operation texts and work units or standard texts and flat rates
A. Model 124
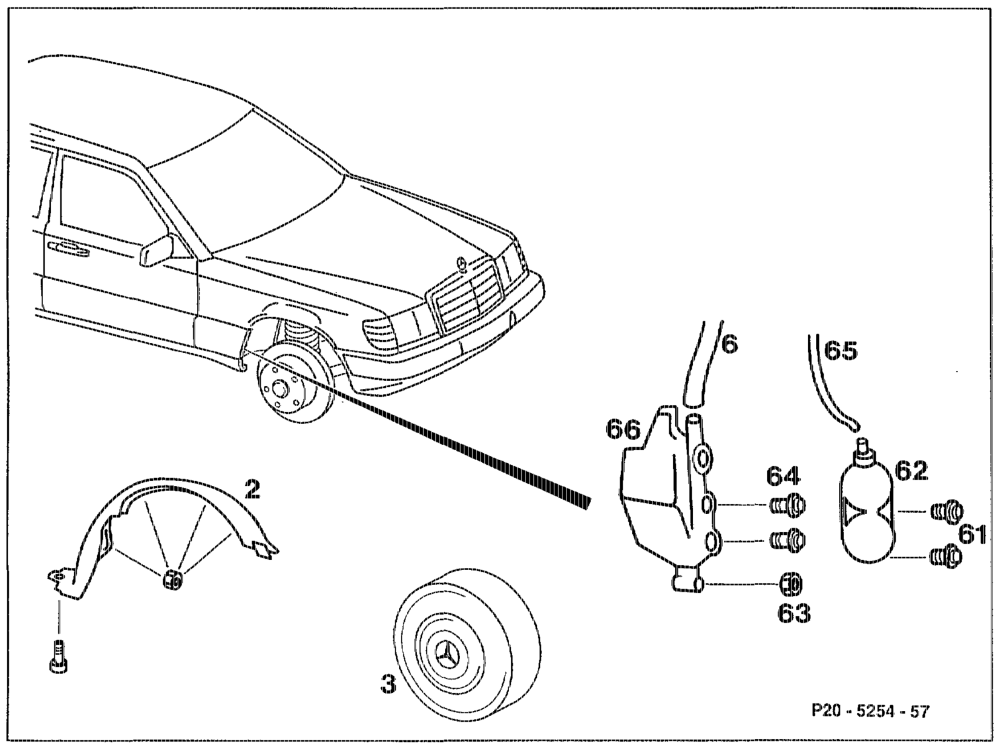
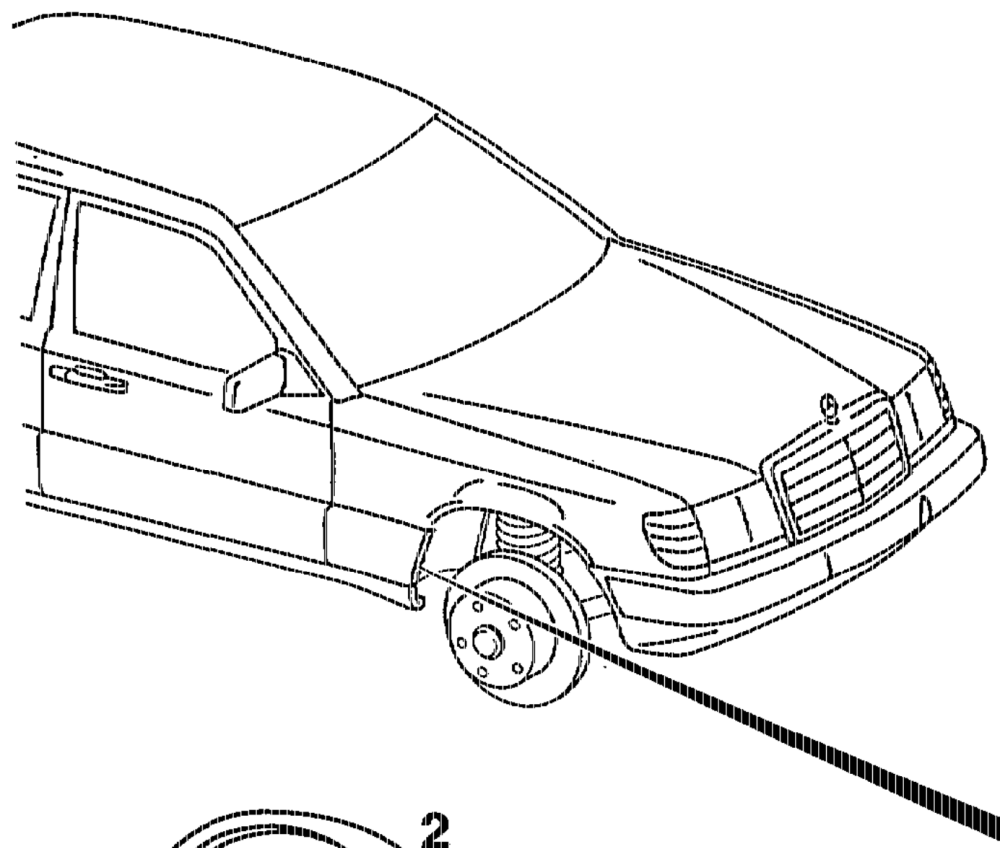
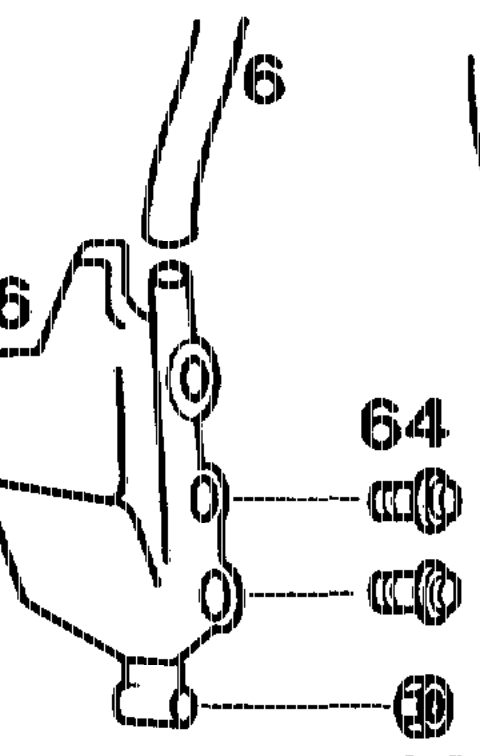
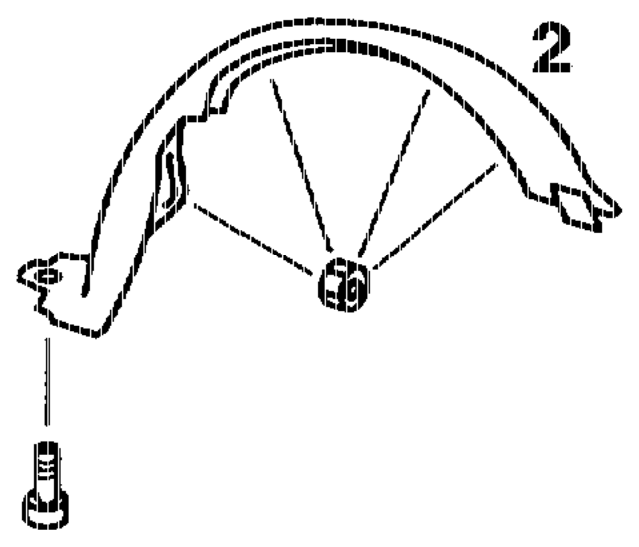
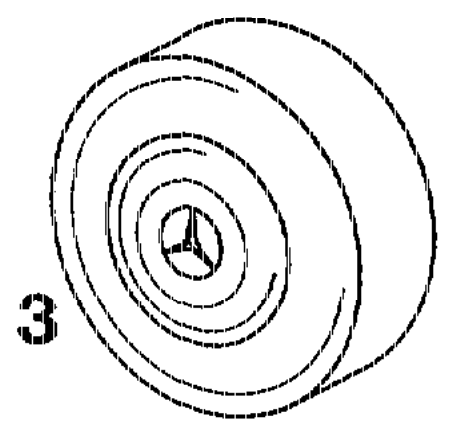
Front right wheel (3) 20… ee eee eee ee take off, fit on. Partition panel (2) below front fender ……… remove, install. Bolts (61)… cee eee eee eee eee unscrew, screw on. Vacuum hose (65) 2… ee ee eee detach, fit on. Vacuum reservoir (62)… 6. ee ee ee eee remove, install. Nut (63) and bolts (64) 2… ee ee unscrew, screw on. Coolant hose (66) 21… ee ee eee detach, fit on. Overflow reservoir (6) 2… ee ee eee remove, install.
thin RA 20,1922-4540/1
B. Model 129
Operation no. of operation texts and work units or standard texts and flat rates
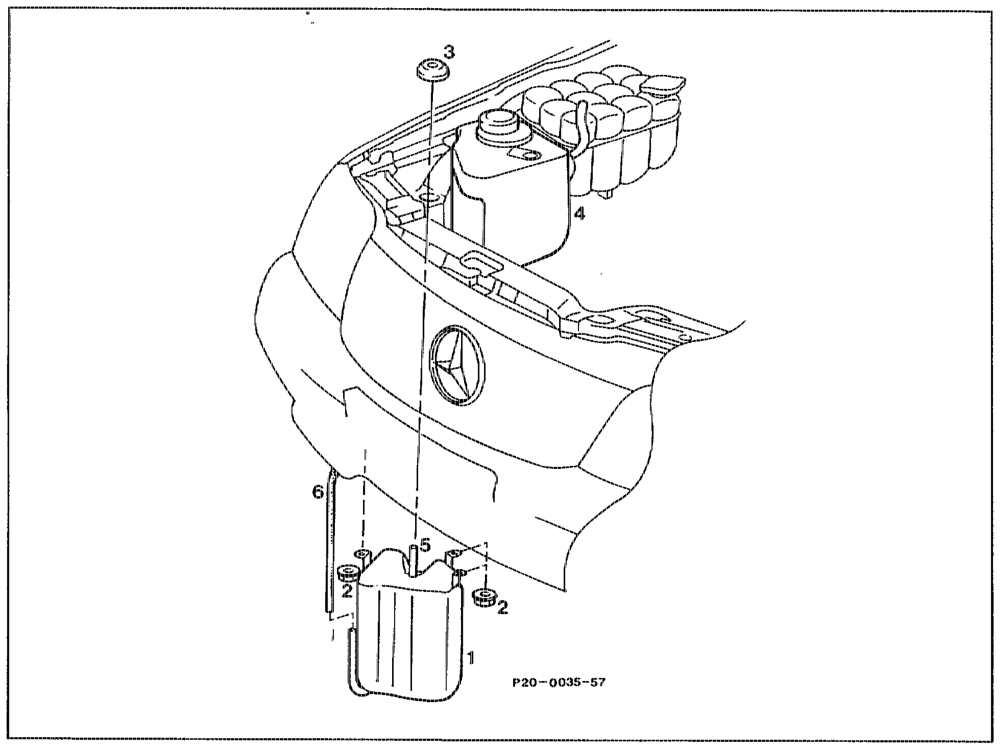
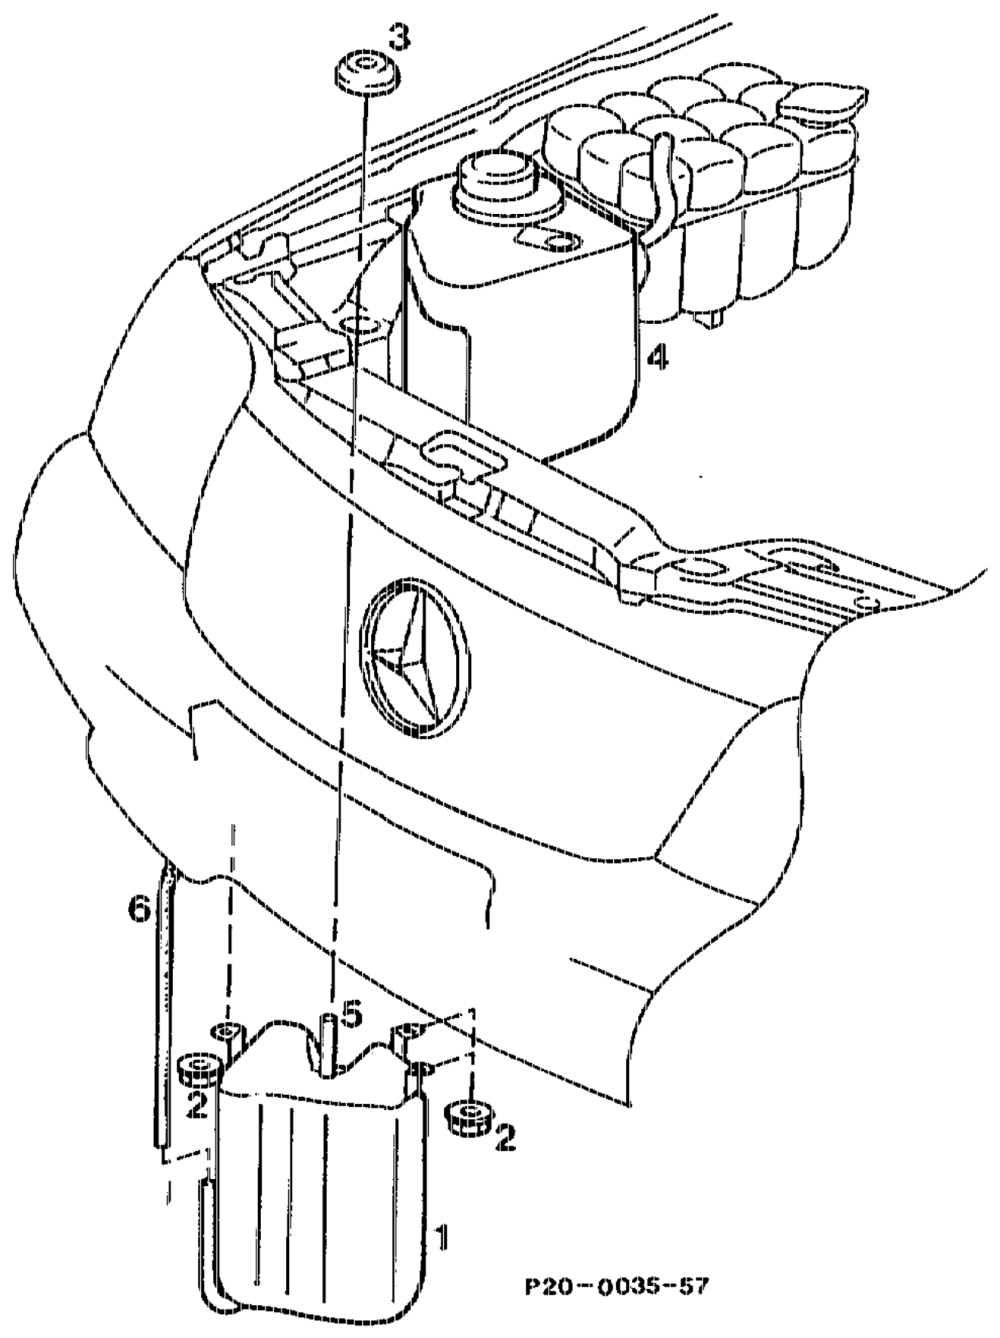
Car ….. se ee ee ee eee cane drive onto lift platform or over inspection pit. Overflow line (6) of overflow reservoir (1) …… detach, install. Nuts (2) 2… ce cc ee ee ee we ee seen unscrew from below, screw on. Overflow reservoir (1) ……0..00.. Lee eens take off downward, install.
A When removing overflow reservoir (1), protective cap (3) of air admission connection (5) remains next to splash water reservoir (4). Protective cap (3) 6… cc ee eee ee must be re-fitted when installing.
anti RA 20.1322-4540/2
Cc. Model 140
Operation no. of operation texts and work units or standard texts and flat rates
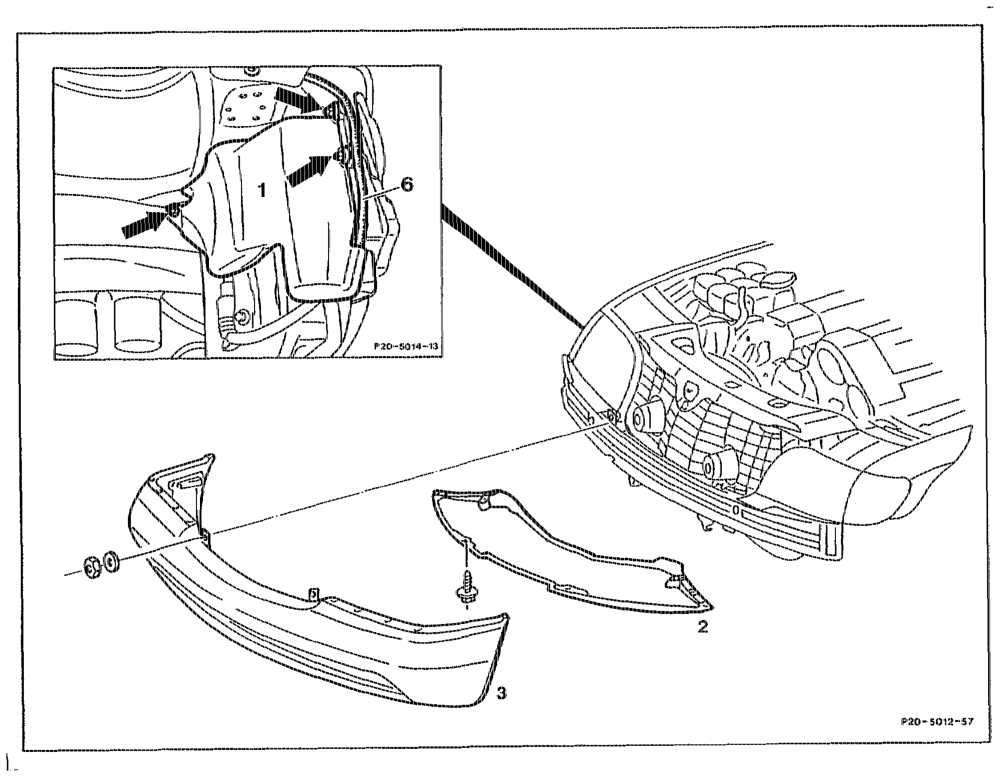
MAL cc eee eee tee eee drive onto lift platform or over inspection pit. Front engine compartment panel (2) at bottom… remove, install. Front bumper (38)… eee eee eee ee eee remove, install (88-2000). Overflow line (6) of overflow reservoir (1) «2+… detach, attach. Nuts (arrows) wee weet ewe ee ene unscrew, screw on. Overflow reservoir (1)… ee eee eee take off, install.
aga RA 20.1922-4540/3