Removing and installing overflow tank
WIS 20-4540
Operation no. of operation texts and work units or standard tcats and flat rates
A. Models 124, 126, 201
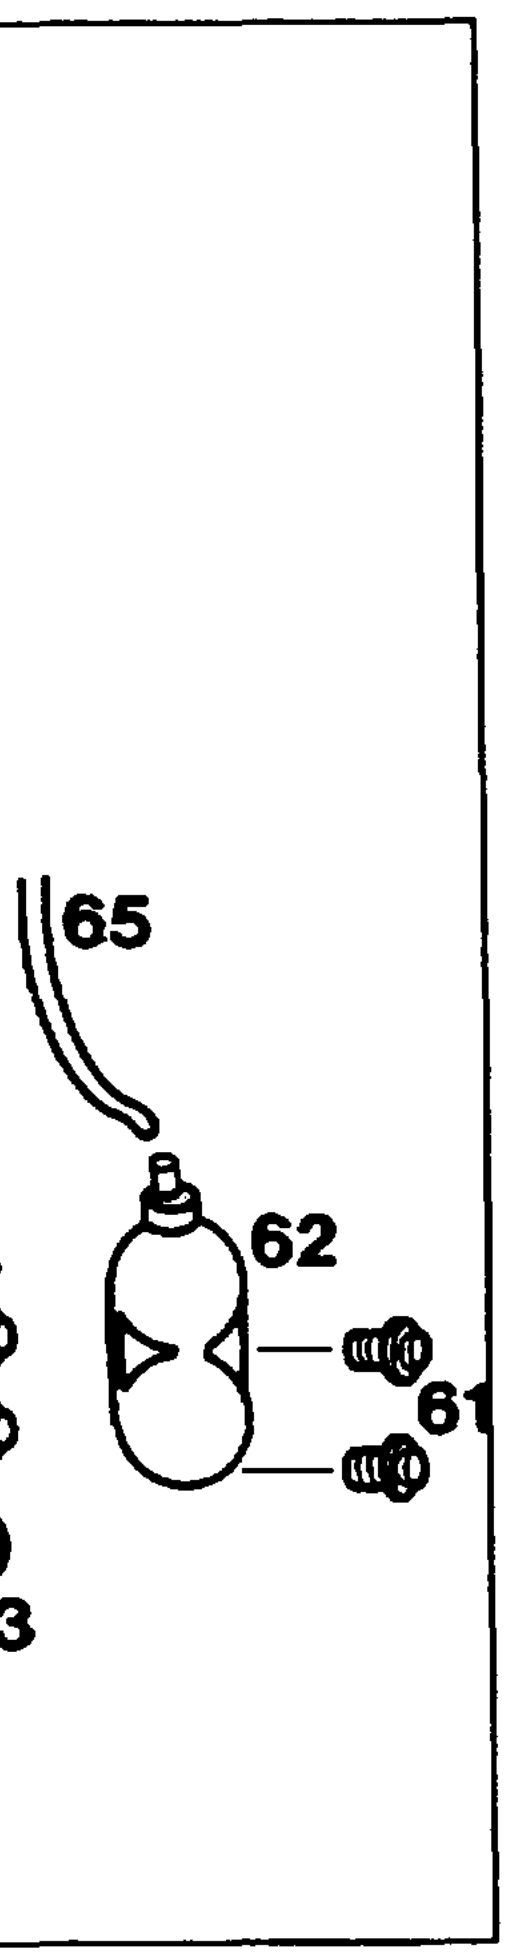
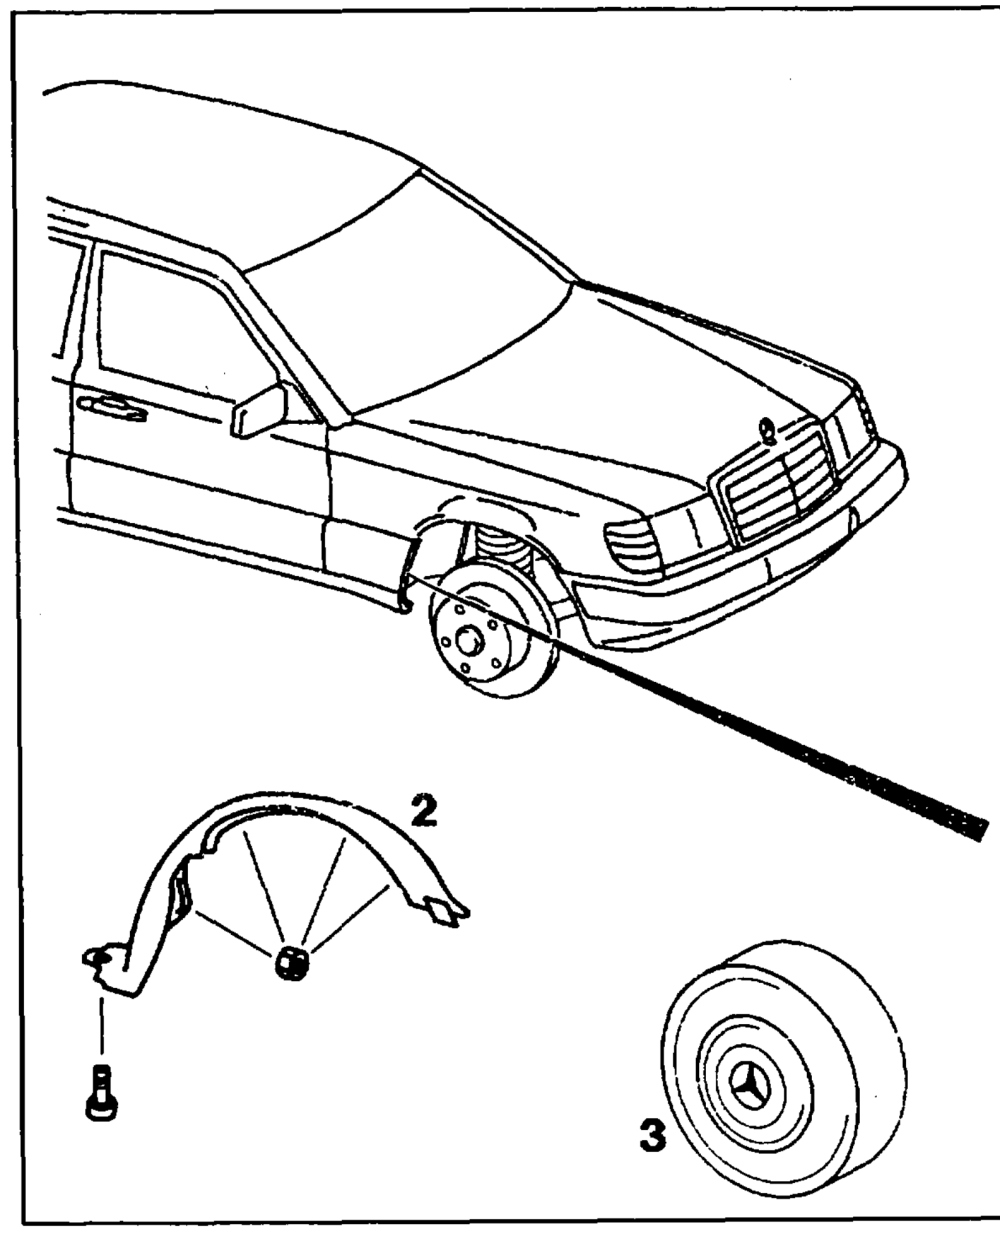
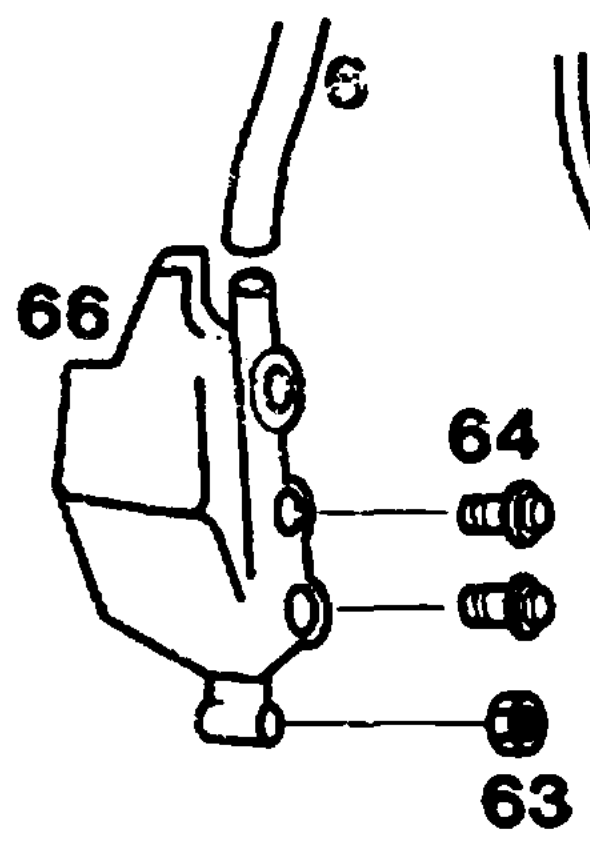
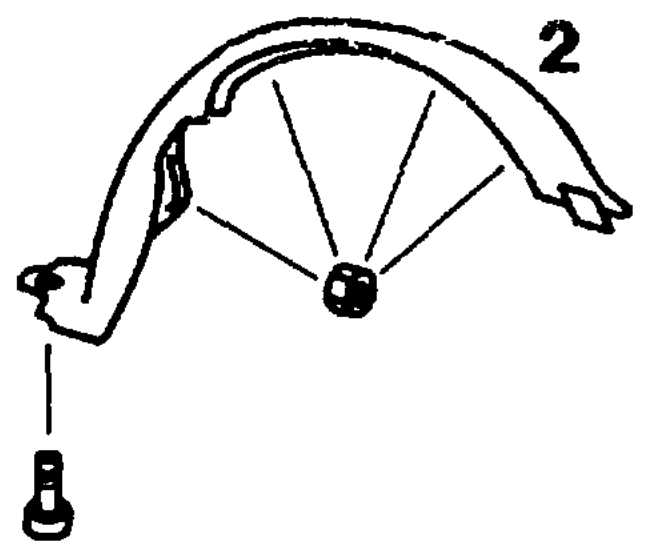
P20-5254–57
Shown on model 124
Front right wheel (3) ………….0.2.0000. take off, fit on Partition (2) below front right wheelhouse …… remove, install Bolts (61) 2.2… 2 eee eee ee ee eee unscrew, screw on Vacuum hose (65) …………….000 02s detach, fit on Model 124: vacuum reservoir (62) ……….. remove, install Nut (63) and bolts (64) …………….0-. unscrew, screw on Coolant hose (6) …………..002200 eee detach, fit on Overflow tank (66) …………—.-00000remove, install
ui RA 20. 1133-4540/1
B. Model 129
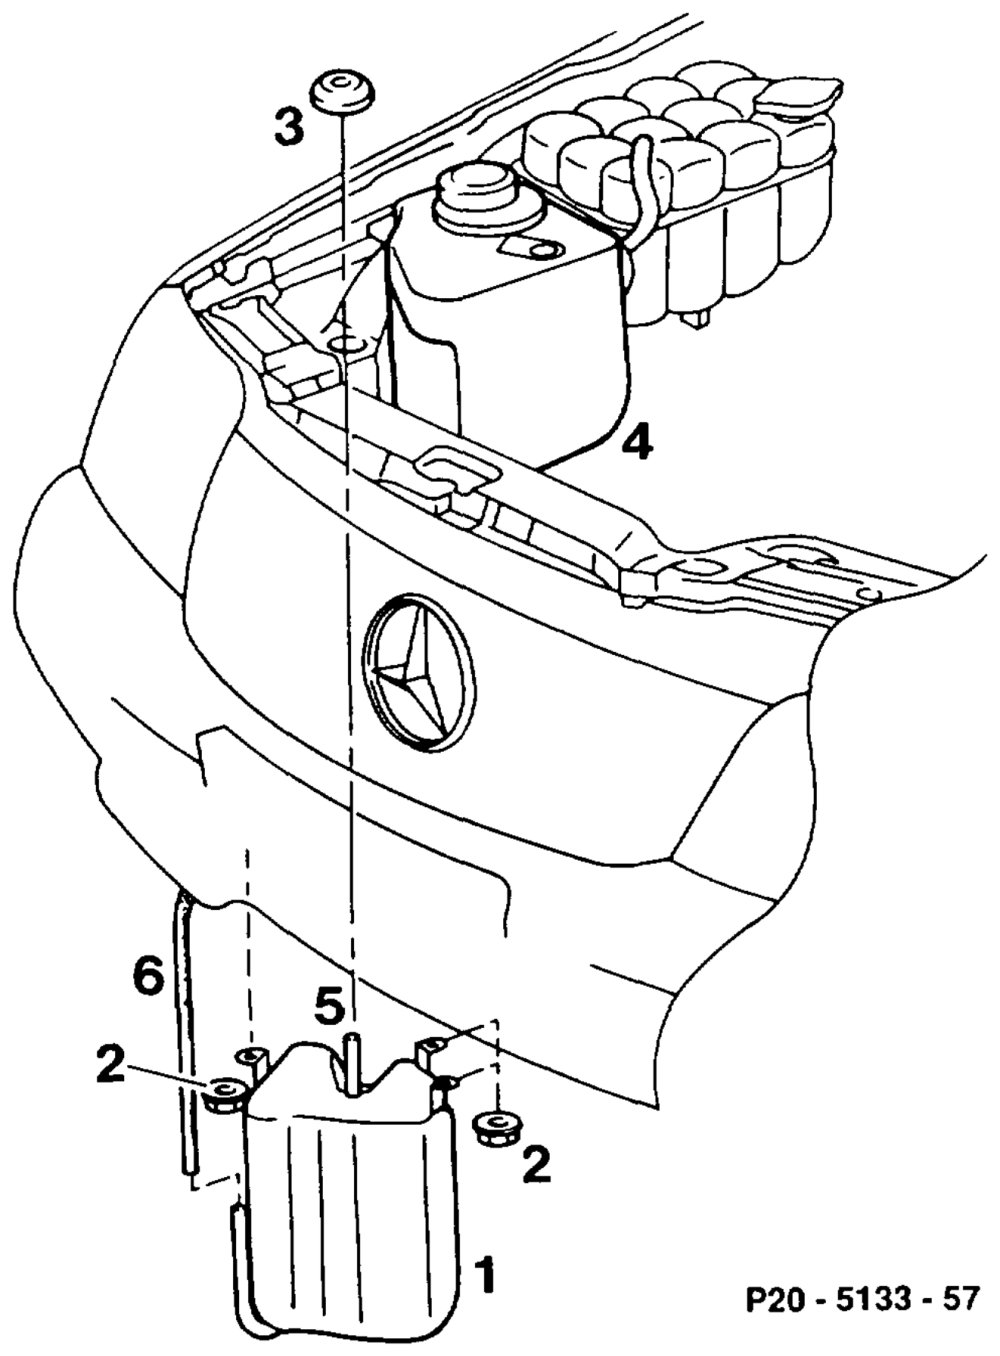
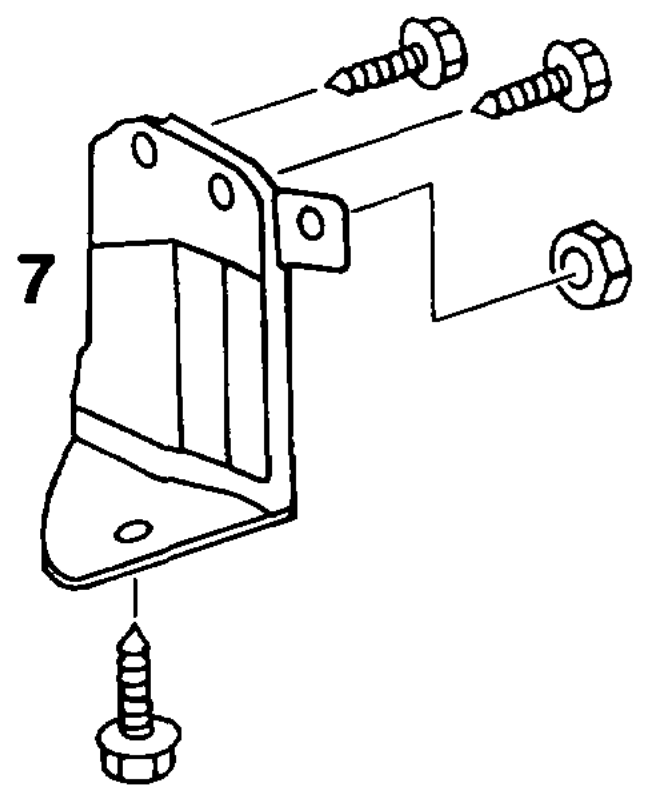
Vehicle 2.6… eee eee drive onto platform or over inspection pit. remove, install. Front right trim (7) 2… eee ee eee eee detach from overflow tank, fit on. Coolant hose (6) ………-.-.—-5-
AN When removing the overflow tank (1), protective cap (3) of air intake connection (5) remains positioned next to windscreen washer reservoir (4). fit on. Protective cap (3)… eee eee eee eee
aie RA 20.1133-4540/2