Removing and installing crankshaft
WIS 03-1800
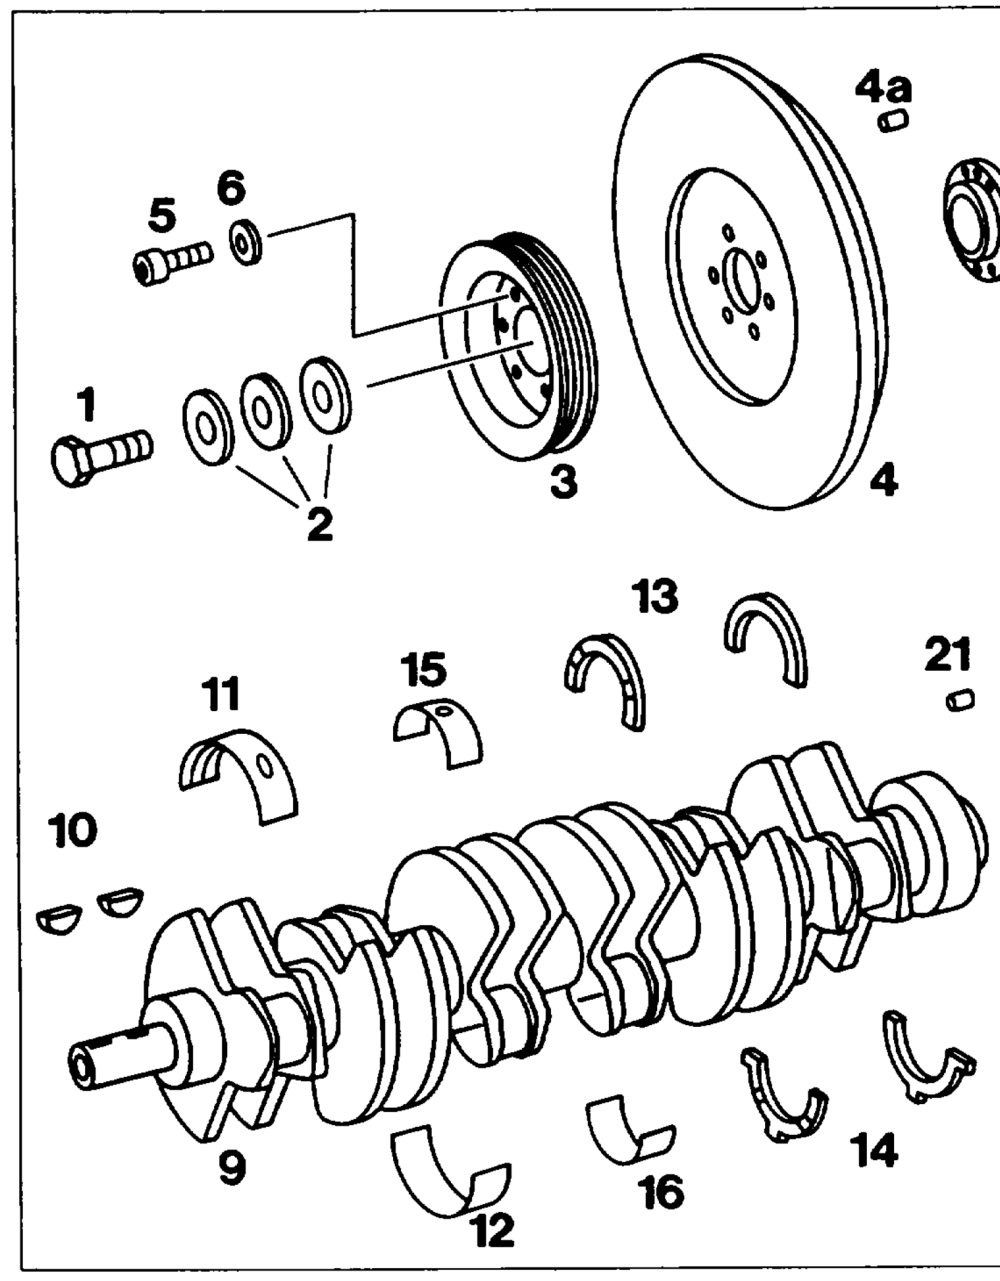
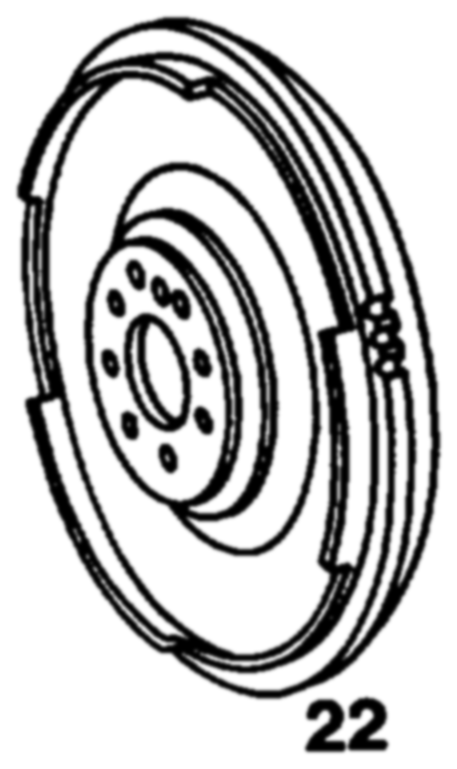
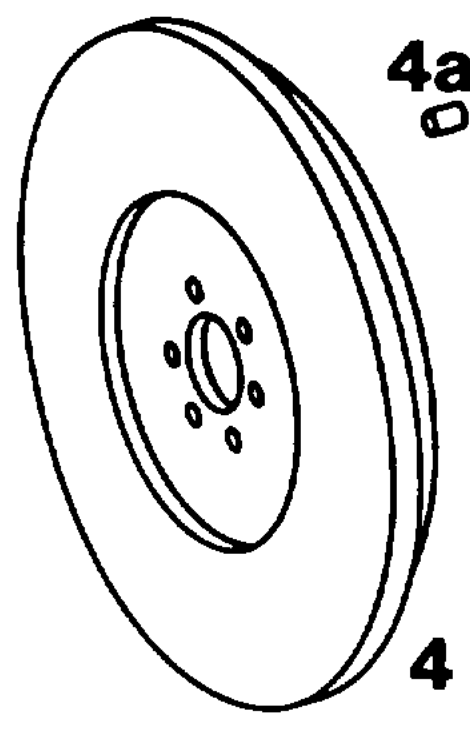
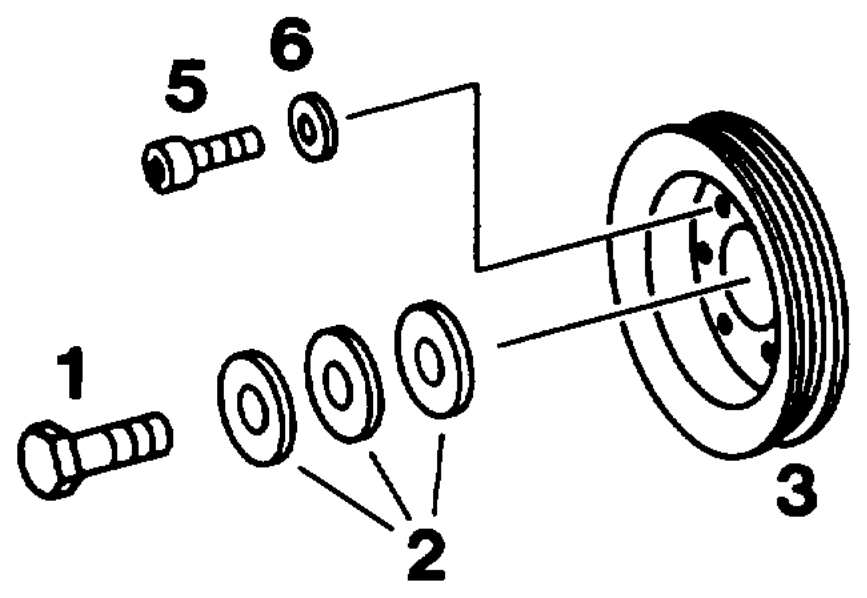
Preceding work: Engine removed (01-0300). Oil pump removed (18-2100). End cover removed (01-2220). Tensioning rail removed (05-3300). Guide rail removed (05-3350).
P03 – 5180 – 57
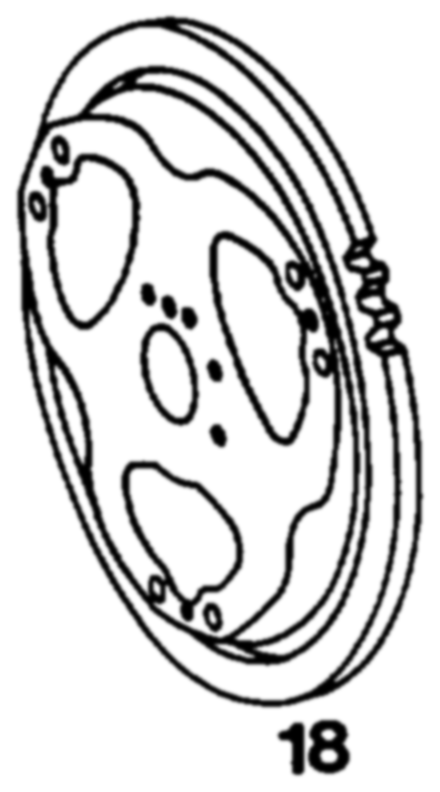
M18 x 1.545 mm bolt Thrust washers, bearing cap 5 OBNAAE EON = 14 Dished washers (3 ea.) Conrod bearing sheil in conrod 15 Belt pulley Conrod bearing shell in conrod bearing cap 16 Vibration damper 2.6 mm thick washer (glued on, automatic 17 Straight pin transmission) M8 Xx 18 screw Driven plate with ring gear (riveted, automatic 8.4 washer transmission) Hub 3.5 mm thick washer (automatic transmission) Crankshaft gear Stretch bolt for driven plates or flywheel M10 x 1x 22 (8 ea.) Crankshaft Woodruff key M10 157 (8 ea., two-mass flywheel) Crankshaft bearing shell in crankcase 21 Locating pin Crankshaft bearing shell in bearing cap Flywheel (manual transmission) 22 Crankcase thrust washers, bearing point 5
emilee §=RA 03.1123-1800/1
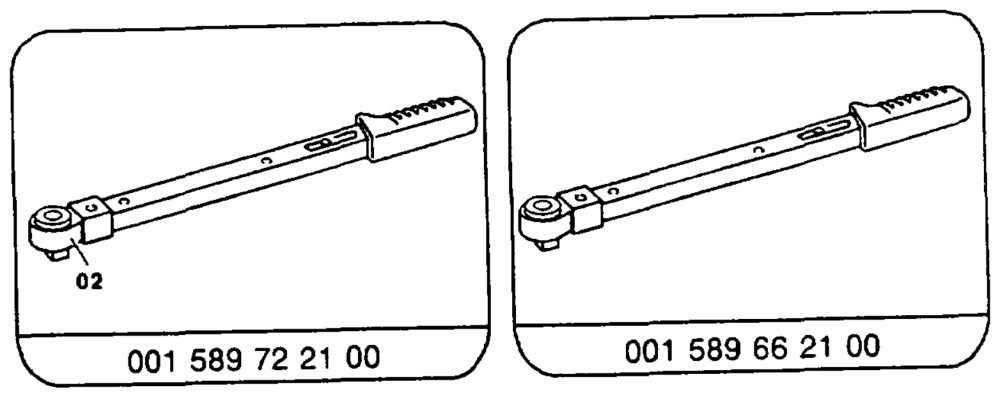
Special tools
Note
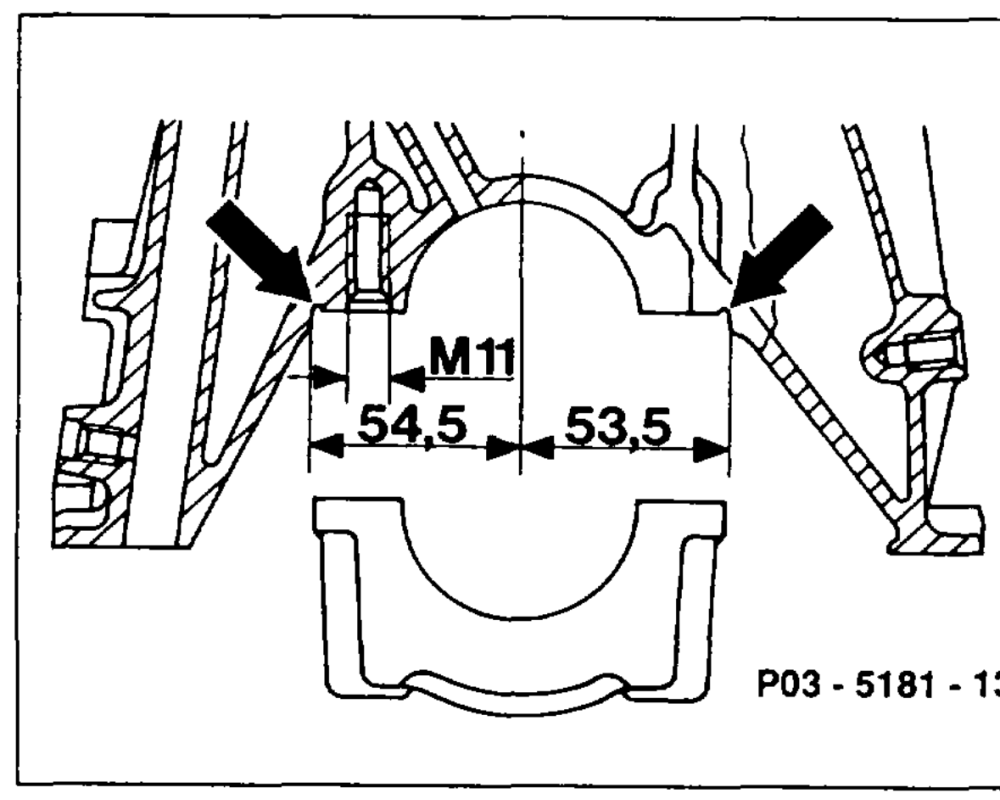
The 7 crankshaft bearing caps are fitted into the side of the crankcase (arrows). The fit is off-centered so that the bearing caps can only be installed in one position.
The crankshaft bearing caps are machined together with the crankcase.
\f bearing damage has occurred, the conrods must be removed and any chips which exist remove from the conrod bores and from the crankshaft and crankcase oil galleries.
Replace oil filter, oil cooler and oil pump, clean oil nozzle return flow lock in cylinder head.
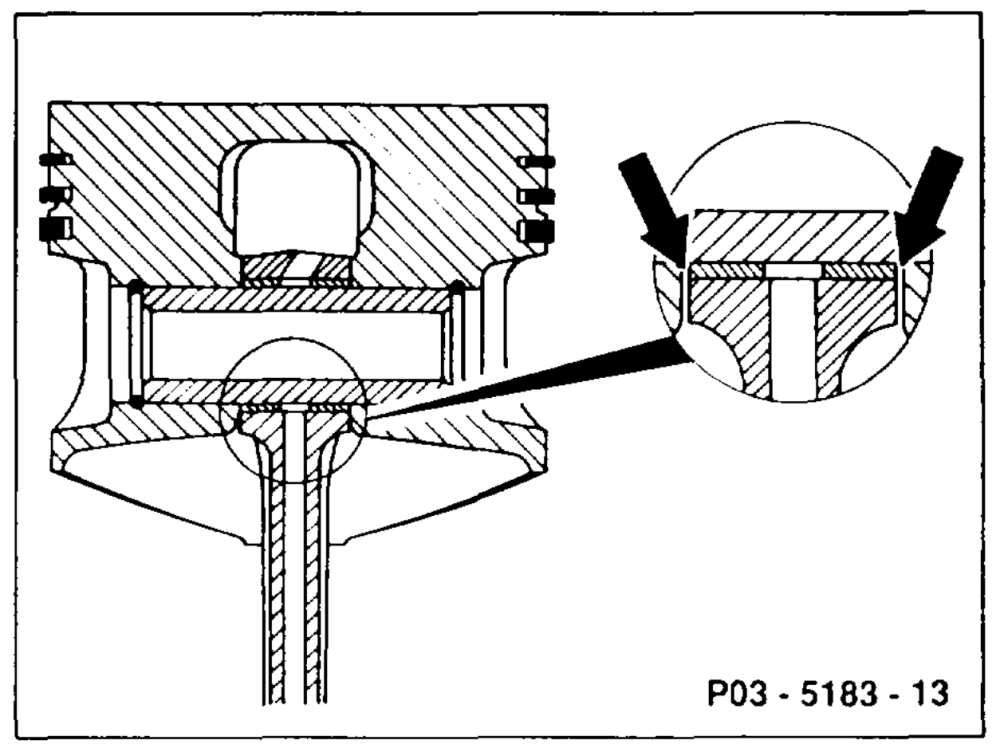
The forged conrods are guided axially in the pistons (piston-guided conrod) (arrows).
Test data
| Crankshaft bearing play | radial | 0.035 — 0.045 |
| axial | 0.10 – 0.20 | |
| Conrod bearing play | radial | 0.02 – 0.04 |
Removal, installation
1 Engine 103.984: remove oil deflector plate.
2 Unscrew conrod bearing caps, remove.
3 Unscrew crankshaft bearing caps, remove.
4 Remove crankshaft, install.
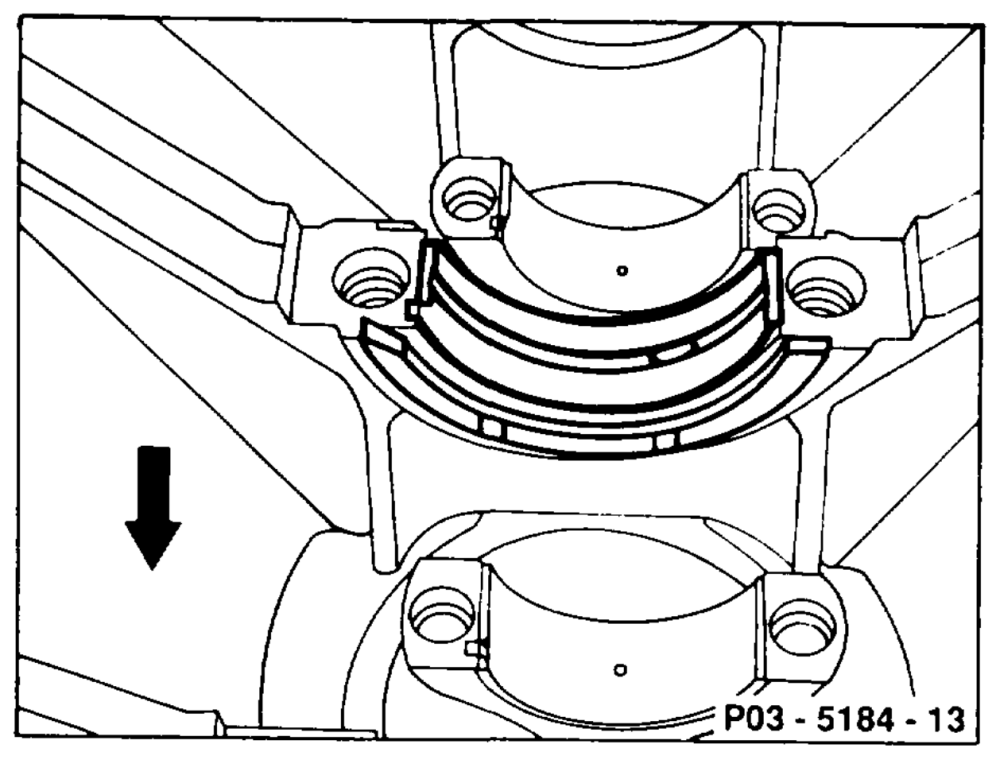
5 Install crankshaft bearing caps.
Note The crankshaft bearing shells in the crankcase have an oil groove and an oil feed drilling.
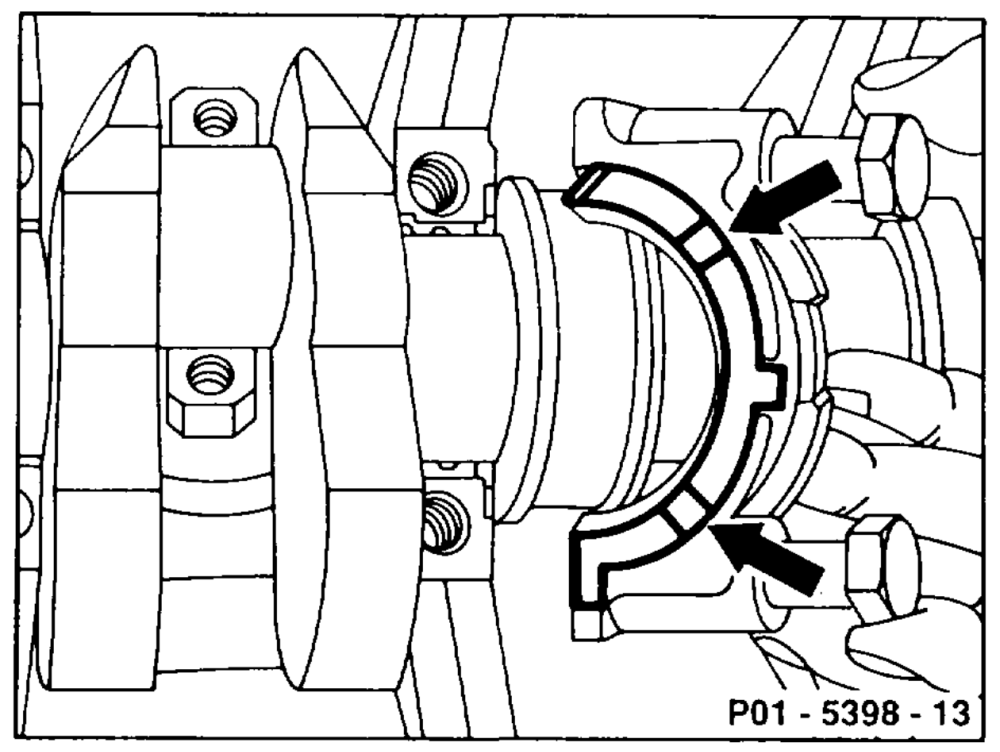
6 Install axial bearing in crankshaft bearing point 5.
Note The thrust washers in the bearing cap each have two retaining lugs as an anti-twist lock. The oil grooves (arrows) in the thrust washers must face toward the crankshaft thrust sides.
7 Oil bolt thread and bolt head contact surface.
8 Tighten bolts from inside to outside. Initial torque 55 Nm. Angle of rotation torque 90 – 100°.
aie RA 03.1123-1800/3
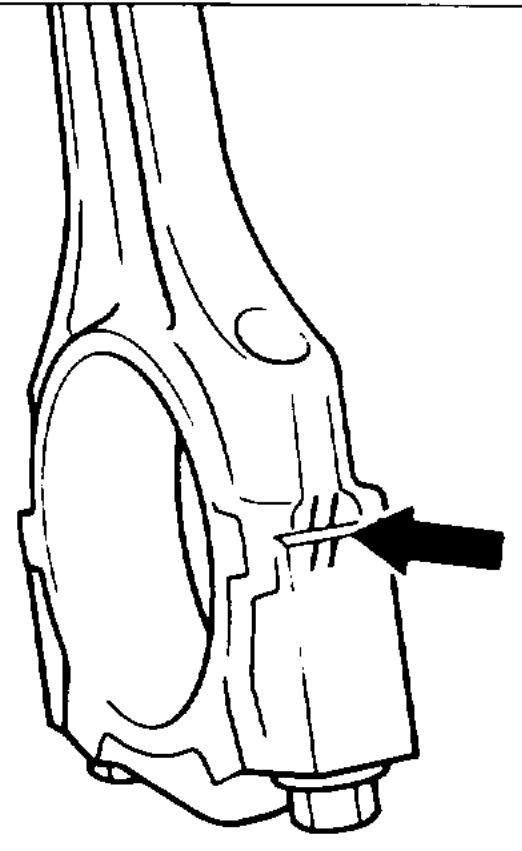
9 Coat conrod bearing sheils with engine oil —_— and install bearing caps.
A Pay attention to identification (arrow). Install the bearing shells with oil drilling in the conrod otherwise the conrod bush will not be lubricated.
10 Tighten conrod bolts (03-3100).
11 Rotate crankshaft, check clearance. PO3~- 2015-13