Replacement of timing chain
WIS 05-320
Nm (kpm)
Tightening torques
Bolts for cylinder head cover (engine 615)
5 (0.5) Nuts for cylinder head cover (engines 615, 616, 617)
15 (1.5)
Special tools
Socket 27 mm, 1/2″ drive “A to crank engine = – 001 589 65 09 00
Box wrench 20.8 mm for glow plugs – 617 589 00 03 00
Note A timing chain with a split link is available for repairs.
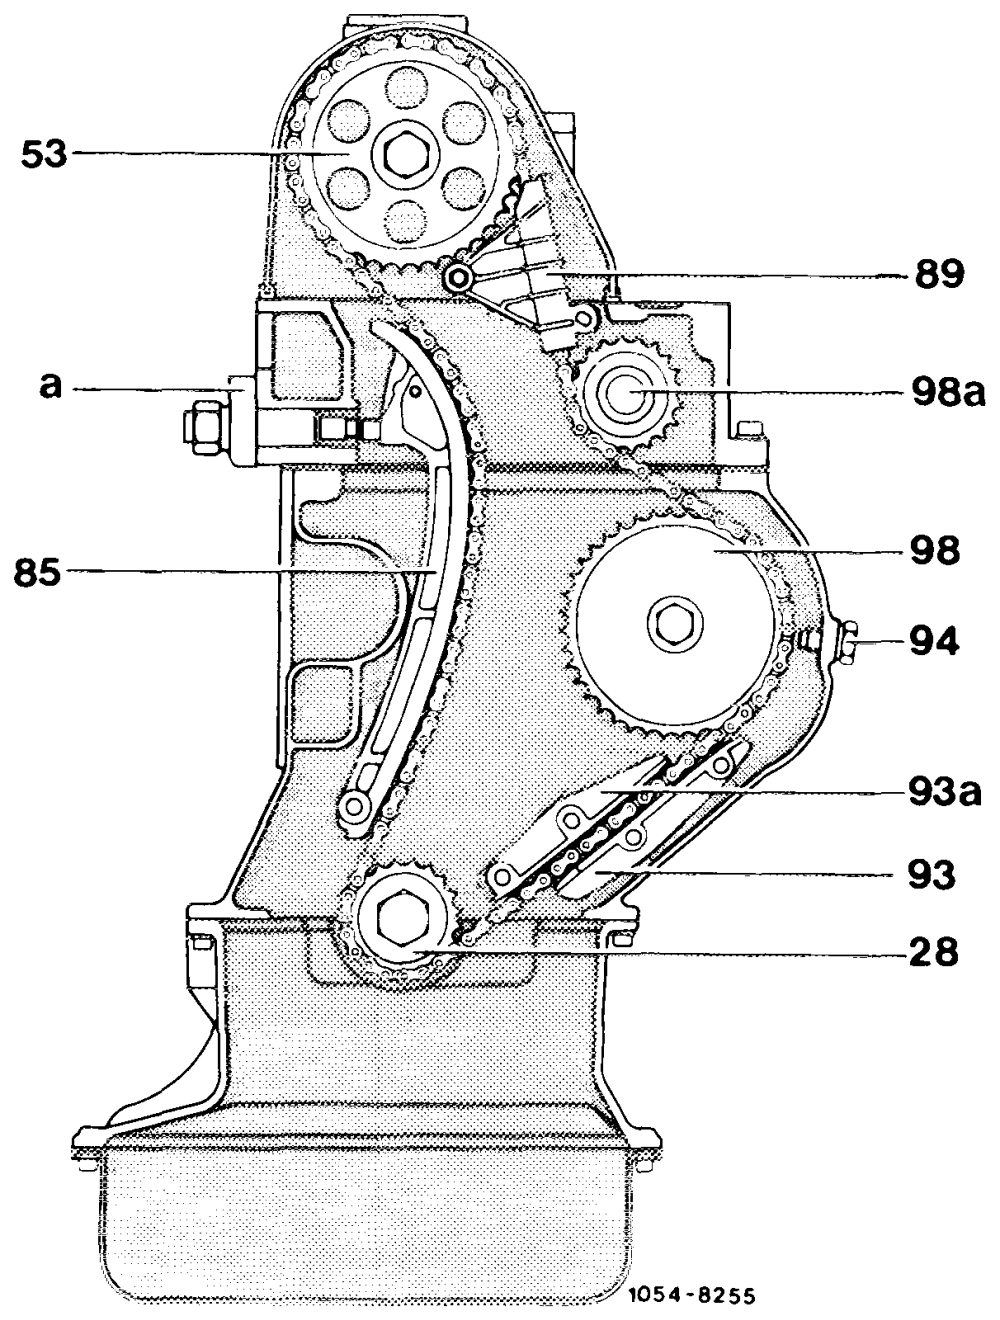
If you have only an endless timing chain you can open it prior to installation (see item 4).
For an engine overhaul, always use the endless type of timing chain.
Check sprockets for scoring and pitting.
28 Crankshaft sprocket 53 Camshaft sprocket 85 Tension rail 89 Slide rail 93 Outer slide rail 93a Inner slide rail 94 Chain retainer 98 Injection timing device 98a Idler a Chain tensioner
Replacement
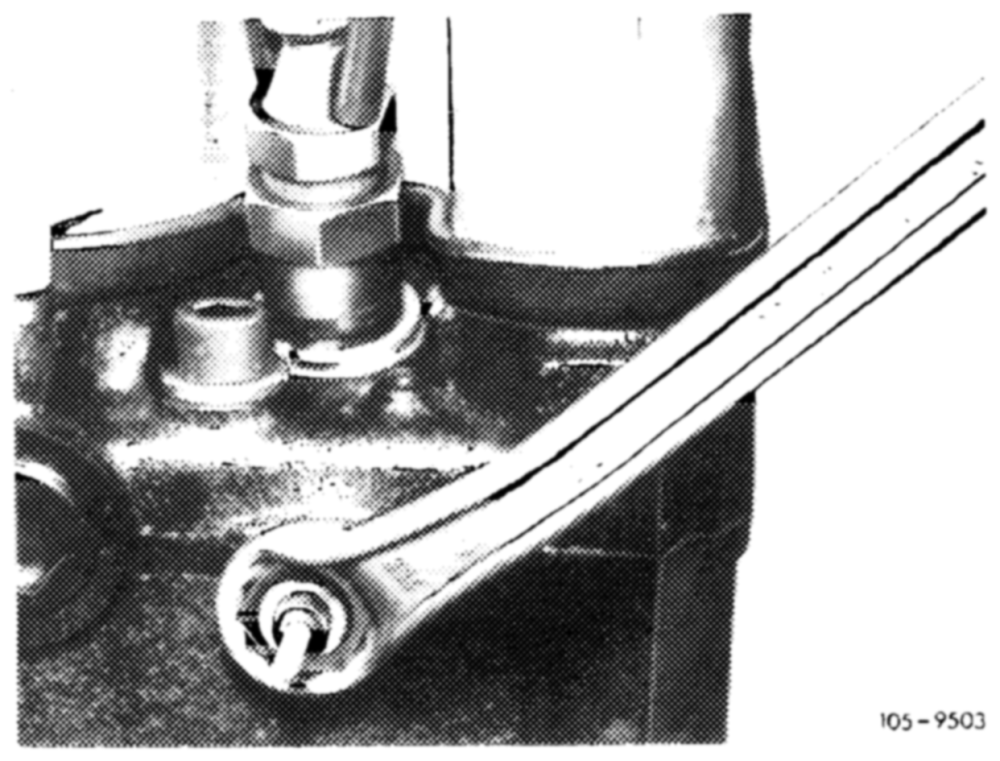
1 Unscrew glow plugs using 20.8 mm box wrench.
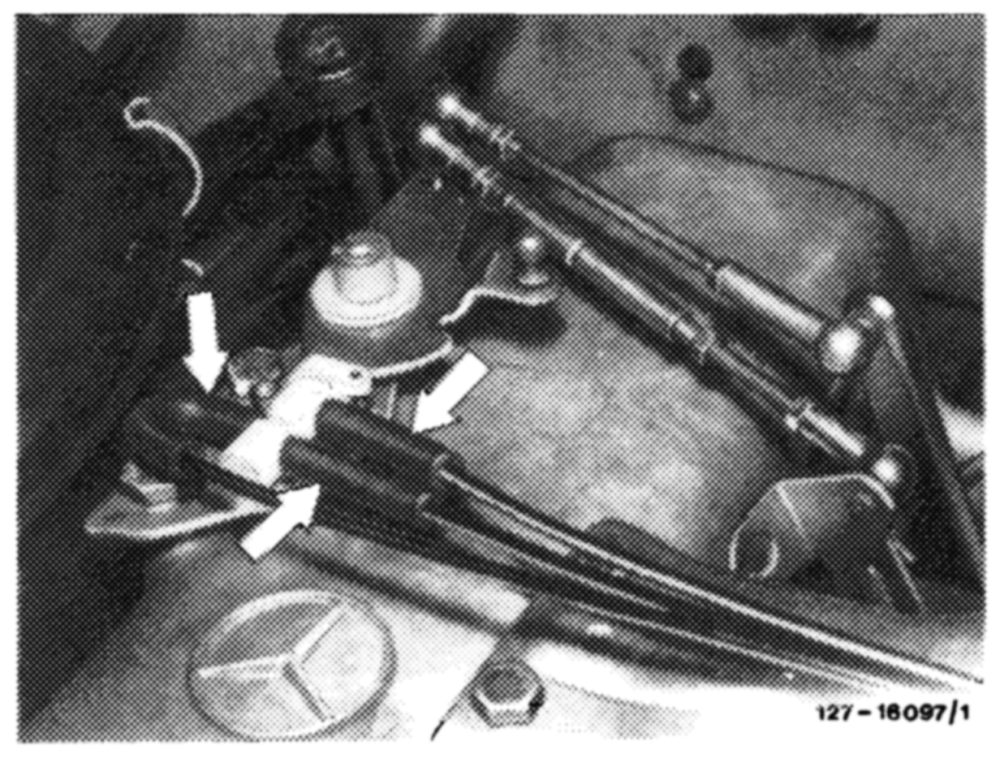
2 Remove cylinder head cover.
On vehicles with automatic transmissions and vacuumcontrolled modulating pressure, additionally detach vacuum lines at switch-over valve.
Caution: Be sure not to cross vacuum lines. The pipe unions and vacuum lines are color coded.
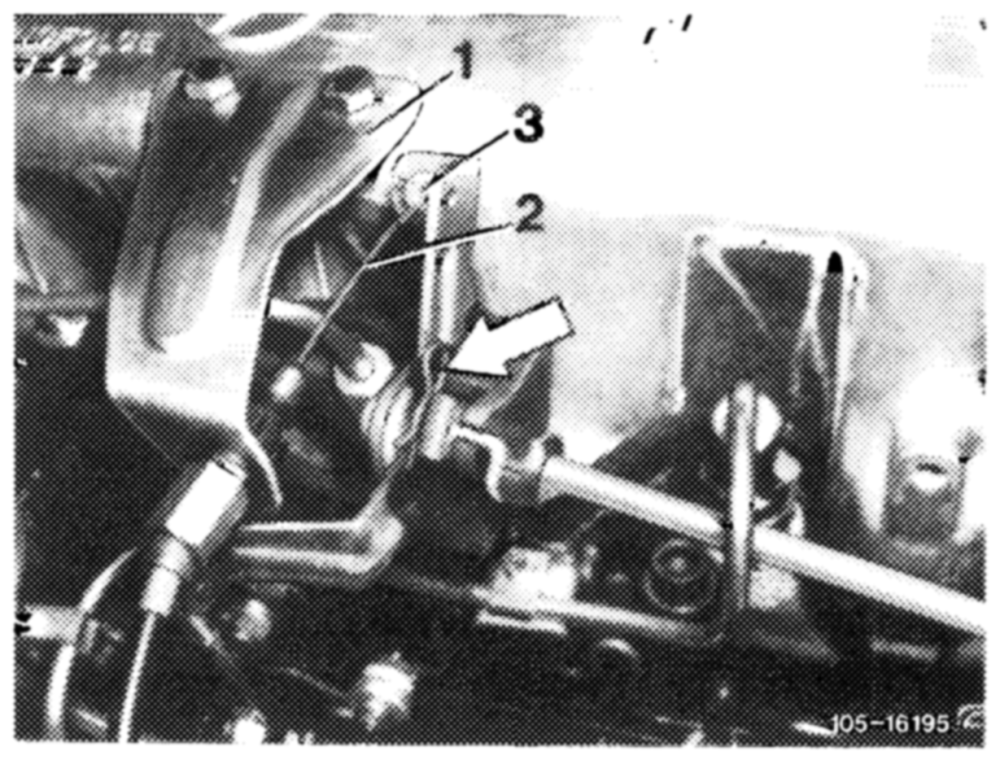
On engines with longitudinal control spindles, detach all control rods. Withdraw retainer (arrow) and force longitudinal control spindle in aft direction. Unscrew bracket (1) and unclip idle control cable (2) with plastic sleeve (3).
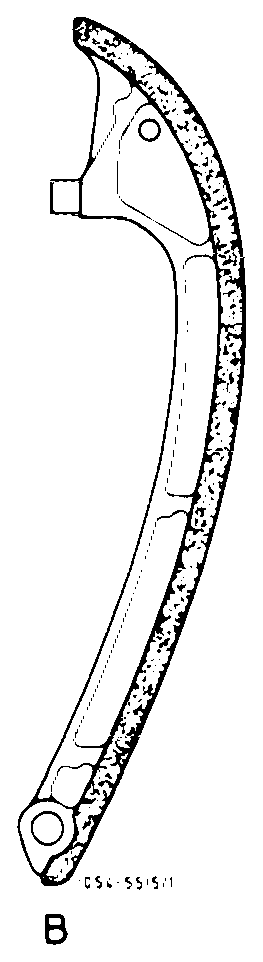
3 On engines with tension rail version (A) remove chain tensioner (O5—310).
On vehicles with air-conditioners, detach York A/C compressor together with connected lines, depositing on one side. However, first remove fan and water pump pulley, additionally removing air cleaner cover on engines with oil bath air cleaners. Drain coolant and detach thermostat body.
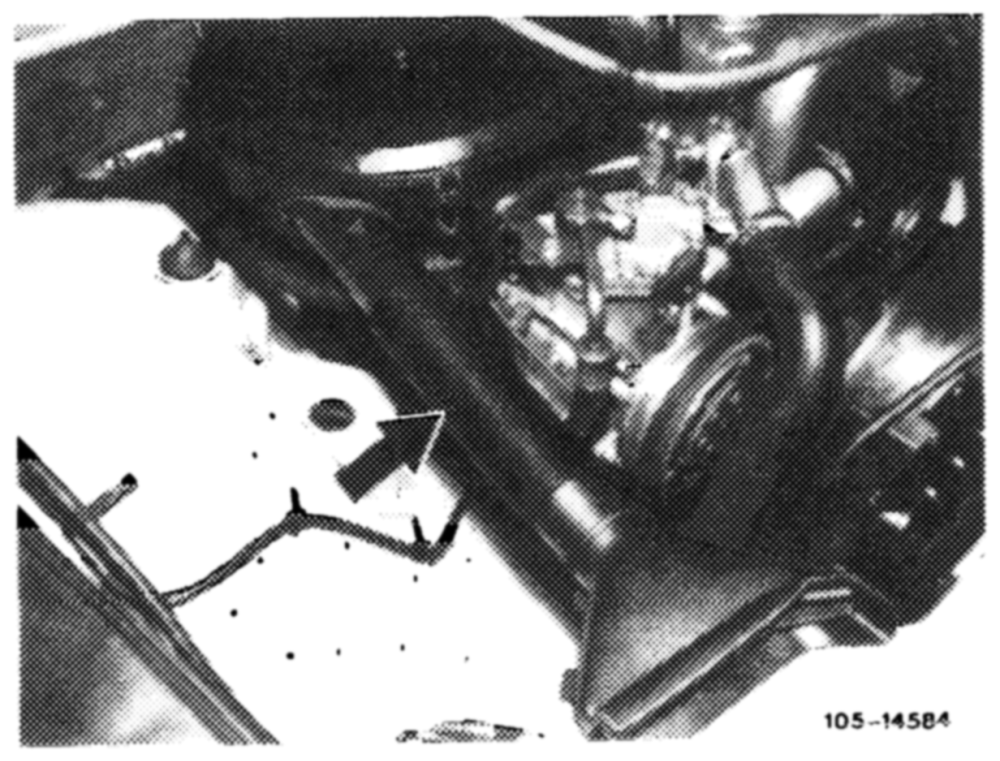
4 Onengine 617.912 remove adapter at air cleaner.
5 Cover chain guard with cloth and grind open both pins of a link in timing chain.
6 Using split link, attach new timing chain to old one, forcing out open link (illustration, job No. 8).
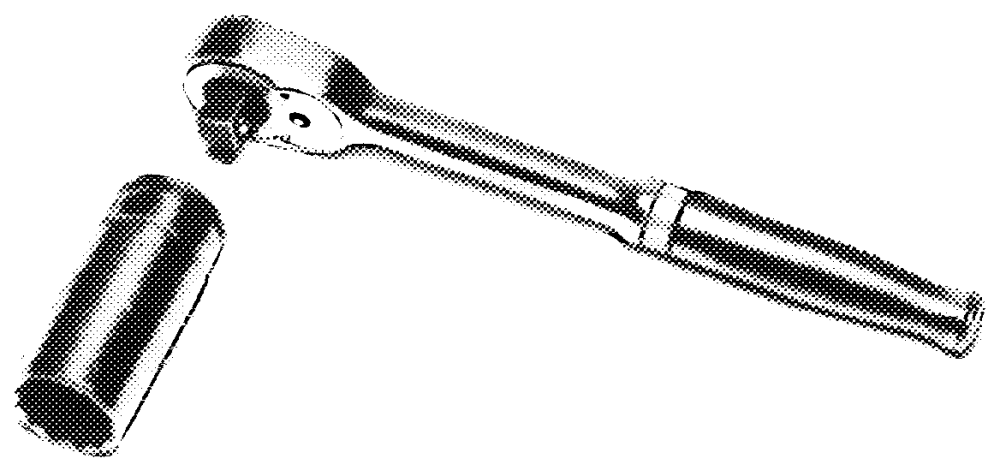
7 Using tool combination, slowly turn crankshaft in normal direction, simultaneously raising old timing chain until split link arrives at top of camshaft sprocket.
Caution: Timing chain must continue to mesh with camshaft sprocket and crankshaft sprocket.
R 100/6498
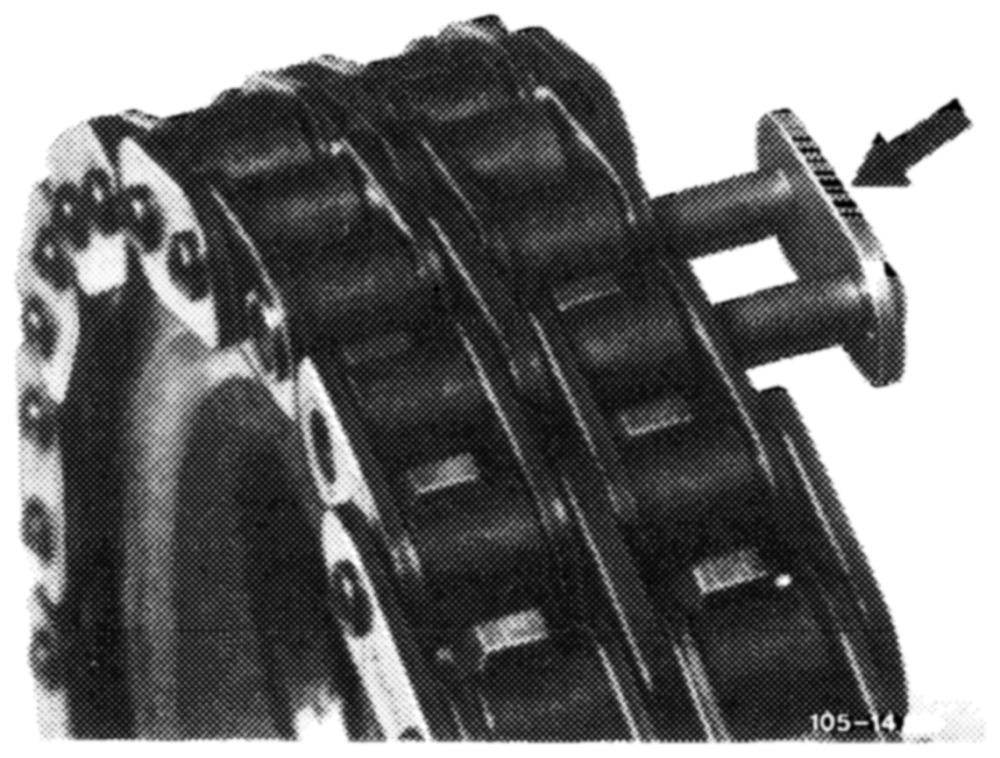
8 Detach old timing chain and connect ends of new one with split link. Fit retainers.
For this purpose hold chain ends on camshaft sprocket with a piece of wire.
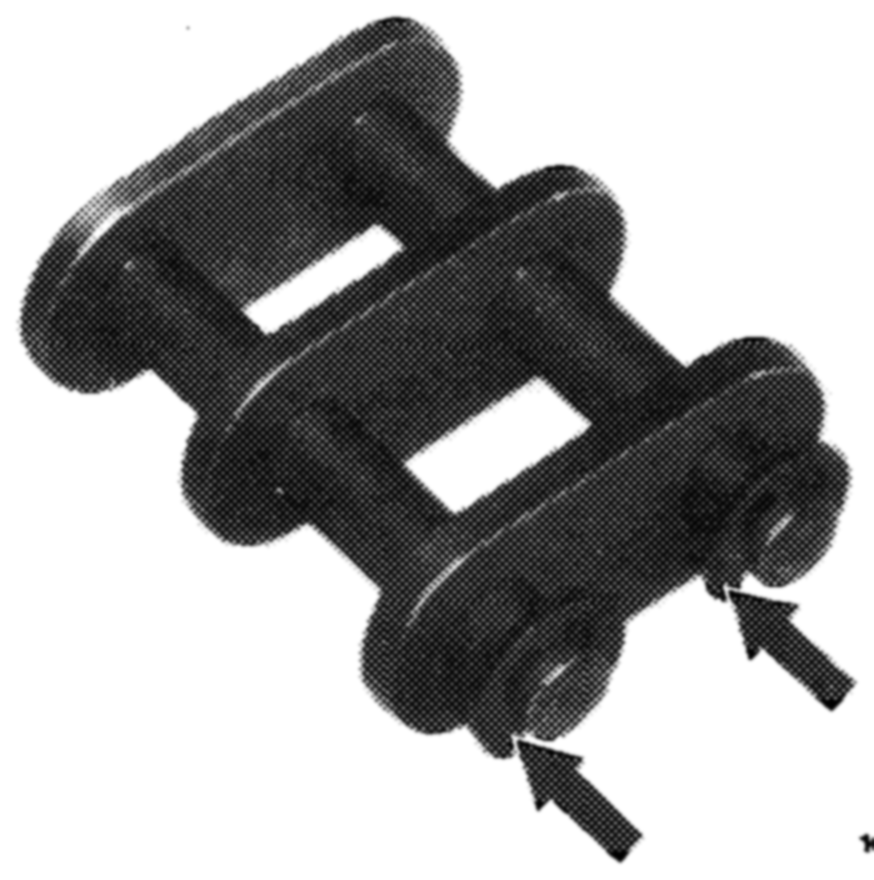
Note: Insert new split link from behind so that retainers can be seen from front (arrows).
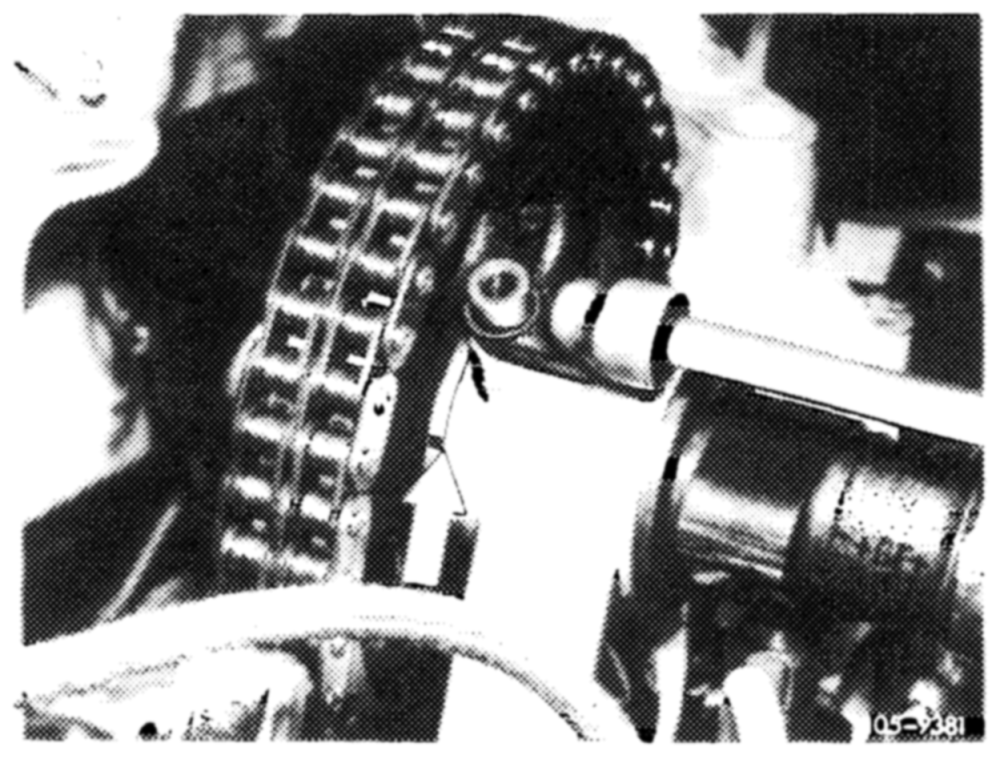
TDC.
Note: Should adjusting marks not agree it will be necessary to check camshaft timing (05–215), and start of delivery at injection pump (07–110).
10 Install chain tensioner (05—310).
11. Using 20.8 mm box wrench, insert glow plugs and then connect.
12 Fit cylinder head cover.
13 On vehicles with tension rail version (A in illustration, job No. 3) fill cooling system with coolant (20—010) and then pressure-test.