Removing and installing fuel tank
WIS 47-4100
Operation no. of operation texts and work units or standard texts and flat rates:
A. Sedan
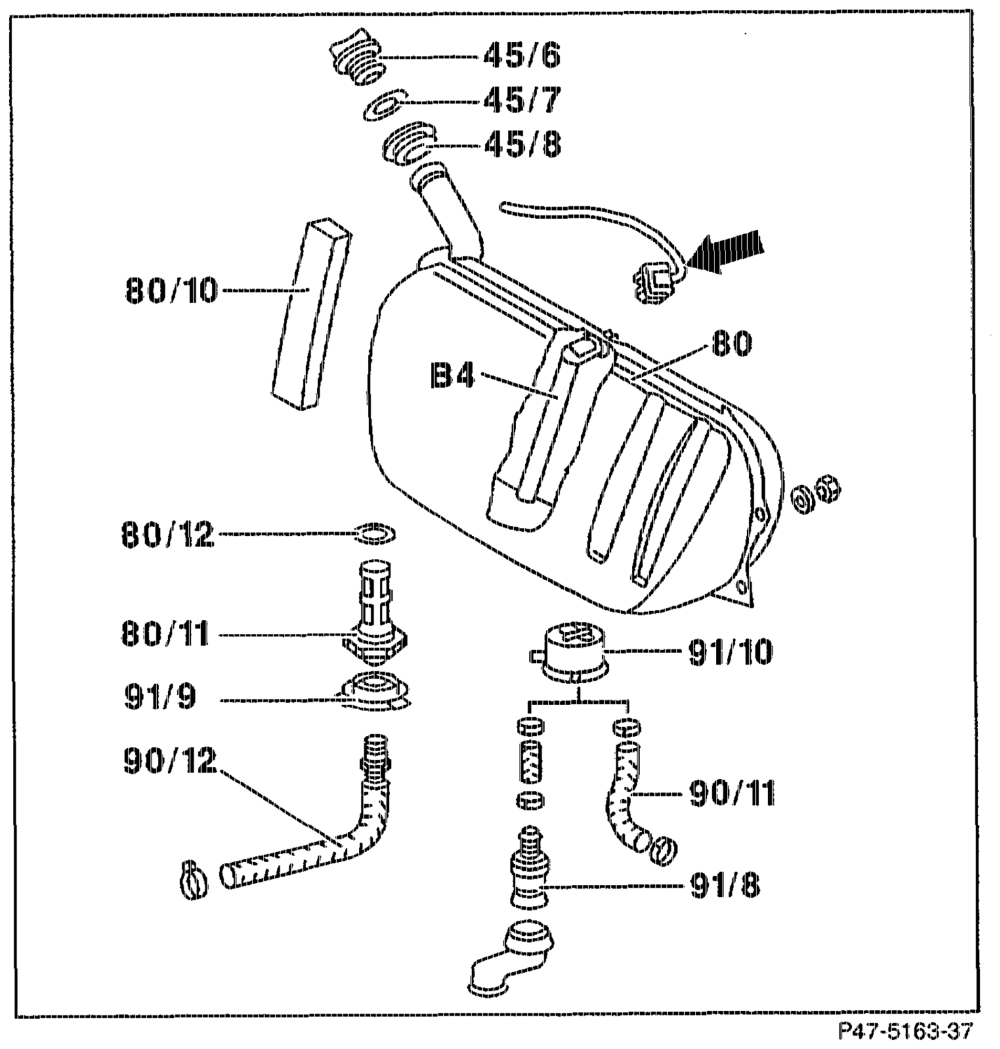
4 Pay attention to safety precautions! Ground cable at battery ….. Lene nee eee disconnect, connect. Fuel filler cap (45/6)… 2.2.0. see eee take off, fit on. Seal (45/7) …….. See cece ere eee examine, replace if necessary. Coupling (arrow) for fuel gauge sender (B4) …. — pull off, fit on.
son = RA 47.1621-4100/1 cee ee eee eee eee eens drain. Carefully pump out fuel so that no further Fuel tank (80) fuel remains in the tank.
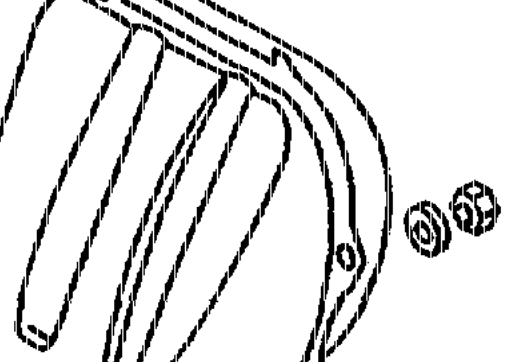
Note Capacity about 70 liters. Cup seal (45/8) «1.2… dee sees se eee remove, insert. Trim of fuel tank as well as left and right side Se eee eee eee eee eee remove, install. Fuel suction hose (90/12), fuel return house (90/11), vent valve (91/8) 2… ee ee eee scene take off, fit on. Collect remaining fuel. Seal connections. Check suitability for re-use. Ensure cup seals (91/9, 91/10) are correctly located. Tightening torque 30 Nm as reference value. Special tool 000 589 71 03 00. Nuts of fuel tank (80) 0. ee os unscrew, screw on. Use washers. Tightening torque 20 Nm. Fuel tank (80) seer ee eee tees remove, insert. Exarnine sound deadening strip (80/10), replace if necessary. To do this, stick on sound deadening strip with MB Universal Adhesive 000 989 92 71. Fuel strainer (80/11) 2… ee ee ee remove, clean, check suitability for re-use, install. Tightening torque 40 Nm. O-ring (80/12) 26. ke eee see eee see replace. Leaktightness of all connection points ….. …. check with engine running.
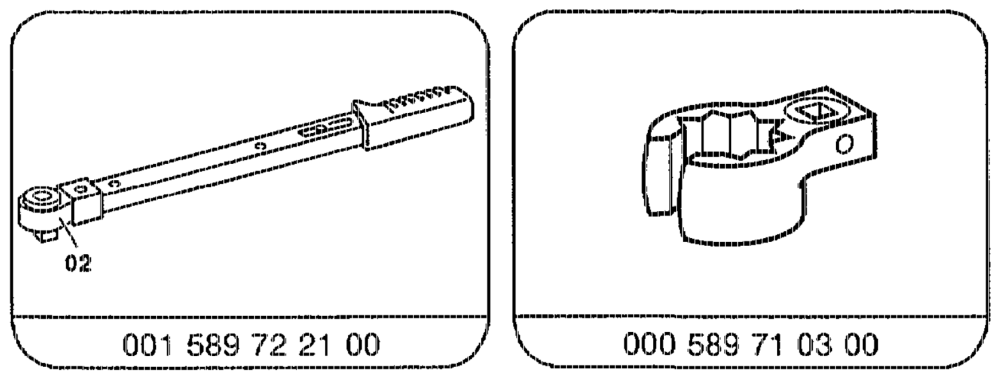
Special tools
eottige = RA 47,1621-4100/2
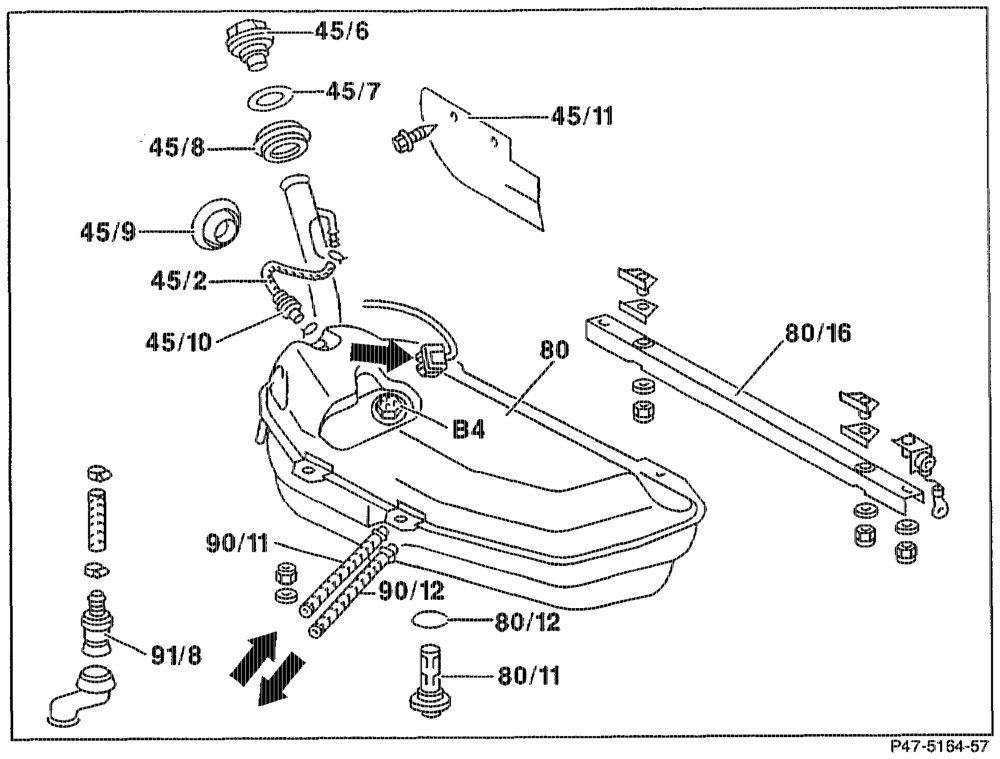
fr ARN Pay attention to safety precautions! Ground cable at battery 2.0.0.0… 2.00. e eee disconnect, connect. Fuel filler cap (45/6) oo. ee ee take off, fit on. Seal (45/7) 2 ee eee examine, replace if necessary. Coupling (arrow) for fuel gauge sender (B4) …. unplug, plug in. Fuel tank (BO) 2. eee ees drain. Carefully pump out fuel so that no further (OU) yy PUME fuel rernains in the tank.
Note Capacity about 72 liters. Cup seals (45/8 and 45/9) 2… ee remove, insert. Vant pipe (45/2). eee ee ene remove, install.
Installation note Preassemble vent pipe at fuel tank. Lay pipe so that it runs downhill, free of kinks. Ensure cup seal (45/10) is correctly located.
ie = RA 4A7.1621~4100/3
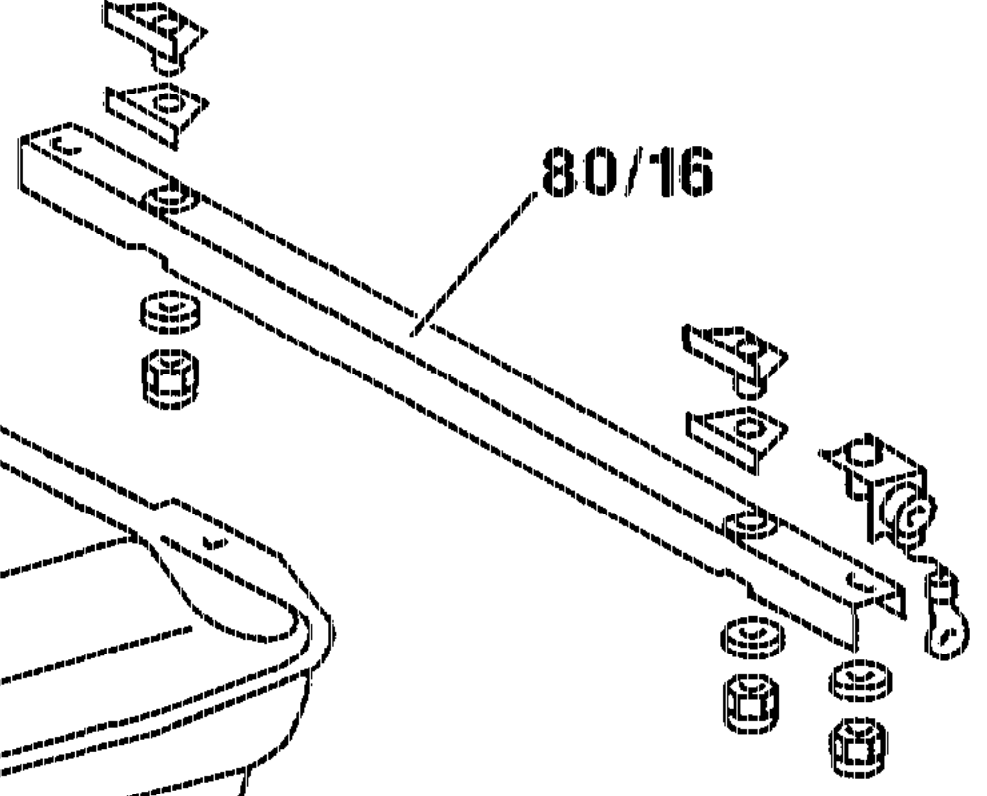
Fuel suction hose (90/12), fuel return hose (90/11), vent valve (91/8) ……. See e ee eee take off, fit on. Collect remaining fuel. Seal connections. Check suitability for re-use. Exhaust system at the rear suspension points … detach, hang down and attach. Splash guard (45/11) of fillerneck ……….. take off, fit on. Bracket of level line (left-hand side) ………. take off, fit on. Urrail (BO/16) oe. ee ee ee ee ee wae remove, install. Replace self-locking nuts. Tightening torque 30 Nrn.
A Zl Support fuel tank when performing this step. Fuel tank (80) 2… 0. eee ee eee ee remove, insert.
AN When rernoving the fuel tank, ensure that the connection fitting for the vent line (45/2) does not catch on a line. Press exhaust and level line to the left.
Installation note
Examine sound-deacening strip between rear floor and fuel tank, replace if necessary. To do this stick on sound-deadening strip with MB Universal Adhesive 000 989 92 71. Fuel strainer (80/11) 2… ee ee eee remove, clean, check suitability for re-use and install. Tightening torque 40 Nm. O-ring (80/12) 2… eee eee tae replace. Leaktightness of all connection points ……… check with engine running.
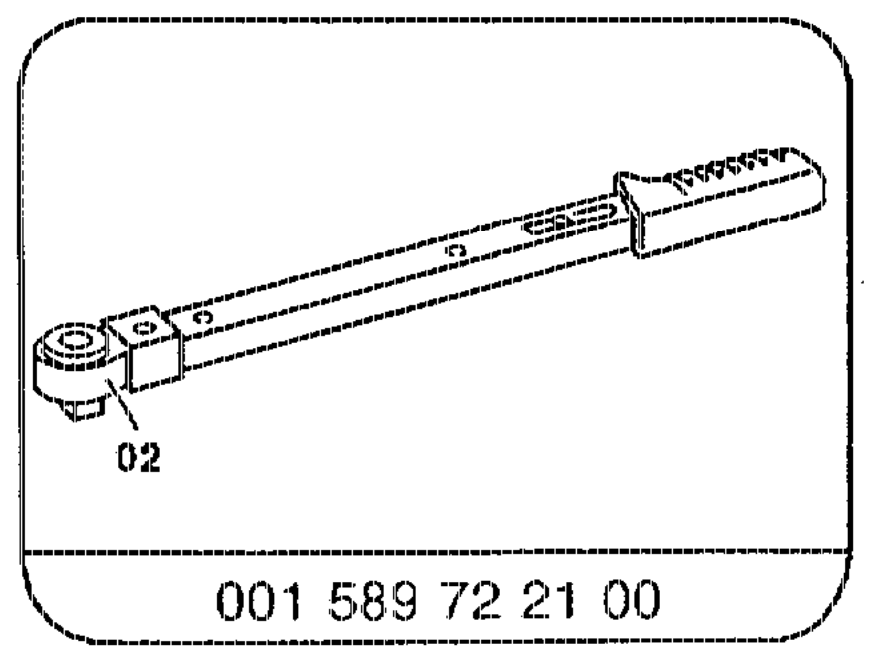
Special tool
agi = RA 47.1621-4100/4