Renewing fuel distributor
WIS 07.3-205
Tightening torques (reference values) Nm
| Injection lines to fuel distributor | |
| Fuel line for cold-starting valve to fuel distributor | |
| Fuel return line from warm-up compensator to fuel distributor | 10–12 |
| Control pressure line to fuel distributor | |
| Control pressure line to pressure damper | |
| Injection lines to injection valves | 10–15 |
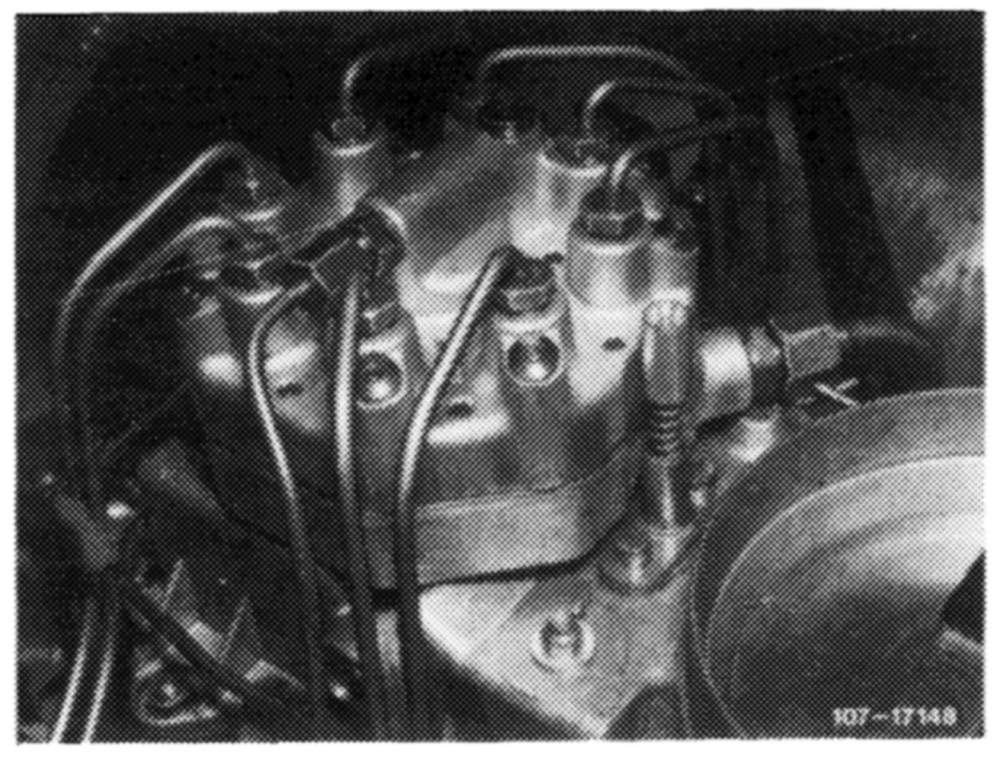
Note
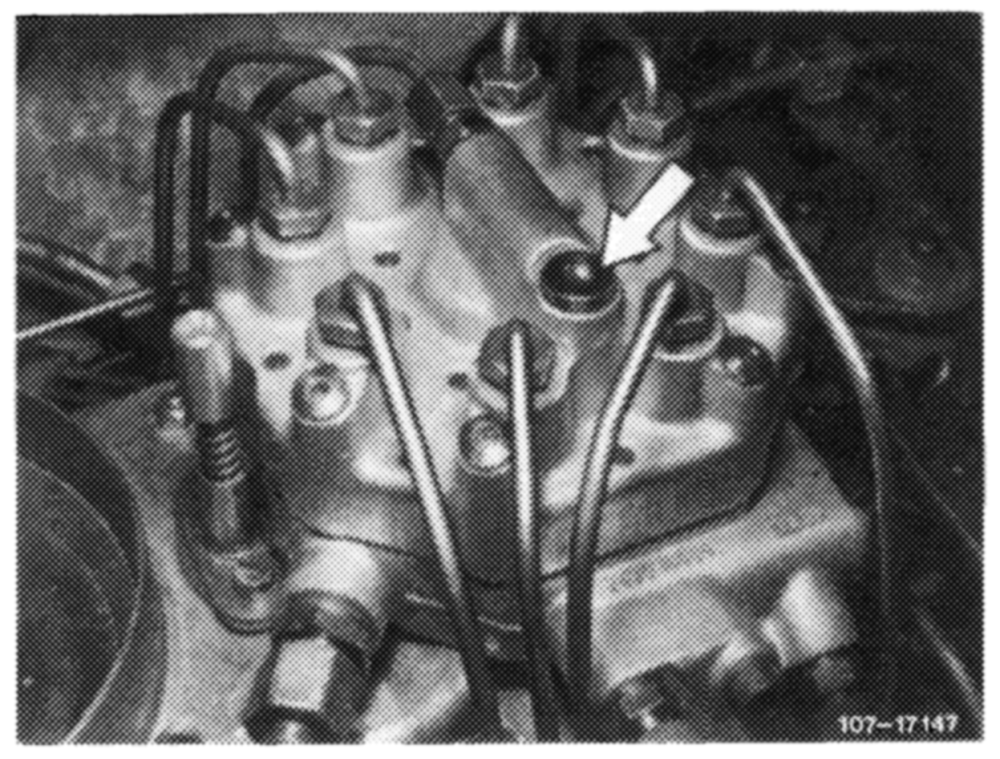
After fuel distributors made of grey iron have been used up, only fuel distributors made of light alloy will be available as spare parts. This fuel distributor is provided with a fabric diaphragm between upper and lower half. The fuel distributor top has 8 closing plugs with adjusting screws underneath for differential pressure valves. The differential pressure valves are set by manufacturer, adjustments are not permitted.
In addition, the fuel distributor top has a pressure compensating valve (arrow), as well as a compression spring which is integrated above control piston.
The compression spring is installed on grey-iron fuel distributor since February 1979, the light-alloy fuel distributor since start of series.
The pressure compensating valve is closed as long as fuel system is under pressure.
In the event of a pressure drop ‘’following an extended stationary period and cooling down of fuel” below 0.30.5 bar gauge pressure, the pressure compensating valve will open.
Piston (2) is lifted and the pressure between system pressure and return pressure is compensated.
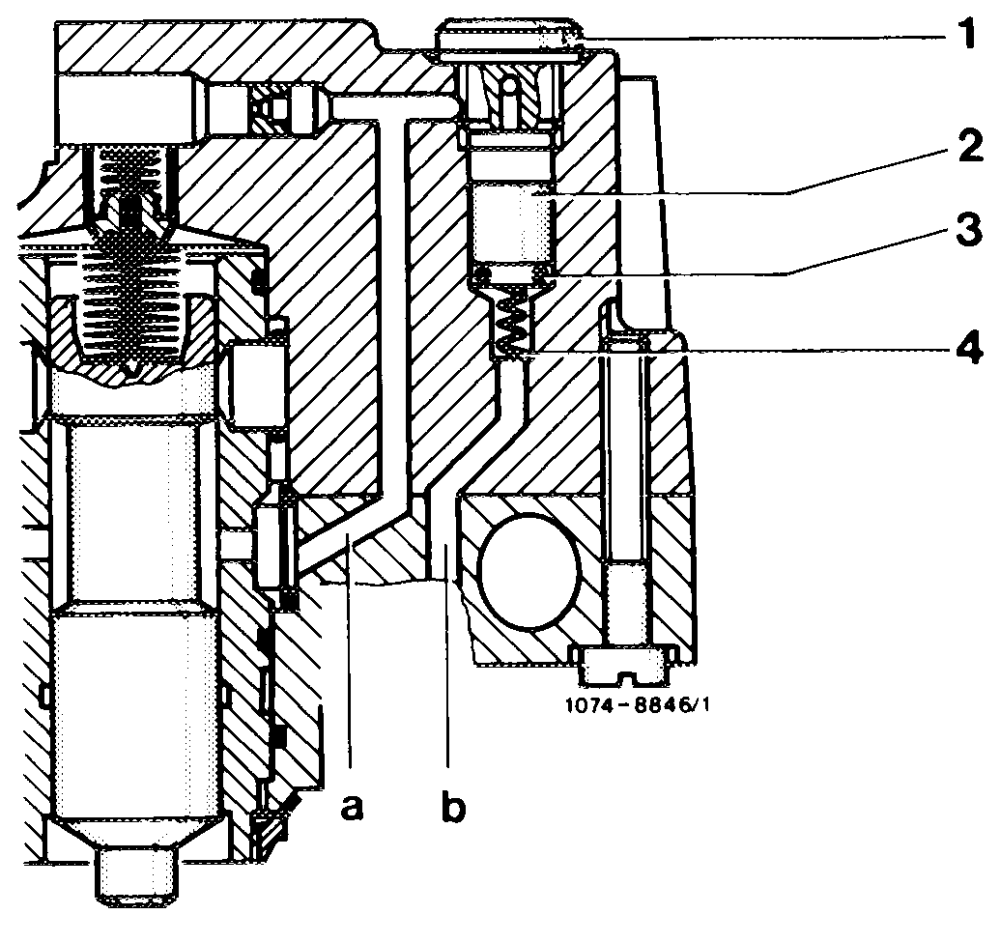
This will prevent that the control piston in fuel distributor is lifted in direction of full load when the engine is stopped, and will also prevent heavy enrichment of mixture during cold start.
oM BWN=— Closing plug Piston O-ring Compression spring System pressure Return flow
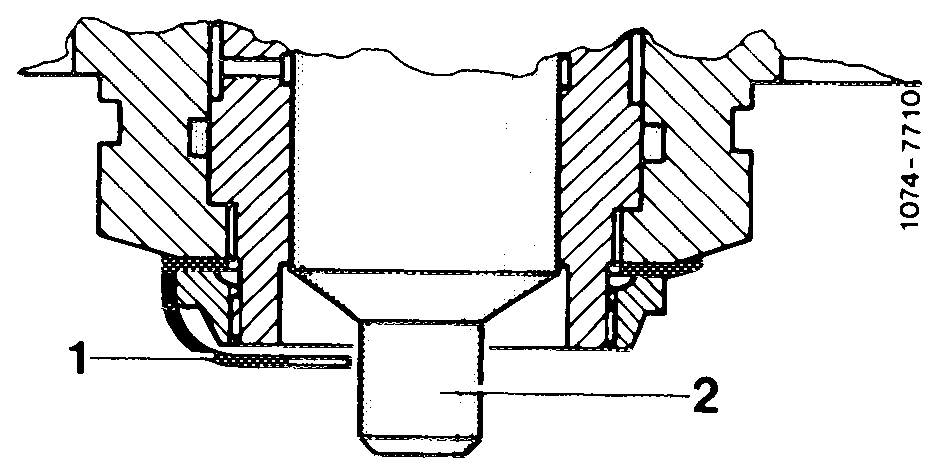
Starting with Bosch production no. 724, the fuel distributor is provided with a sheet-metal lock (1). which prevents control piston (2) from dropping out. The sheet-metal lock serves to facilitate assembly and as a transportation lock and should not be removed.
Removal
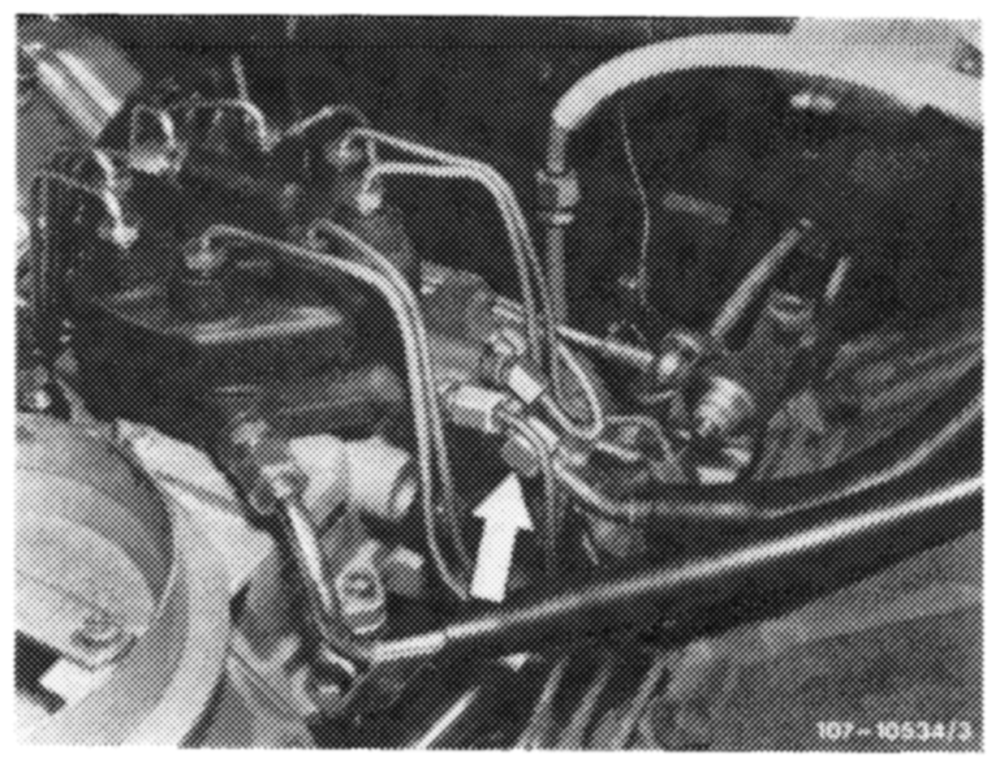
1 Remove air filter.
2 Unscrew all fuel and injection lines on fuel distributor and on injection valves. Catch fuel with a rag.
Deactivate fuel forward and return flow line.
3 Unscrew the three fastening screws on fuel distributor.
4 Remove fuel distributor by turning back and forth.
Attention!
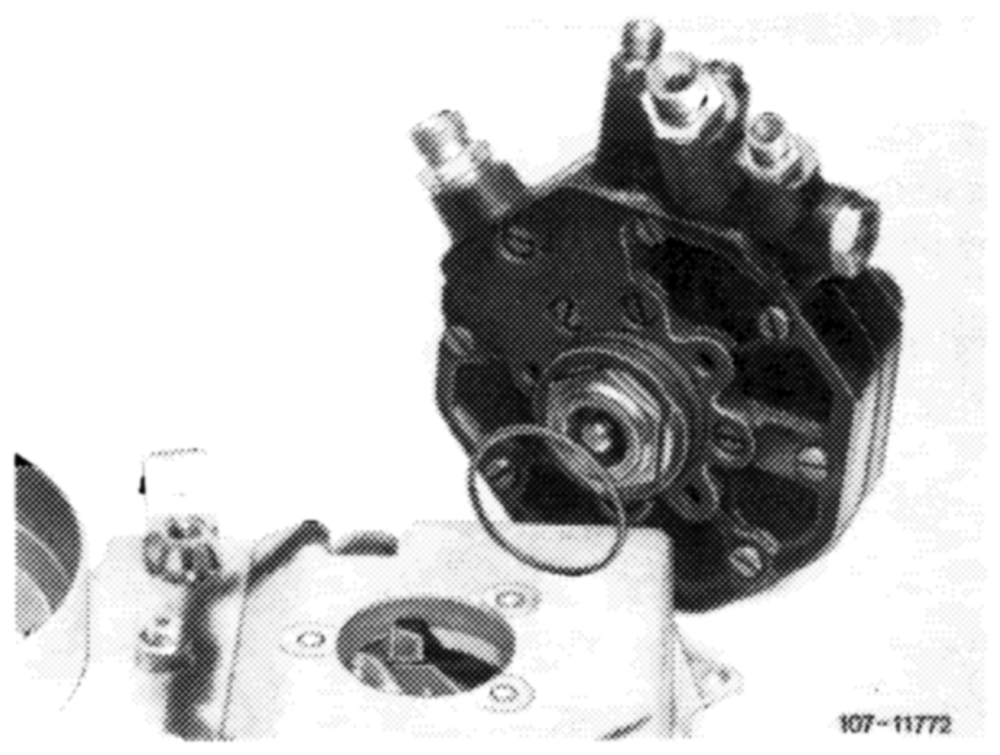
On fuel distributor without sheet-metal lock make sure during removal of fuel distributor that the control piston will not fall out.
Installation
5 Mount fuel distributor in vice versa sequence.
6 Slip new rubber ring on fuel distributor.
7 Slightly lubricate rubber ring and carefully mount fuel distributor.
Attention! Do not damage rubber ring during assembly, so that no false air will be drawn in.
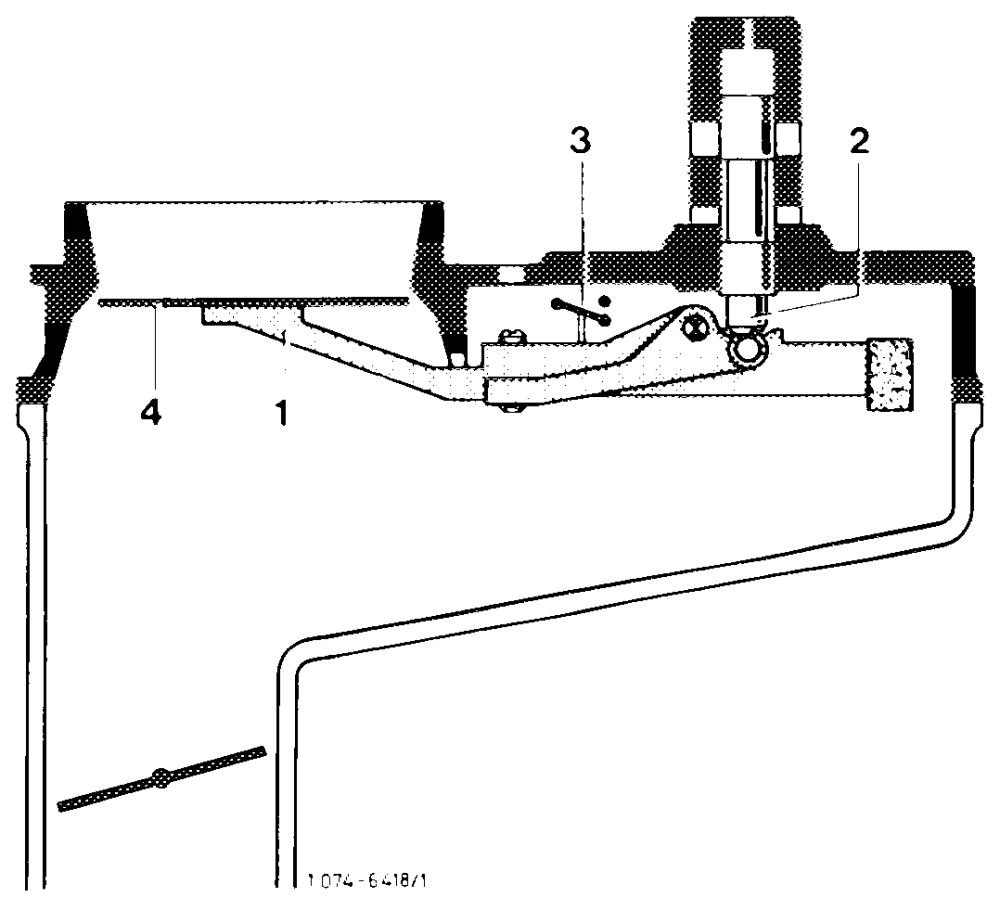
8 Connect all fuel lines except injection lines.
9 Check adjusting lever (1) in air flow sensor and control piston (2) in fuel distributor for easy operation.
For this purpose, pull plug from safety switch (3). Switch on ignition for a short period to establish control pressure. Push air flow sensor plate (4) manually downwards. A uniform resistance should be felt along entire path. When moving up fast, no resistance should be felt, since the slowly following control piston lifts off from adjusting lever. During the slow upward movement, the control piston should smoothly follow.
air flow sensor plate and adjust, if required. For this purpose, switch on ignition and pull cable plug from safety switch. The fuel should now just stop to flow at outlet connection for injection lines. Adjust association by means of idle speed mixture control screw, if required.
11. Mount injection lines.
12 Keep engine running and check ail fuel connections, as well as rubber ring on fuel distributor for leaks by means of spray test.
13 Adjust idle speed (07.3—100).