WIS 47-700
WIS 47-700
A. Model 115
Filling capacity in liters
all, Version except @s@ starting 1975 @ss starting 1975
Full readout approx. 65 approx. 78
Warning Jamp reserve approx. 9 approx. 10
Tightening to
rques
Nuts for fuel tank 17–25
Nuts for fuel tank, self-locking 26–34
Fuel strainer 35–43
Special tool
‘7004-6208 Torque wrench double-arm, 1/2“ square, 000 589 27 2100 15–65 Nm
Attention!
When removing fuel tank, pay attention to safety rules.
Removal
1 Disconnect grounding line on battery.
2 Drain fuel tank. Carefully pump off fuel, so that no residual fuel remains in fuel tank.
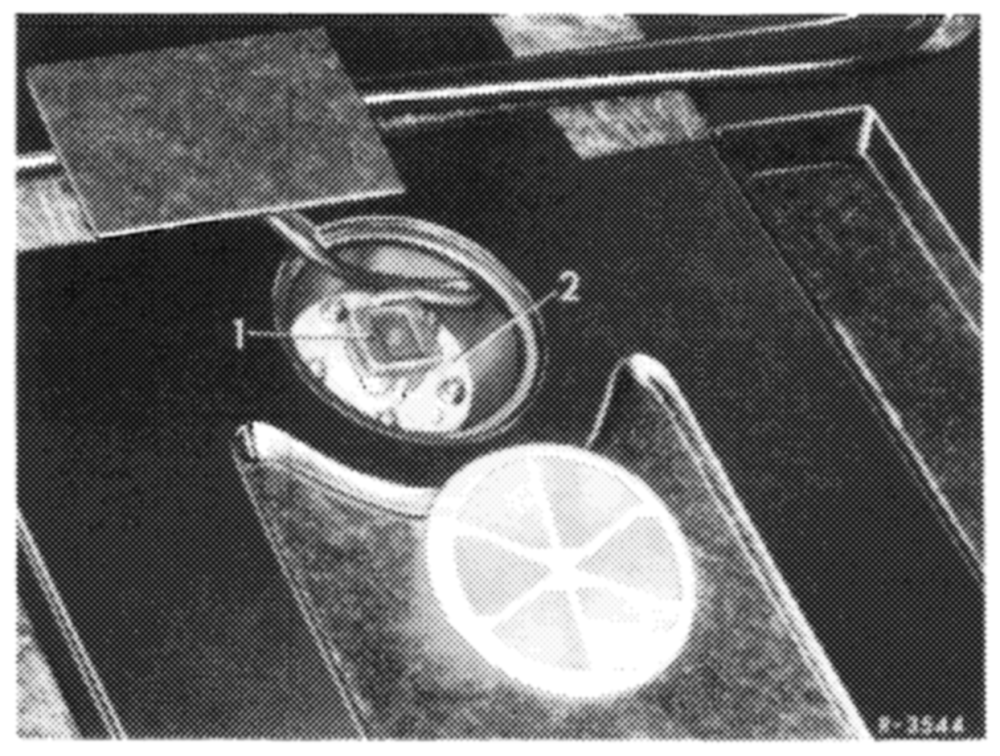
3 Pull off coupling (1) for fuel readout.
F2
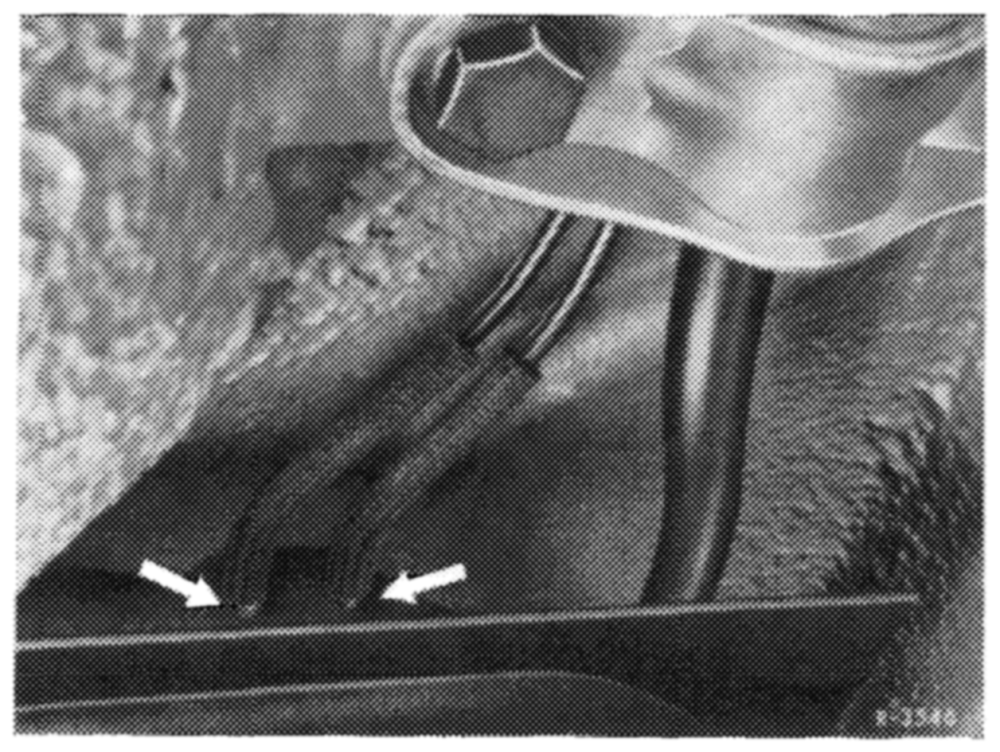
4 Loosen hose clamps (arrows) on vent lines, pull off hoses, tightly close lines and hoses.
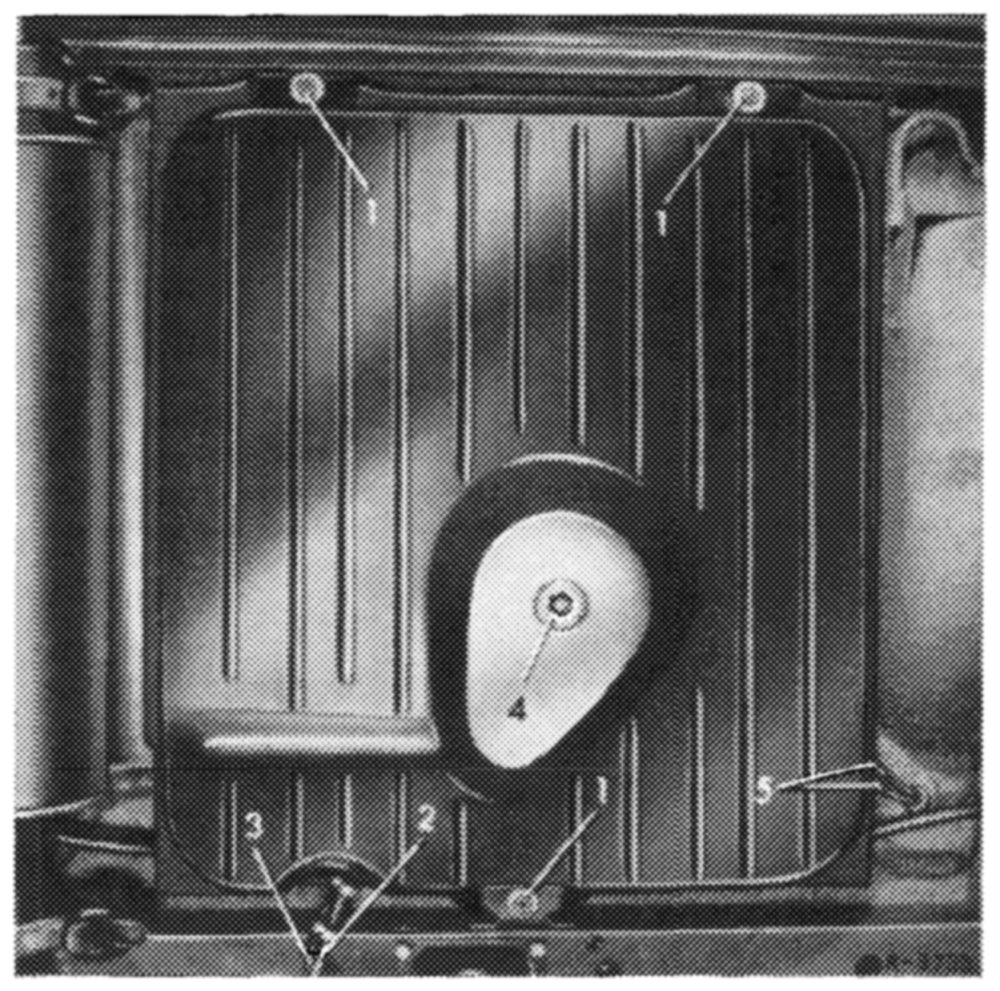
5 Loosen hose clamps on feed line (2) and return flow line (3), pull off both hoses on fuel tank and catch fuel remaining in hoses. Tightly close hoses and pipe connections.
6 Unscrew nuts (1) and remove fuel tank in downward direction.
Installation
Install fuel tank in vice versa sequence. Pay attention to the following items:
7 Check whether foam rubber strips on fuel tank are tight and glue down with MB universal glue, part No. 000 989 92 71, if required.
Note: Never use felt or similar material since otherwise corrosion damage may result.
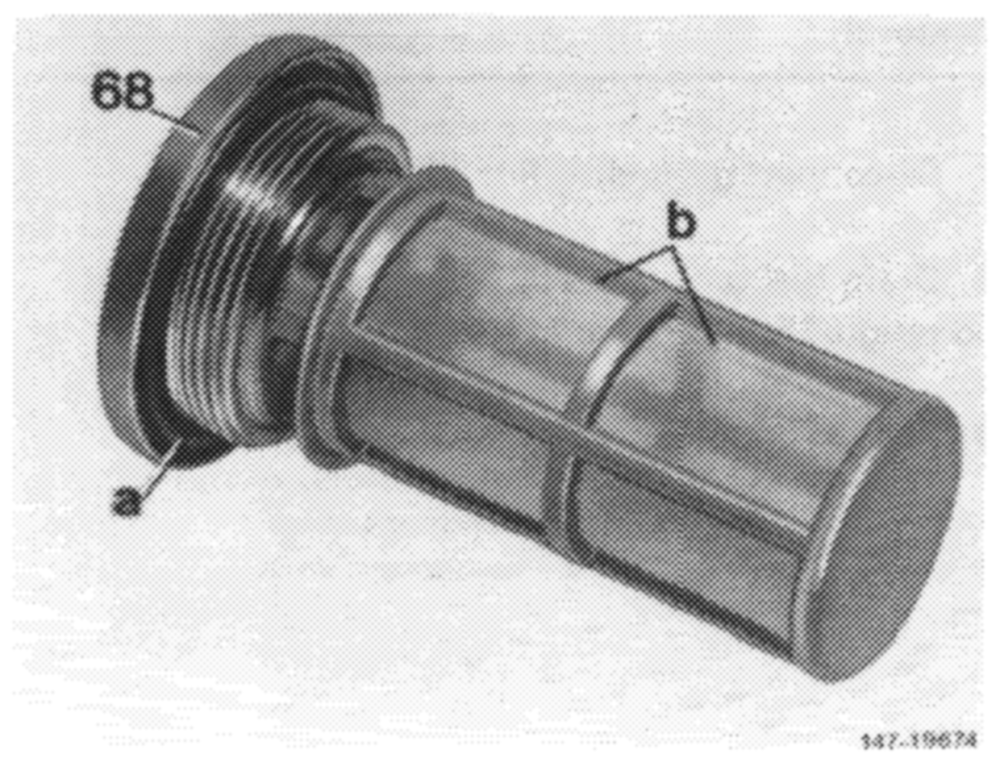
8 Remove fuel strainer. Blow out strainer jacket (b) and check for damage. Install fuel strainer with new sealing ring (a) and tighten to 35—43 Nm.
Note: The fuel strainer (b) is made of square mesh fabric of 0.1 mm width. To prevent mixing up fuel strainer, the word ,,gasoline’’ is punched-in on metal part.
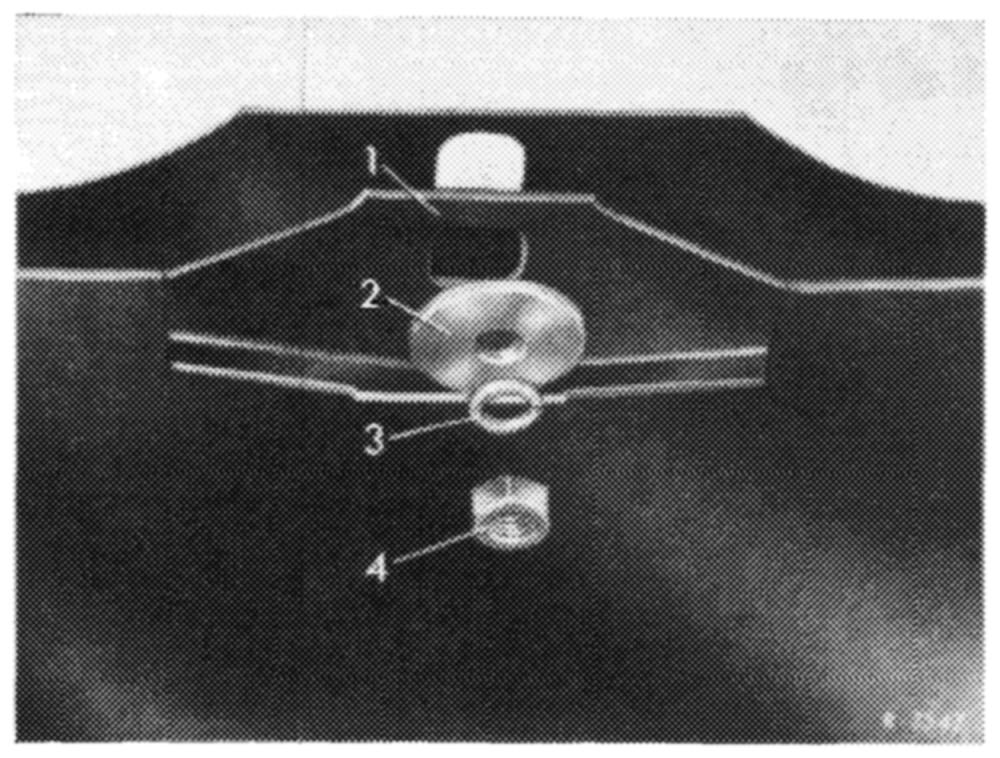
9 Mount fuel tank with reinforcing sheet metal (1) and washers (2) provided.
If the reinforcing sheet metal is left off or if the washers are too small, fastenings on fuel tank may tear off.
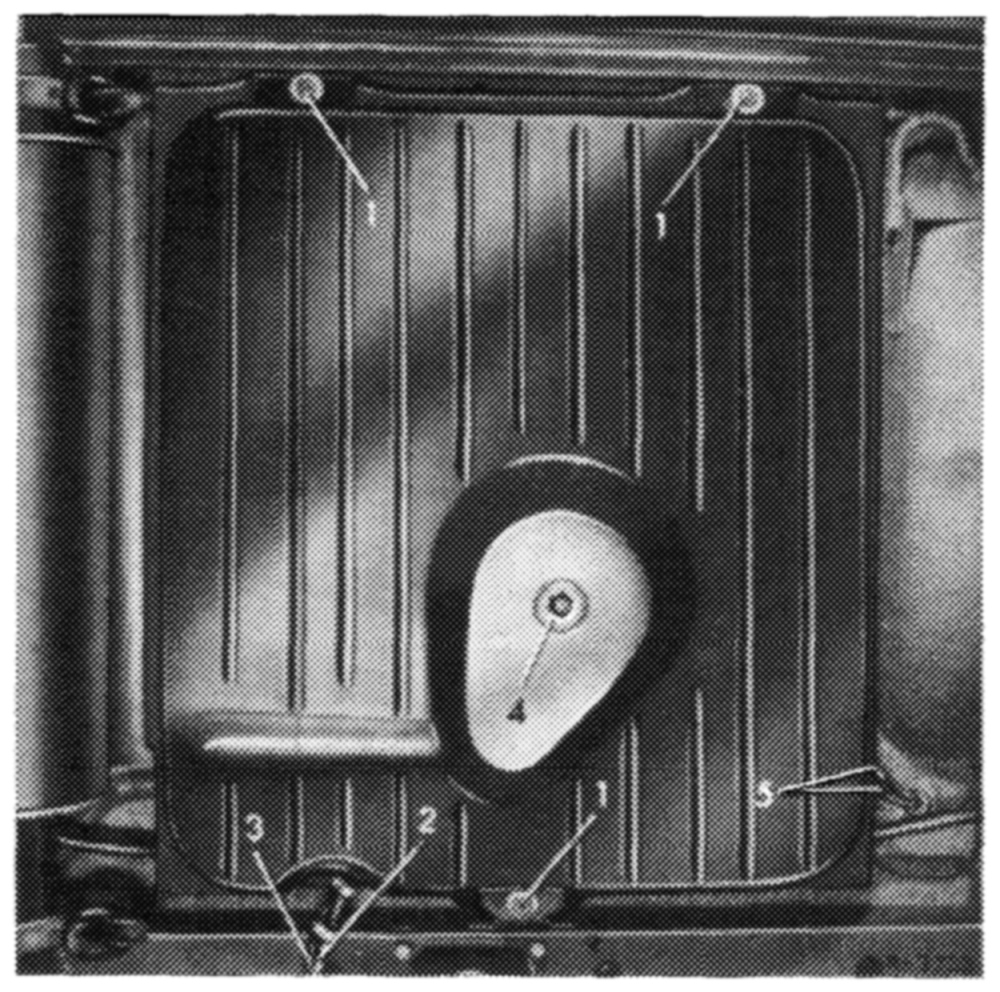
10 Tighten nuts (1) to 17-25 Nm. When using selflocking nuts, tighten to 26—34 Nm.
11. Check fuel hoses and renew, if required.
12 Connect grounding line to battery, check operation of fuel readout.
13 Check fuel system for leaks.
Fuel system, fuel tank positive and negative venting
Model 115
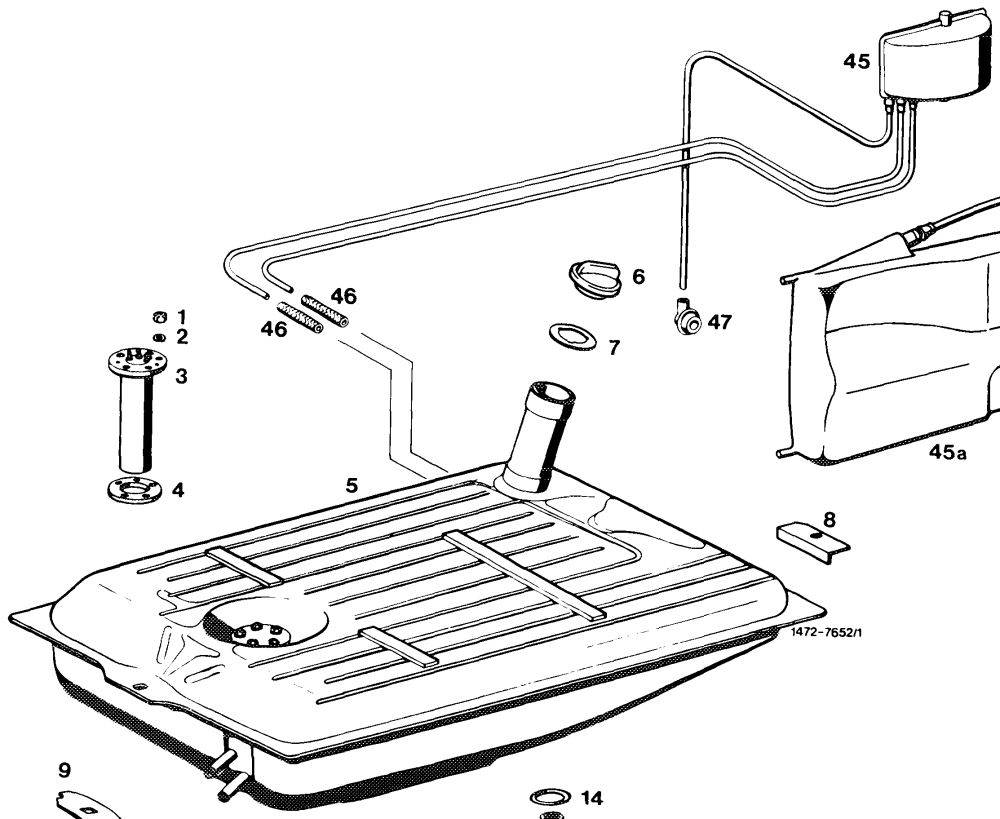
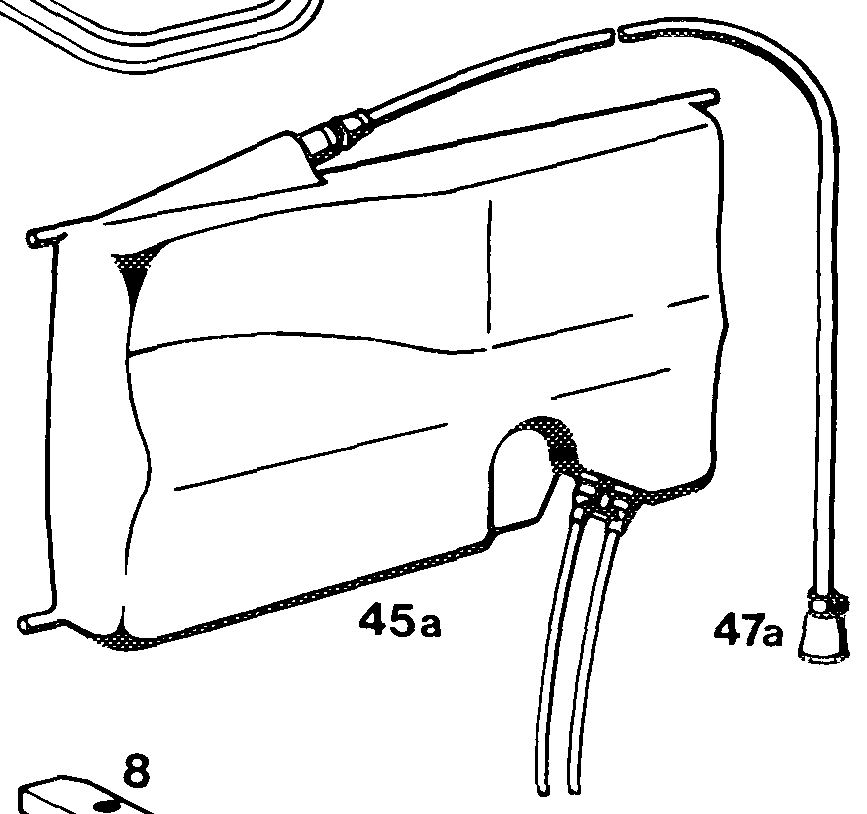
14 Sealing ring Nut COWODDGAWN— 15 Fuel strainer Spring washer 45 Fuel expansion tank Immersion tube transmitter 45a Fuel expansion tank (special vehicles with special body) Gasket 46 Fuel hose Fuel tank 47 Rubber sleeve Filler cap 47a Protective sleeve (special vehicles with special body) Reinforcing sheet metal Reinforcing sheet metal Hex. nut
B. Model 123 sedan and coupe
Filling capacity in liters
| Version | all, except @s) 1977-1978 | @s4 1977~1978 |
| Full readout | approx. 65 | approx. 80 |
| Warning lamp reserve | approx. 9.5 | approx. 10.5 |
Tightening torques
| Nuts for fuel tank | 17–25 |
| Immersion tube transmitter | 35–43 |
| Fuel strainer | |
| Suction hose | 24–32 |
Special tool
Torque wrench double-arm, 1/2’ square 15–65 Nm – 000 589 27 21 00
Attention!
When removing fuel tank, pay attention to safety rules.
Removal
1 Disconnect grounding line on battery.
2 Drain fuel tank. Pump off fuel carefully, so that no residual fuel remains in fuel tank.
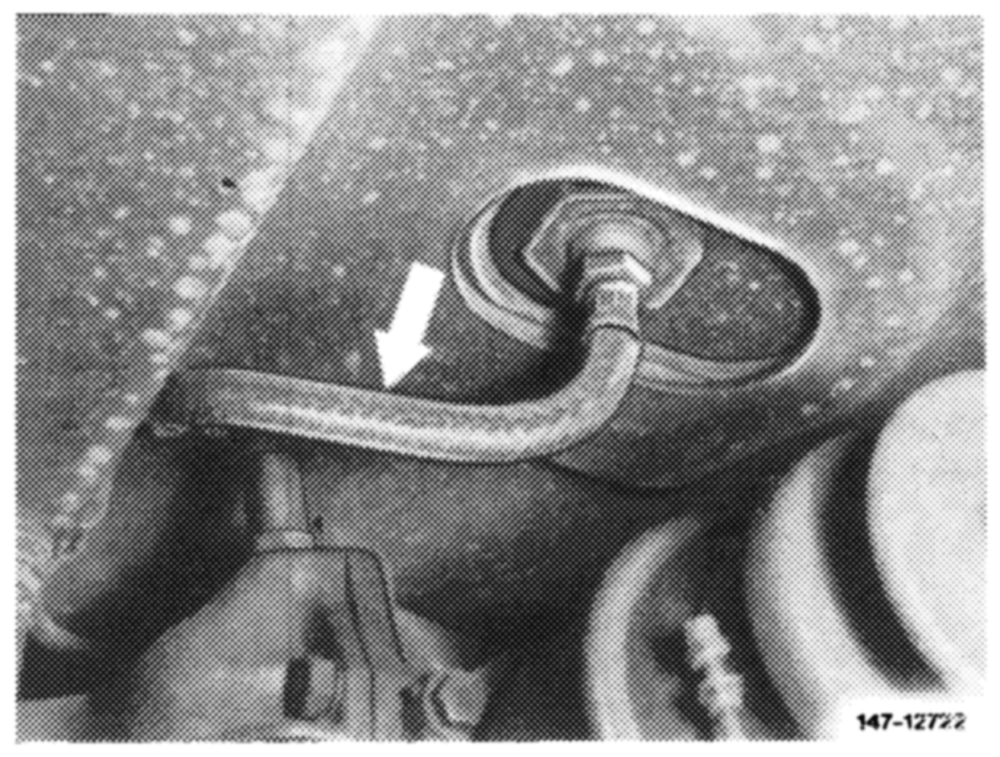
3 > Unscrew suction hose (arrow) on fuel tank, catch residual fuel remaining in suction hose. Tightly close fuel strainer and suction hose.
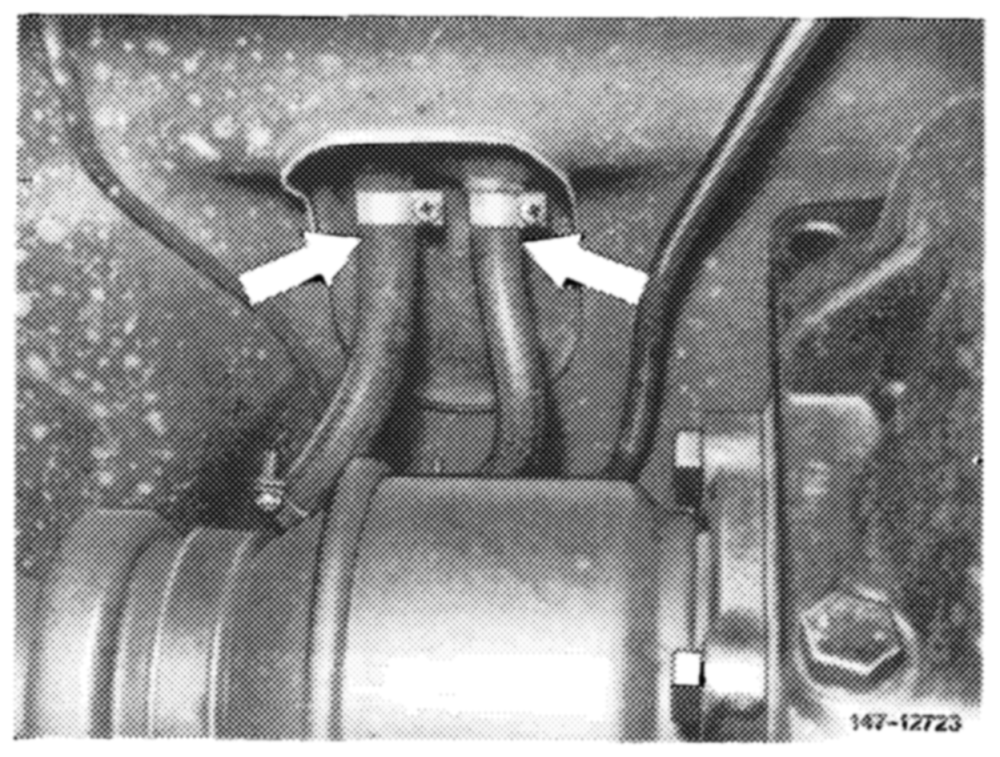
4 Loosen hose clamps on fuel return hose and on vent hose (arrows) and pull both hoses from fuel tank. Catch residual fuel and tightly close both hoses and pipe connections.
5 Remove trunk floor mat.
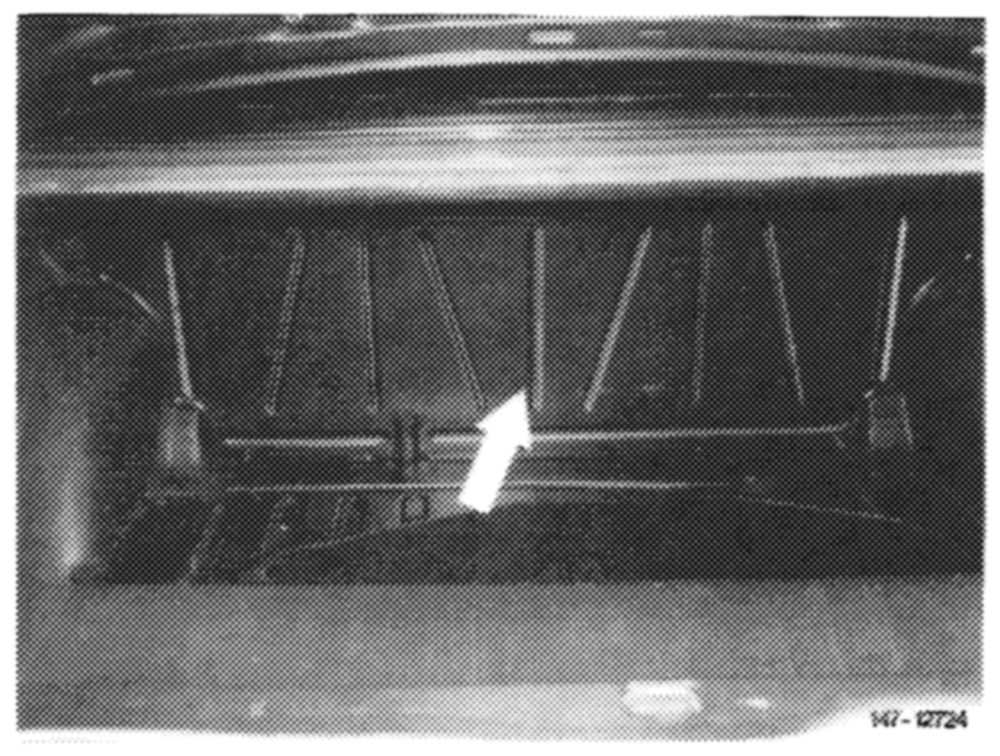
6 Loosen rear wall screws and remove rear wall (arrow).
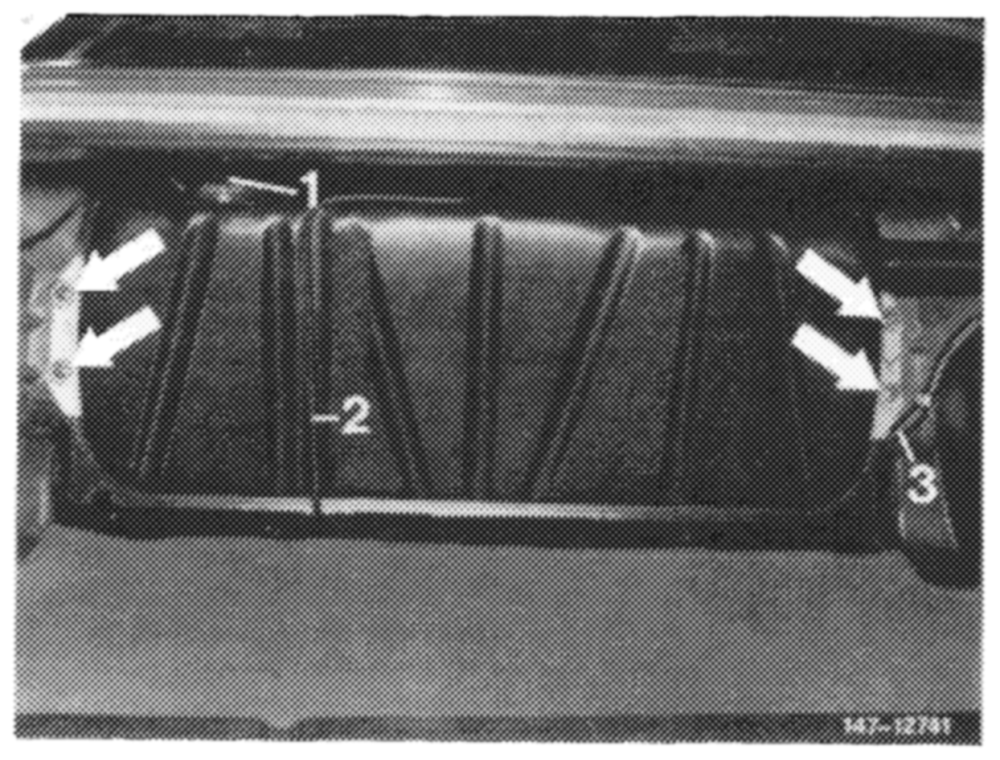
7 Unscrew nuts (arrows). Pull coupling (1) for fuel readout from immersion tube transmitter. Remove fuel tank.
Installation
8 Install fuel tank in vice versa sequence, while proceeding as follows:
a) Glue down both gaskets on underside of fuel tank with MB universal glue, part No. 000 989 92 71. For installation, coat both gaskets on sealing surface or bead with slide compound (talcum, wax or the like).
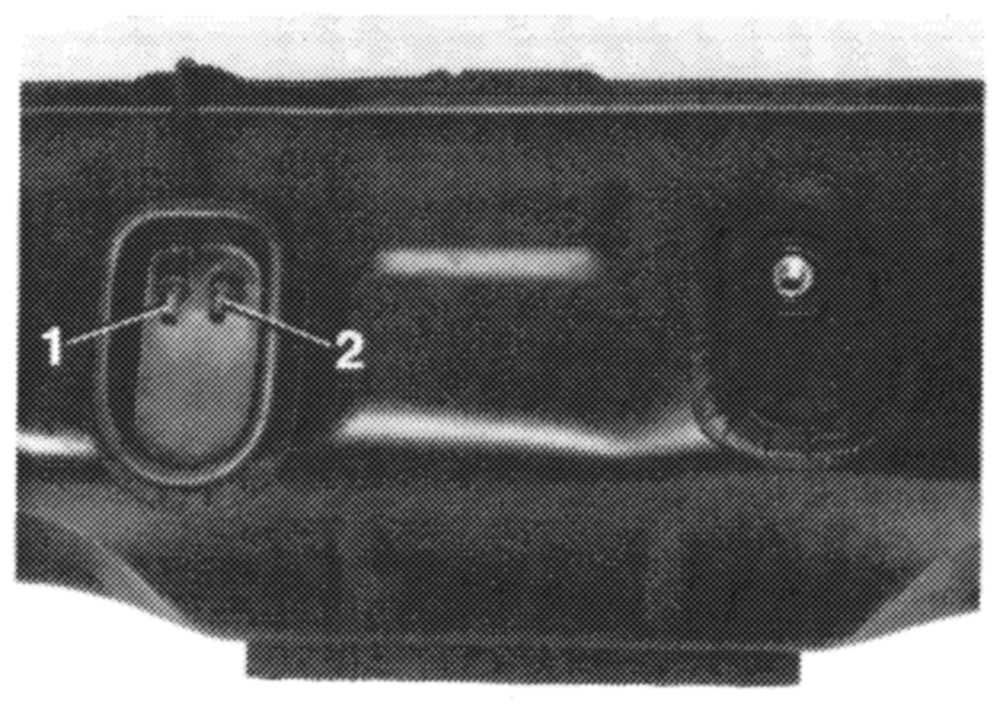
1 Positive and negative vent line 2 Fuel return tine
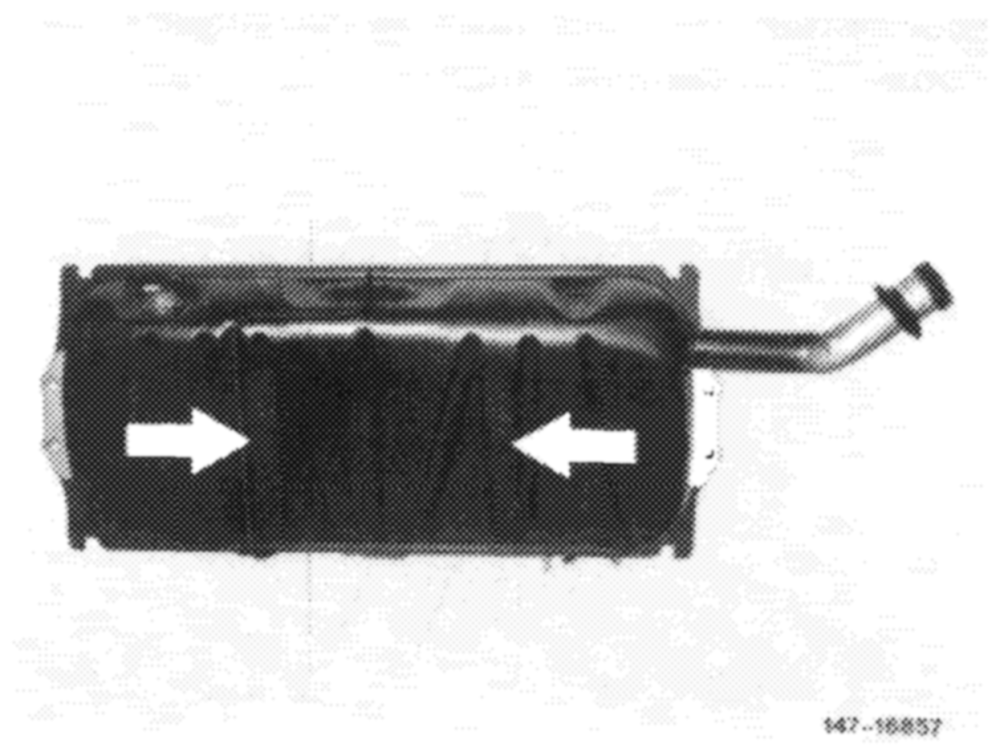
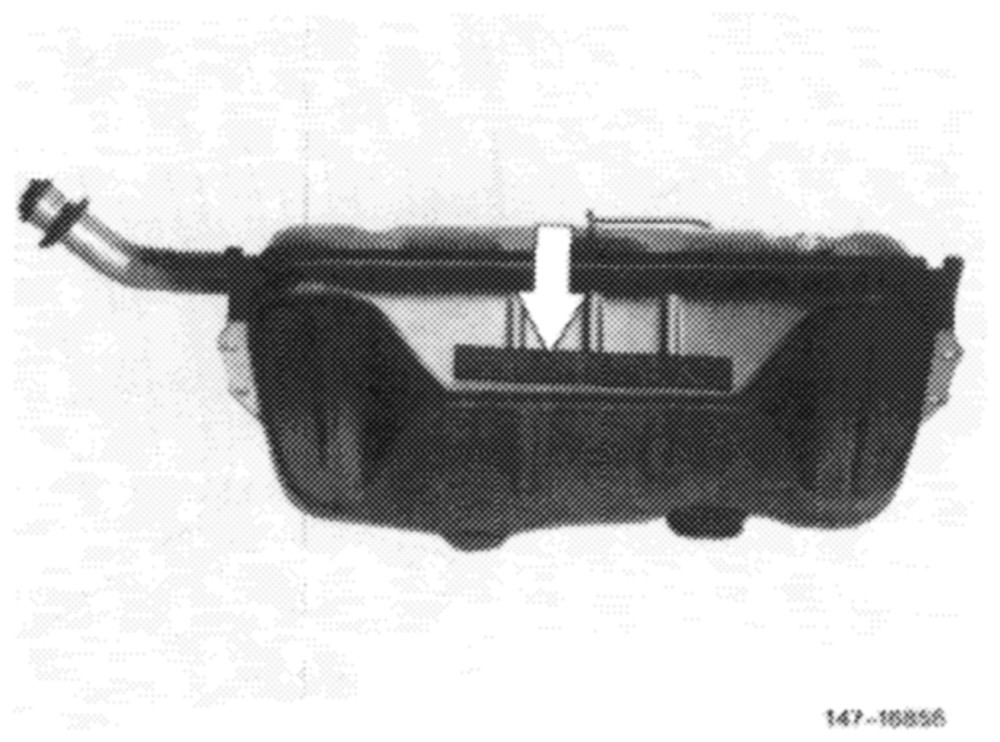
b) Check whether foam rubber strips on fuel tank are tight and glue down with MB universal glue, part No. 000 989 92 71, if required.
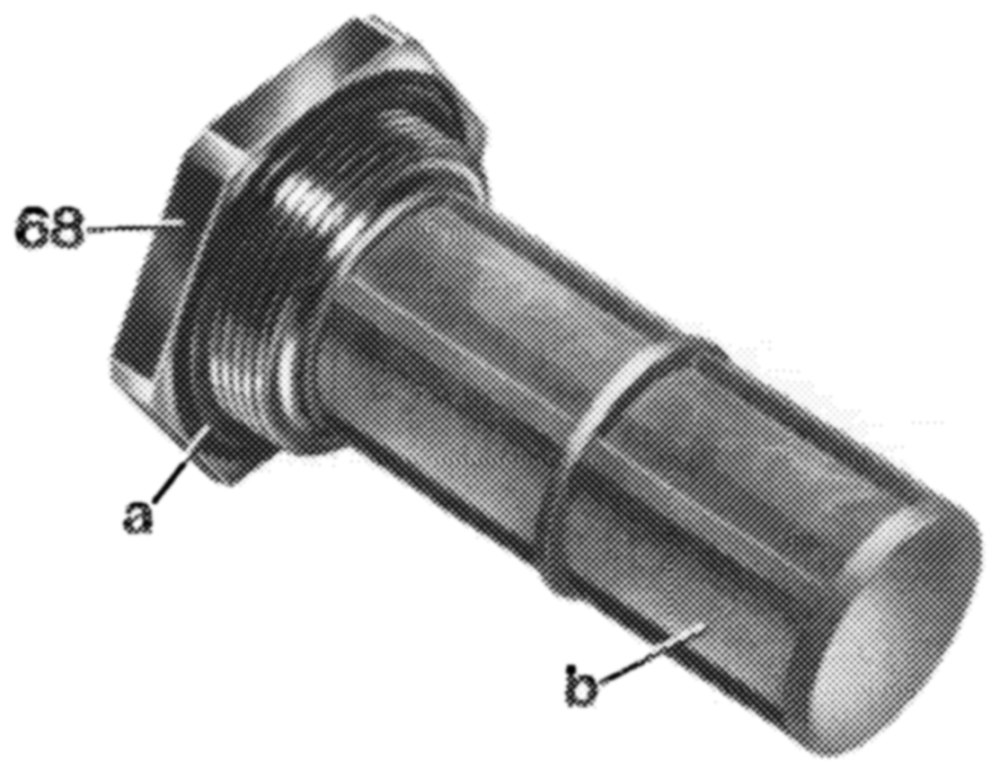
c) Remove fuel strainer (68). Blow out strainer (b) and check for damage. Renew sealing ring (a). Tighten fuel strainer (68) to 35–43 Nm.
d) Mount fuel tank with reinforcing sheet metal parts and washers provided. Tighten fastening nuts to 17–25 Nm.
e) Pay attention to correct seat of rubber sleeve on fuel filler neck.
f) Plug on coupling for fuel readout and check for correct operation (grounding line on battery connected). V47-17612/1
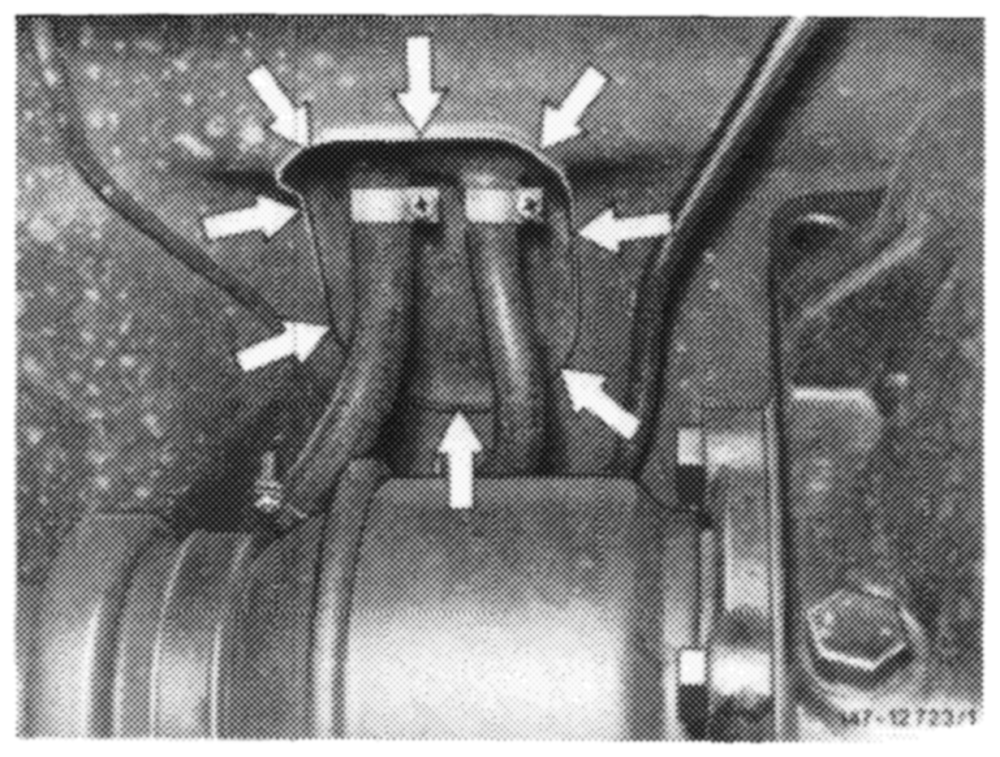
g) Check seal between fuel tank and trunk floor and seal again, if required. For this purpose, carefully apply Unionzement from underside of vehicle at circumference of opening (arrows), using a brush or the like.
h) Check fuel system for leaks.
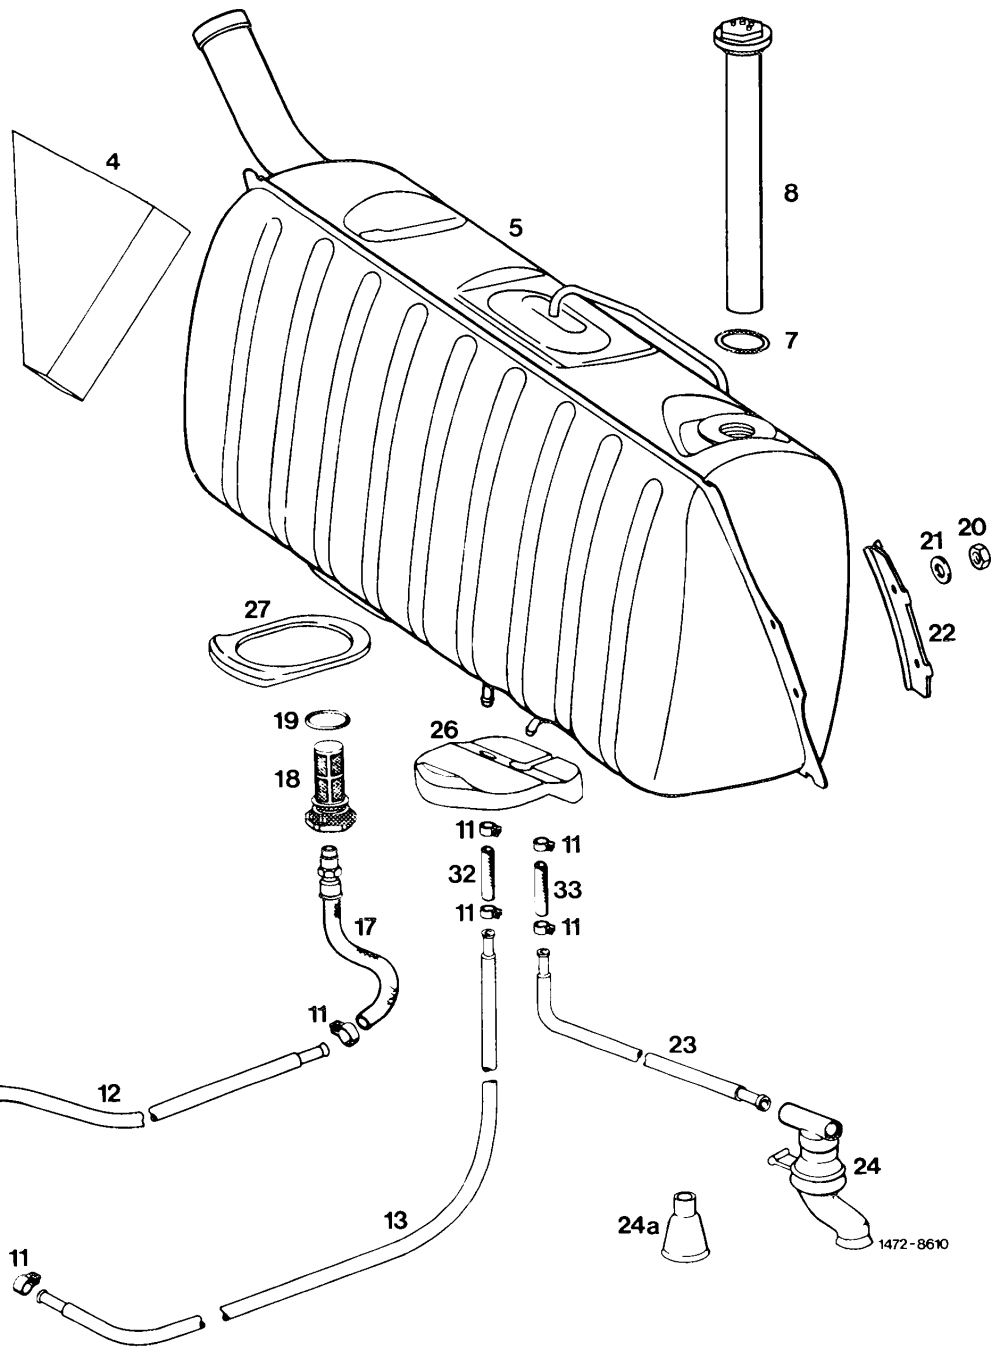
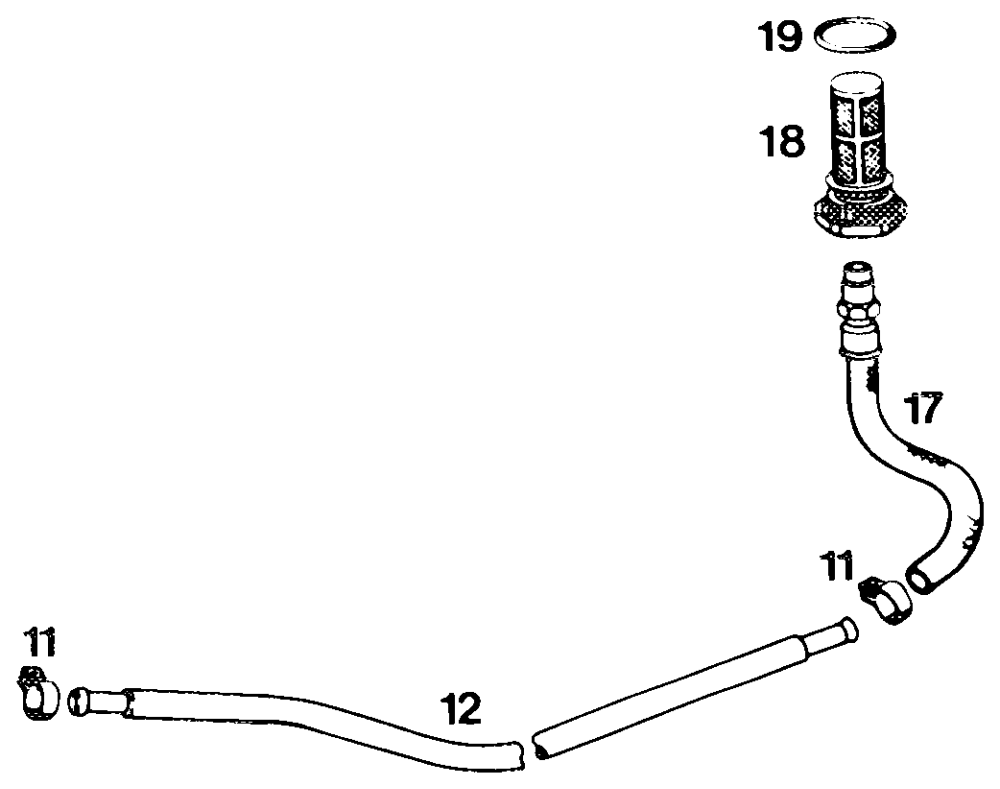
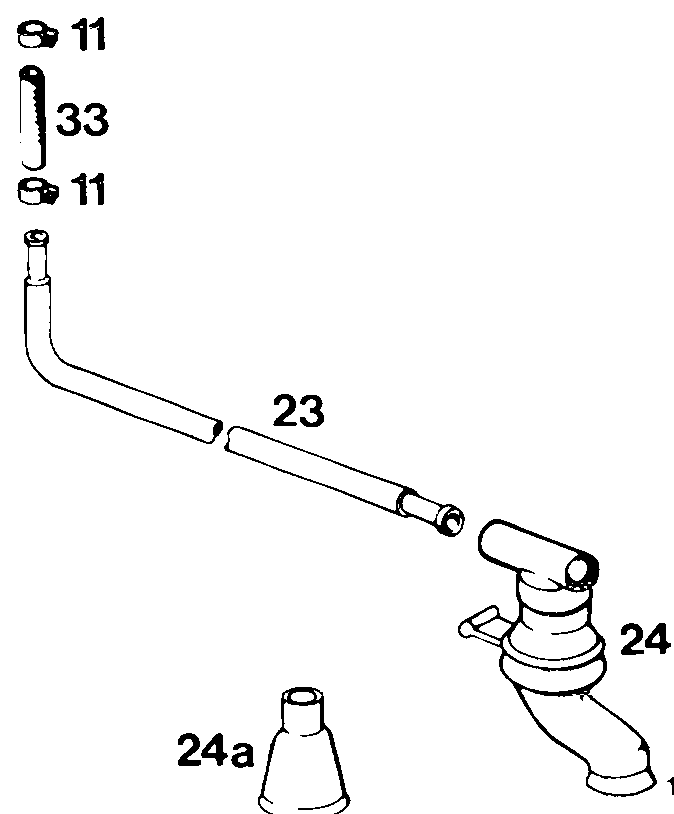
Fuel system, fuel tank positive and negative venting Model 123 sedan and coupe
23 Fuel tank vent line 12 Fuel feed line Filler cap 24 Vent sleeve (version 2) Fuel return line 13 H-DIYMN WN Seal 24a Vent sleeve (version 1) Fuel suction hose 17 Rubber sleeve 26 Rubber gasket 18 Fuel strainer Damping shim 27 Rubber gasket Sealing ring 19 Fuel tank 32 Fuel hose 20 Nut Sealing ring 33 Fuel hose 21 Washer Immersion tube transmitter (screw-type) Reinforcing sheet metal 2 Hose clamp