Checking, regulating engine
WIS 07.2-110
Testing and adjusting values
Idle speed 1/min Idle speed CO value
Standard version
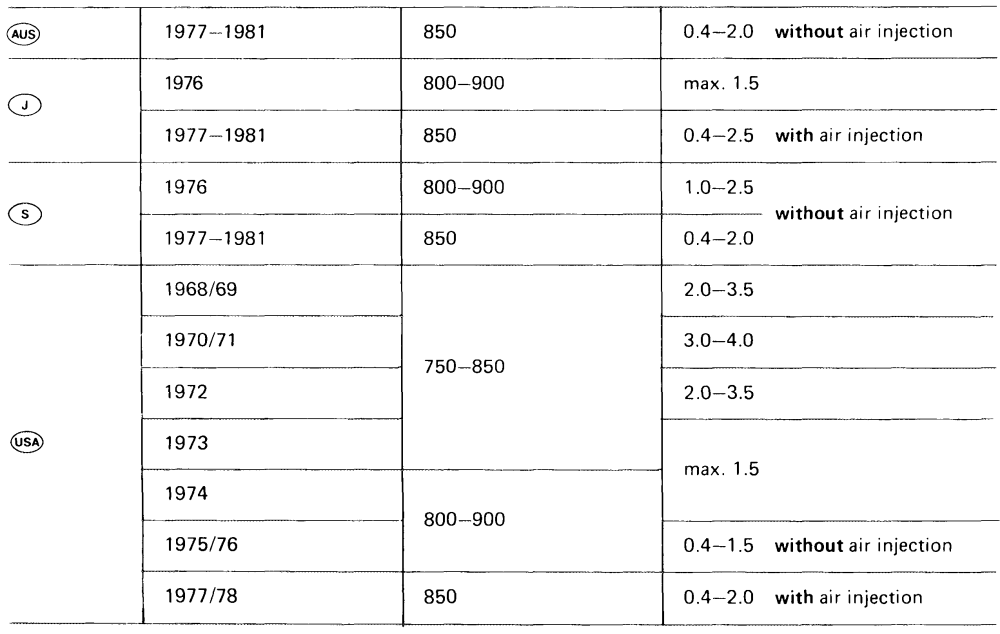
1.0–2.0
Identification: Information plate in national language on cross member in front of radiator or on cylinder head cover.
Adjust engines according to data of respective exhaust gas information plate.
F2
Vacuum governor adjusting values’) standard and national version
Engine speed Vacuum hose pulled off 20 /min
Distance between throttle valve lever and adjusting screw approx. 0.5 mm .0.5m
1) When adding all additional units, engine should still run smoothly. On vehicles with air conditioning, set to upper limit.
Oil type/filling capacity
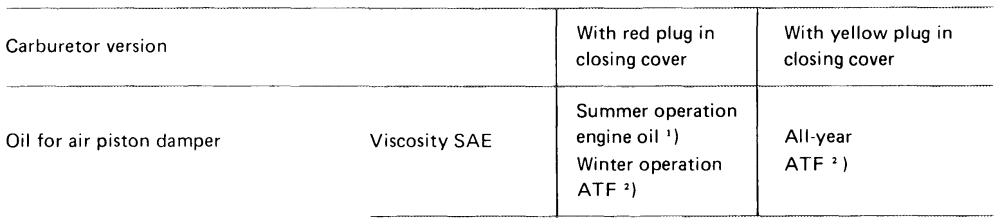
Filling capacity approx. 60 cc
’) Refer to specifications for service products sheet 224 page 1 2) Refer to specifications for service products sheet 236.2 and 236.4.
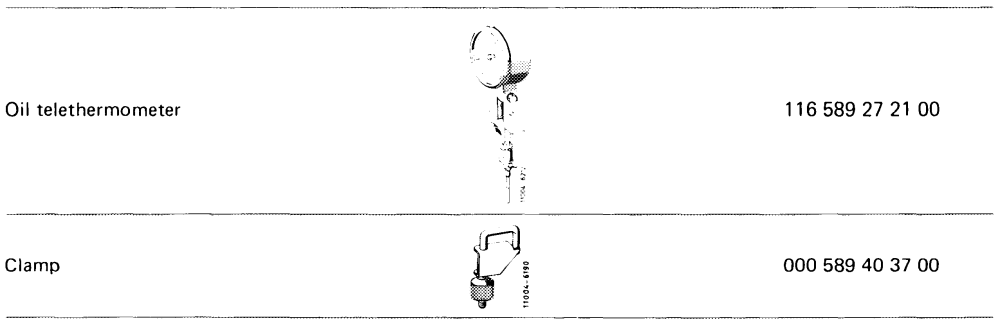
Special tools
Conventional tools
Dwell angle and revolution counter, stroboscope, oscilloscope, CO measuring instrument, voltmeter
Digital tester e.g. made by Bosch, MOT 001.03
Adjusting
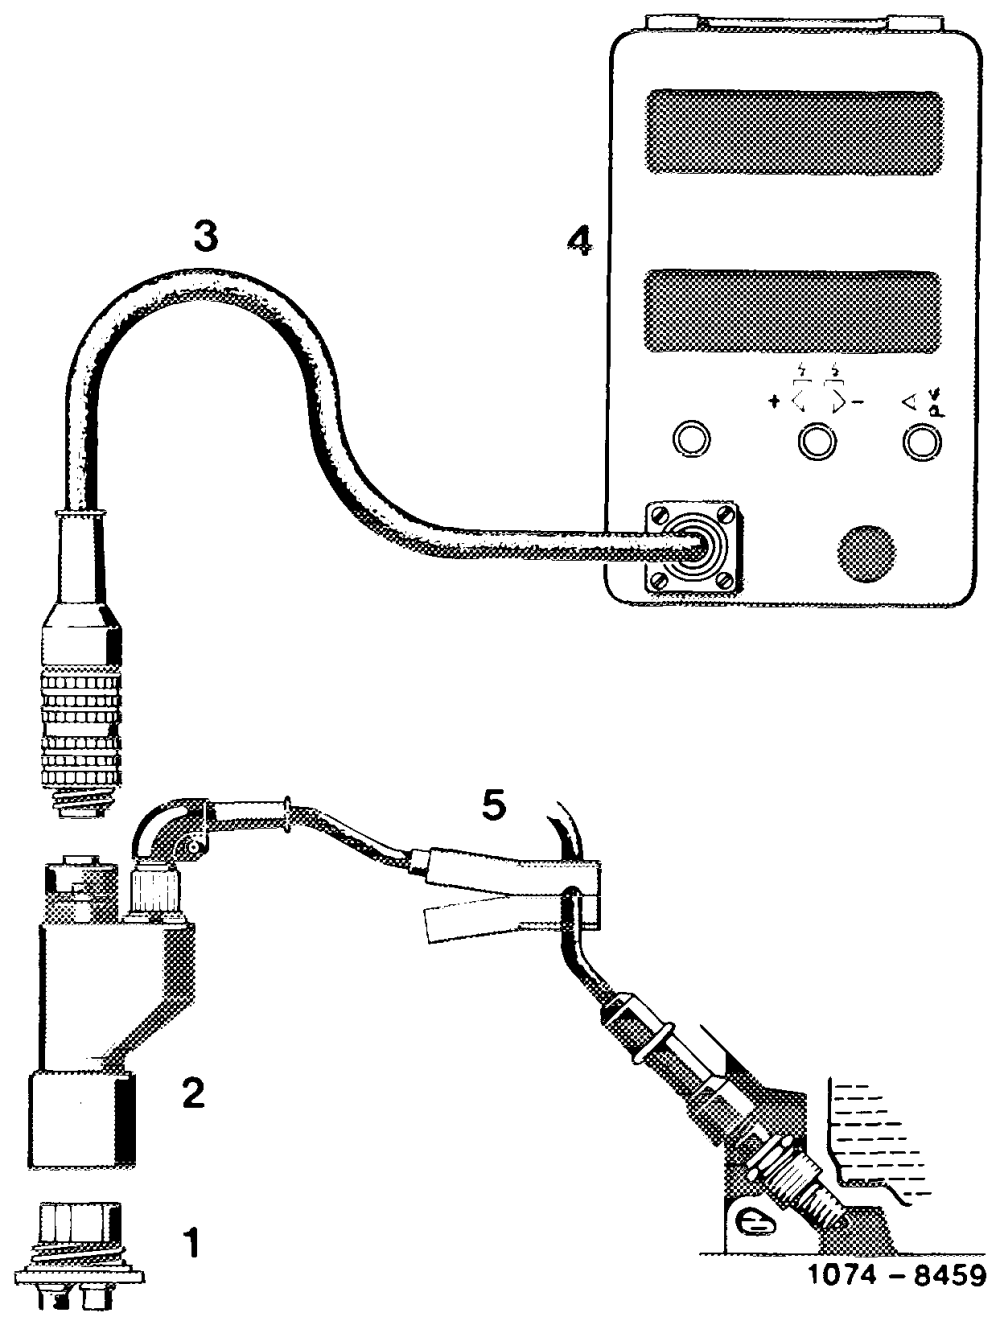
1 Connect testers:
Digital! tester or revolution counter CO measuring instrument Oil telethermometer Voltmeter
2 Test battery rest potential and starting voltage.
3 Test voltage on ignition coil terminal 1 and 15 (15-515).
4 Evaluate oscilloscope pattern.
5 Test dwell angle. Test firing point, adjust. Test centrifugal force and vacuum ignition adjustment (15-500).
6 Run engine oil temperature to 75—85 °C.
7 Switch off air conditioning. Move selector lever into position ‘“‘P’’.
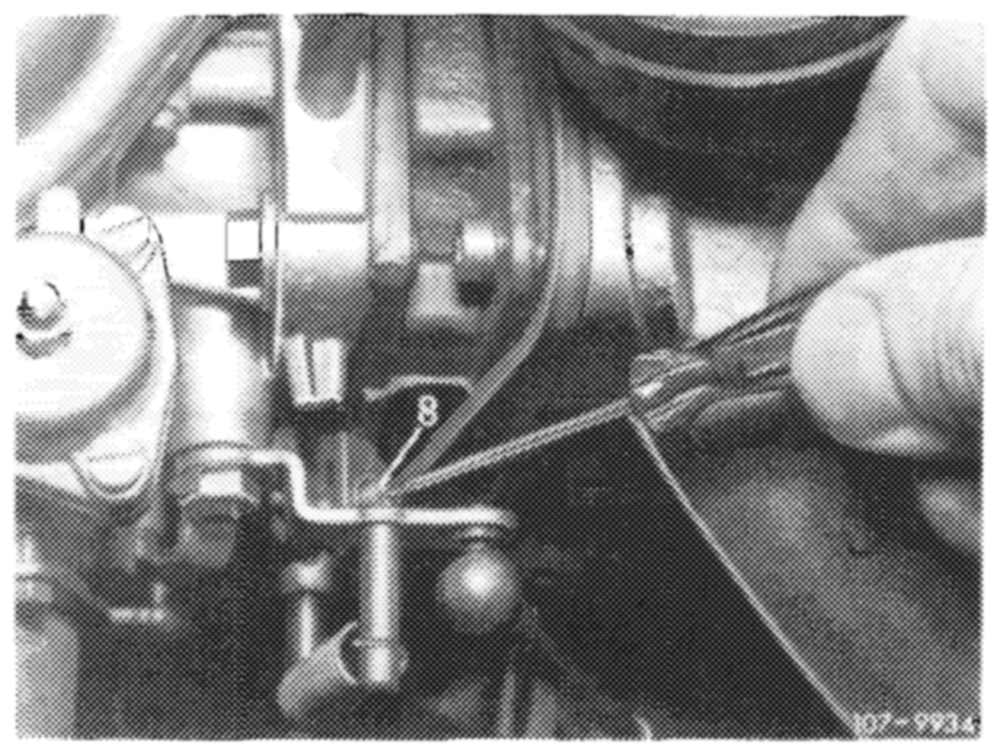
8 Check regulating linkage for easy operation. For this purpose, increase engine speed up to approx. 2500/min. Then reduce engine speed by decelerating “slowly’’ down to idle speed, with stop against idle speed adjusting screw (8).
Then check all bearing points and ball sockets of regulating system for condition and lubricate.
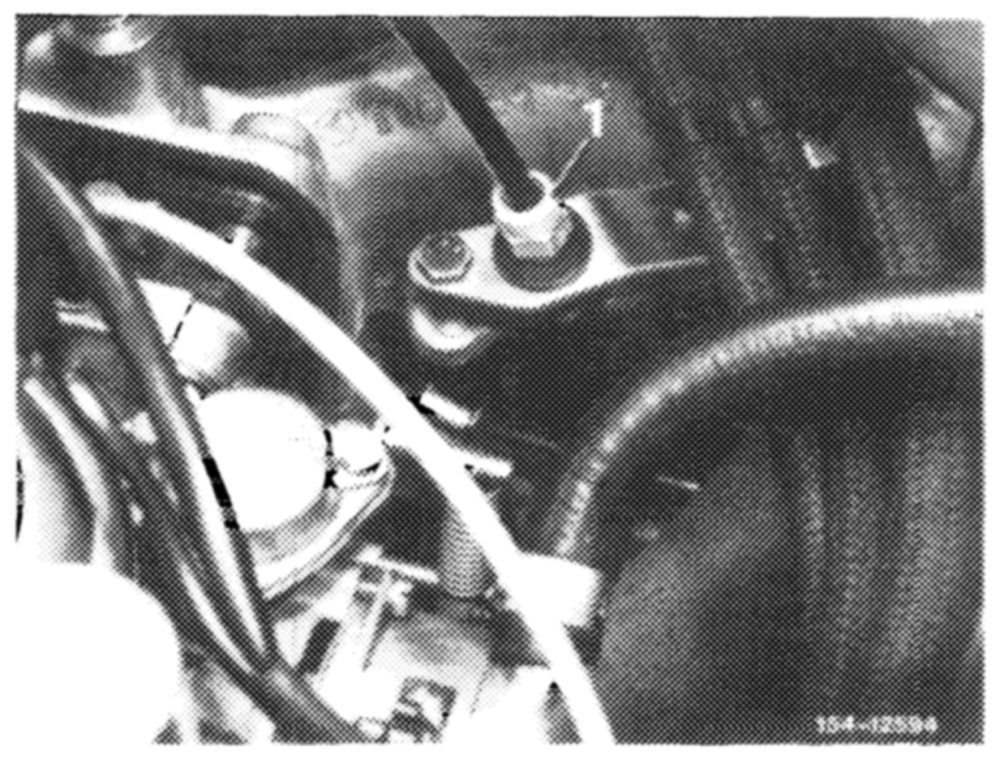
9 On vehicles with cruise control/Tempomat, check whether Bowden wire rests ‘‘free of tension’ against regulating lever and adjust by means of adjusting nut (1), if required.
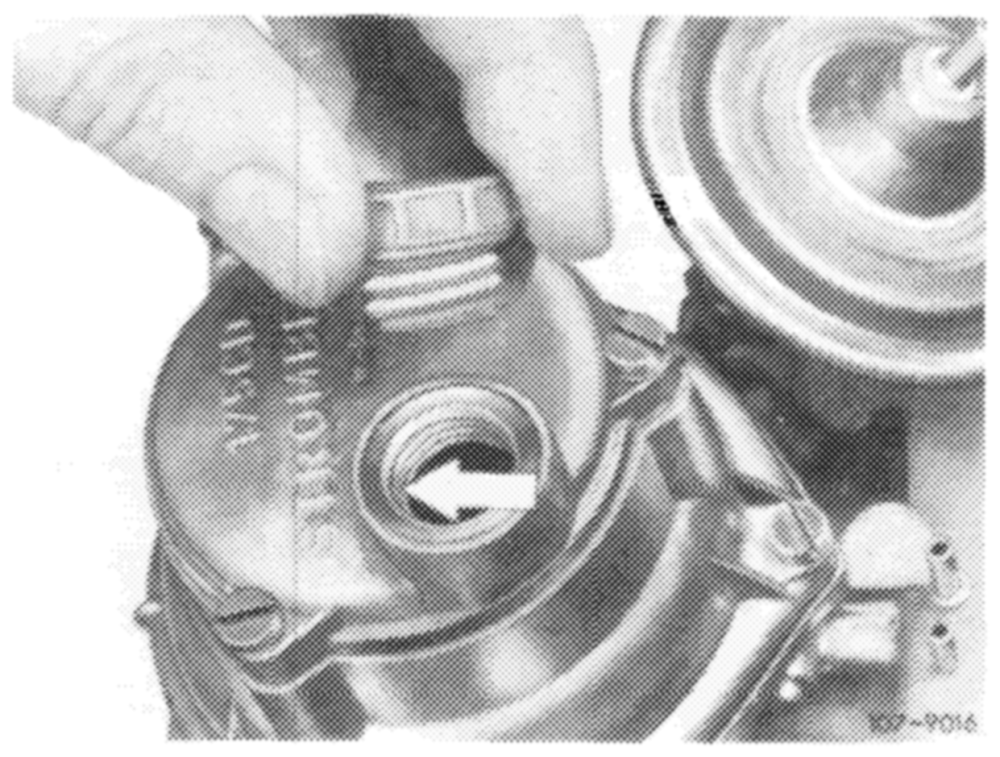
10. Check air piston damper oil level, fill up.
For this purpose, unscrew closing plug. Damper oil should reach up to lower edge of threads (arrow) of filler hole.
11. Check intake system for leaks. For this purpose, spray all sealed points with Iso-Oktan DIN 51 756 or benzene. If engine speed or CO value are changing, a leak is indicated.
To prevent measuring errors, pull hose for heating intake air from air cleaner and close now open hole on air cleaner.
Attention! Do not use conventional fuel for spraying (unhealthy vapors).
Pay attention to inflammability and do not spray on red-hot parts or parts of ignition system.
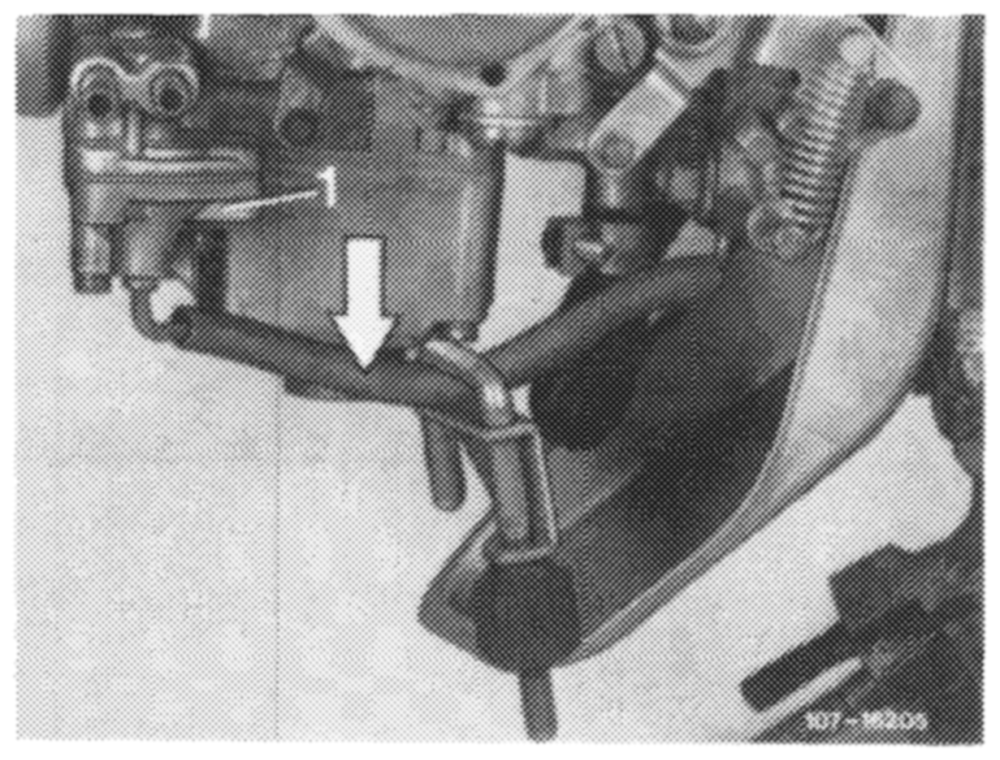
12 Check fuel return flow valve for leaks.
For this purpose, pinch vacuum hose (arrow) for fuel return flow valve (1).
Pay attention to idle speed and idle speed CO value. If idle speed or idle speed CO value are changing, the vacuum diaphragm in fuel return flow valve is leaking. In such a case, replace diaphragm.
Attention!
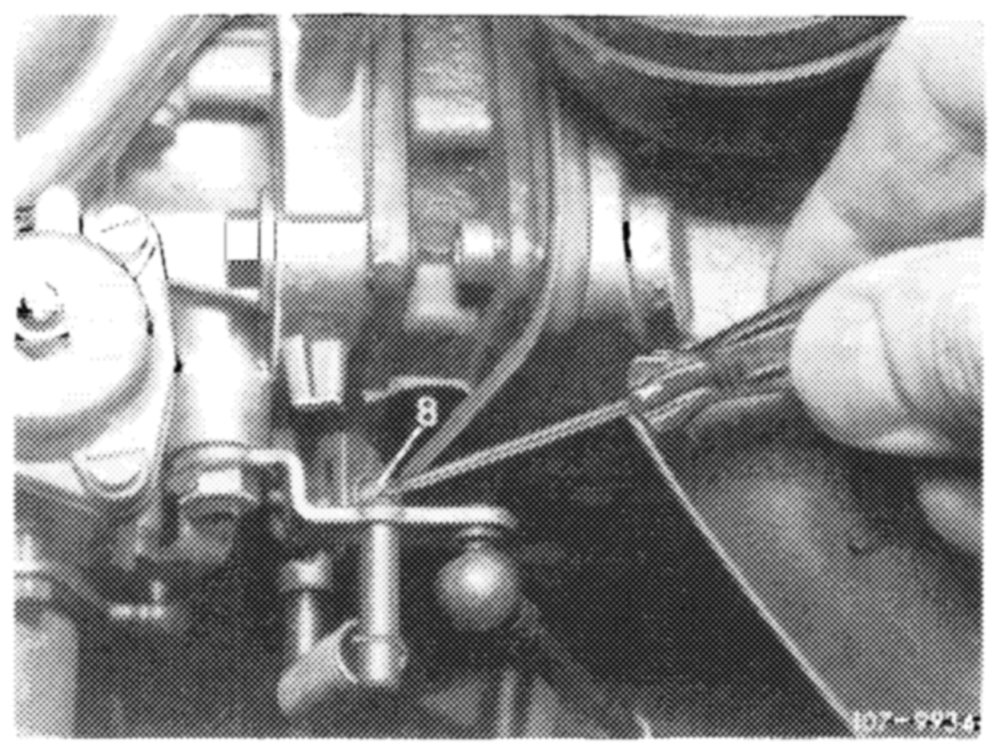
Fuel is drawn off by way of a leaking vacuum diaphragm in fuel return flow valve under influence of intake manifold vacuum. This may lead to a high fuel consumption and poor idle.
13 Adjust idle speed:
a) Model 115
Adjust idle speed with adjusting screw (8).
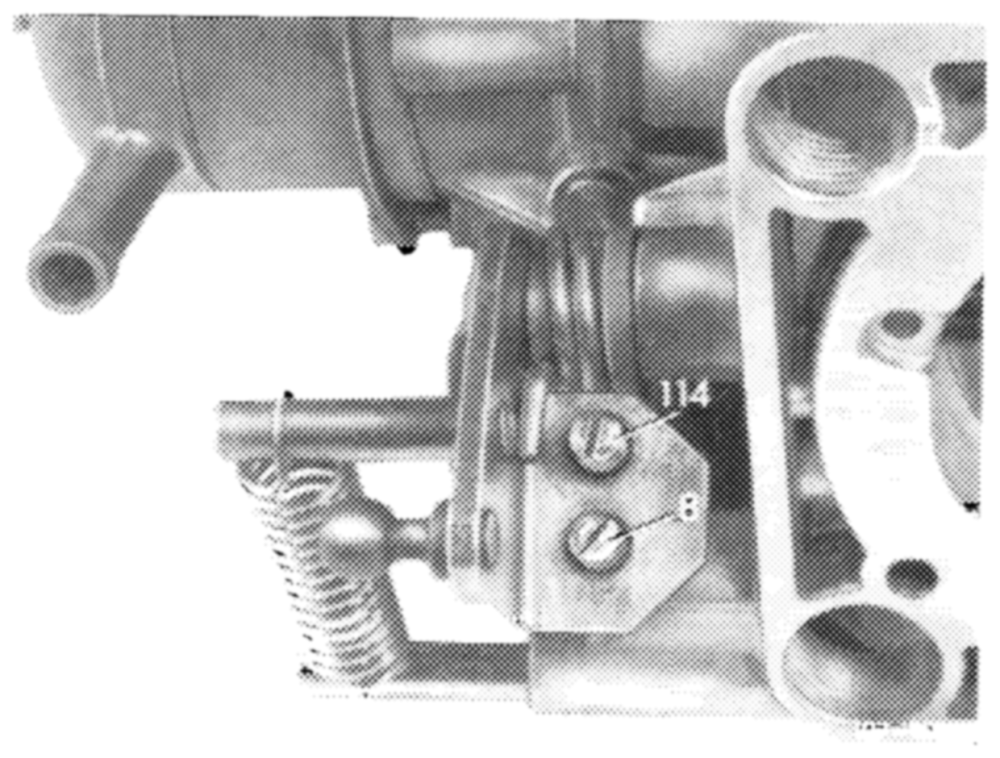
Model 115 Carburetor version 1
Model 115 Carburetor version 2 (national version only)
b) Model 123
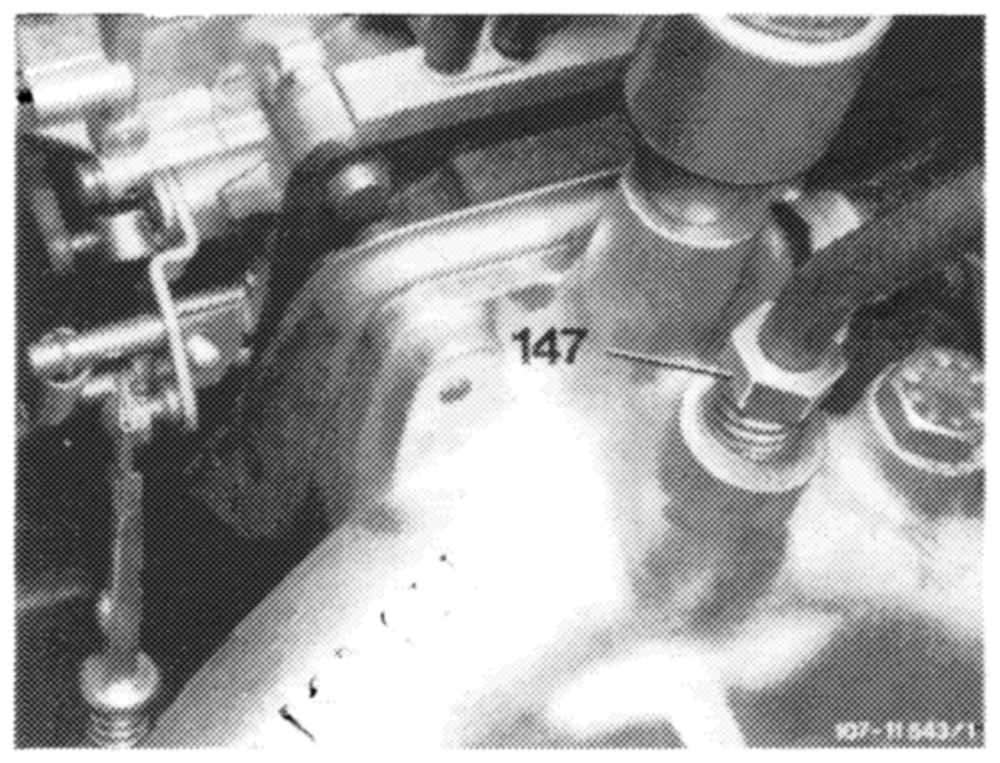
Adjust idle speed with adjusting screw (147).
Standard version
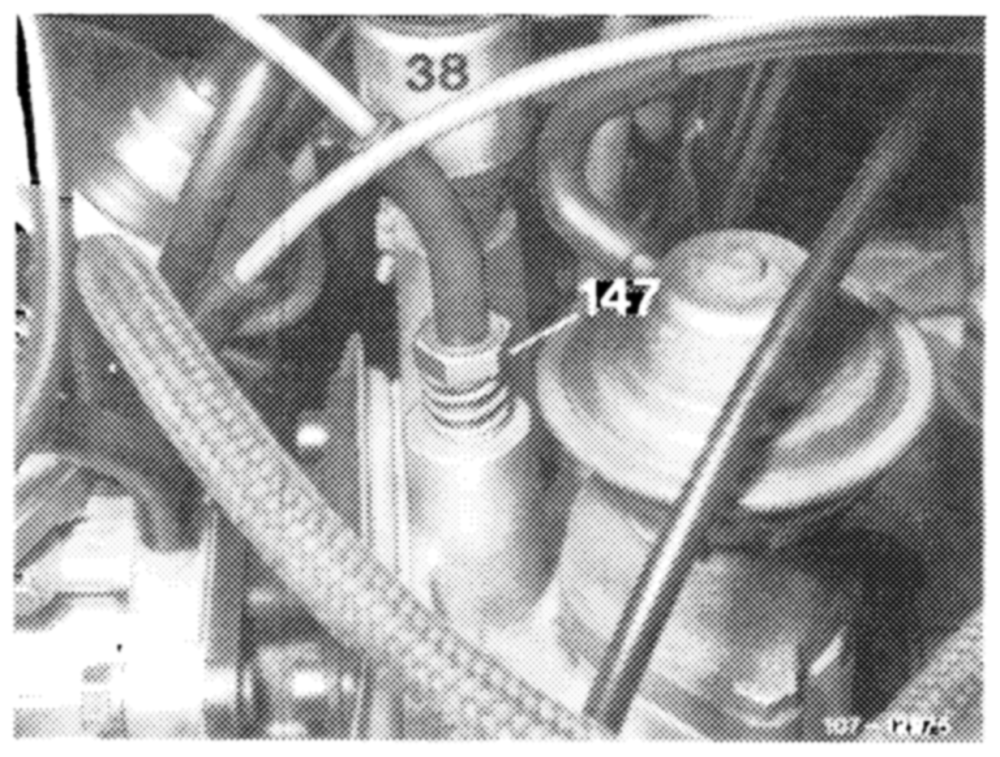
National version
14 Check idle speed CO value and adjust, if required.
On national versions @us) C2) CS) @sA the following prerequisites must be met prior to idle speed CO value test or adjustment depending on version of emisssion control system and model year.
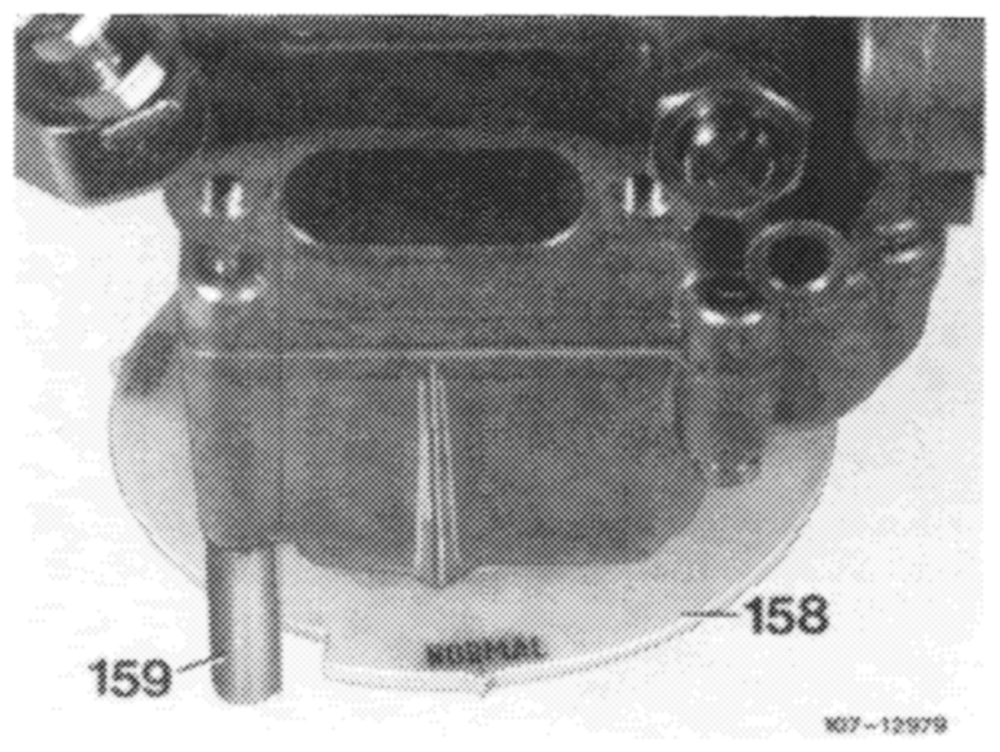
On carburetors with altitude adjustment, check whether hand wheel (158) is on correct mark and adjust, if required.
Normal = 4000 ft and below
4000 ft above 4000 ft (high altitude)
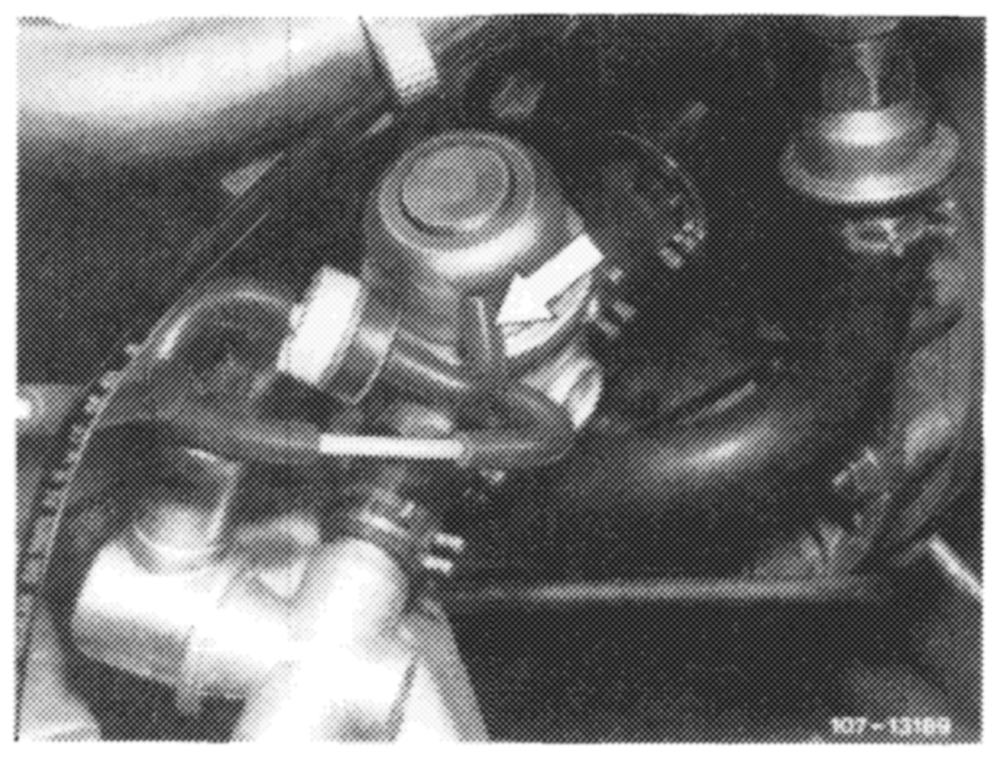
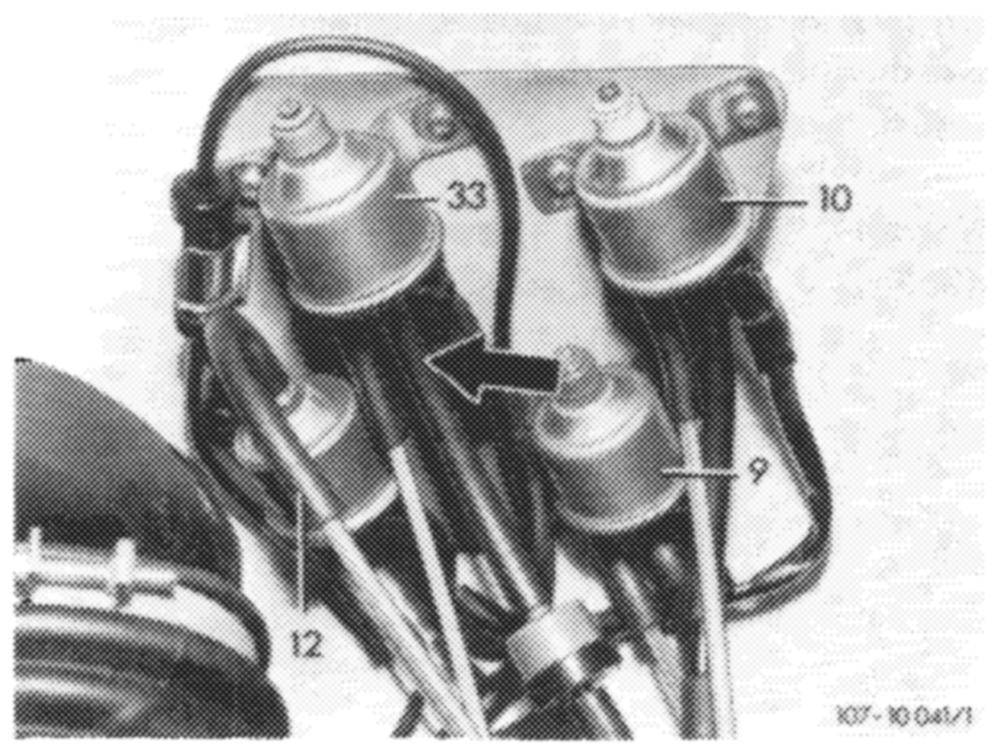
Pull off vacuum hose (arrow) (air injection not Operating).
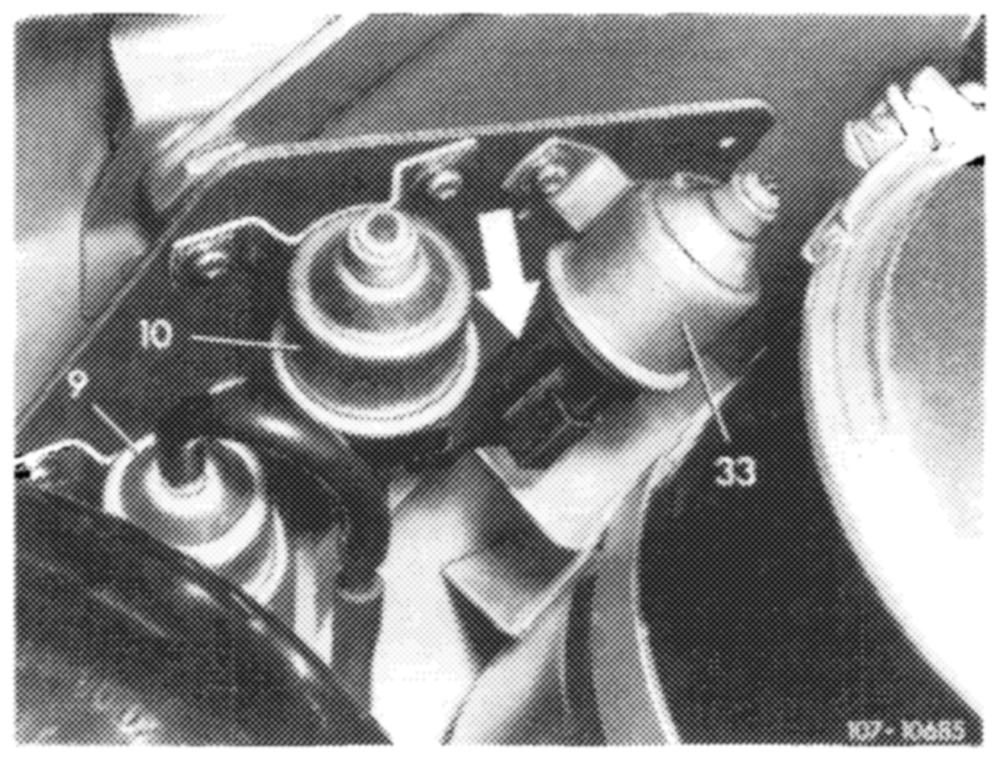
CG) 1976
Pull off vacuum hose (arrow) (air injection not operating).
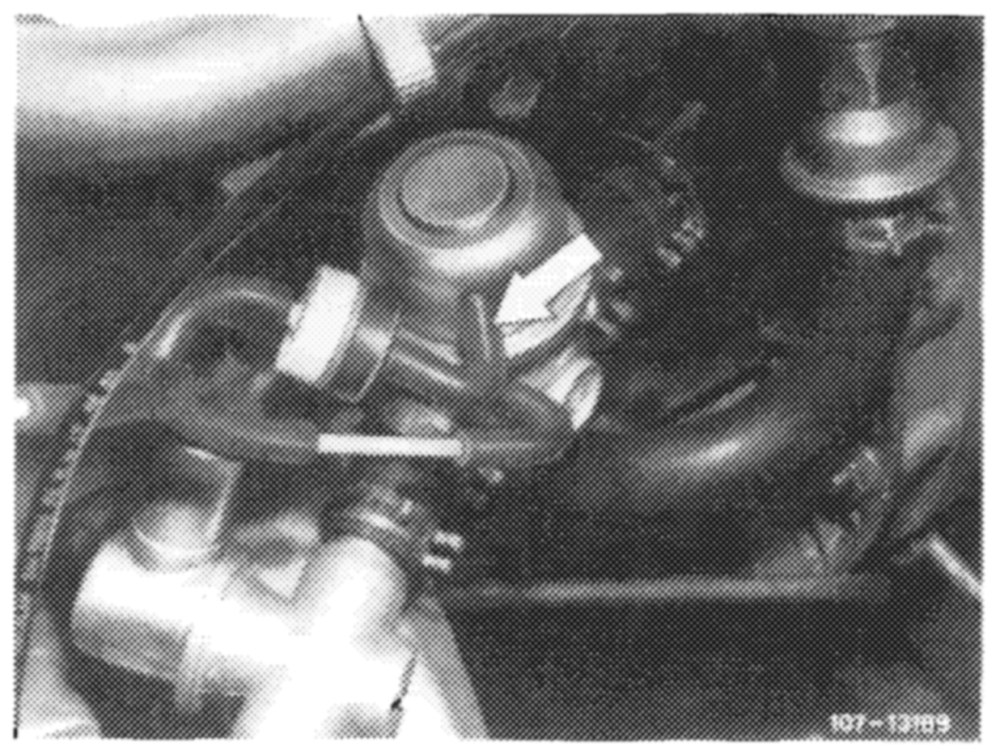
GS) 1977-1980
Pull off vacuum hose (arrow) (air injection not Operating).
1975/76
Pull off vacuum hose (arrow) (air injection not operating).
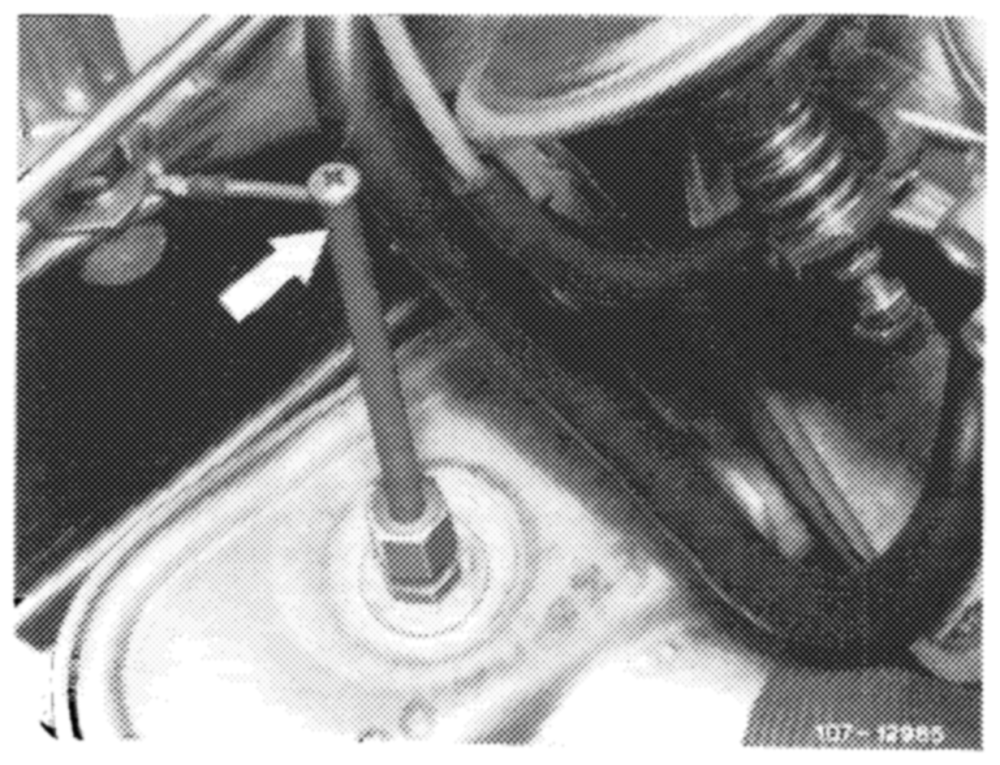
Starting model year 1977 @ and Gs the air injection need no longer be made inoperative for idle speed CO value test and adjustment, since the exhaust gas is drawn off at tapping pipe (arrow).
Arrow = exhaust gas tapping pipe
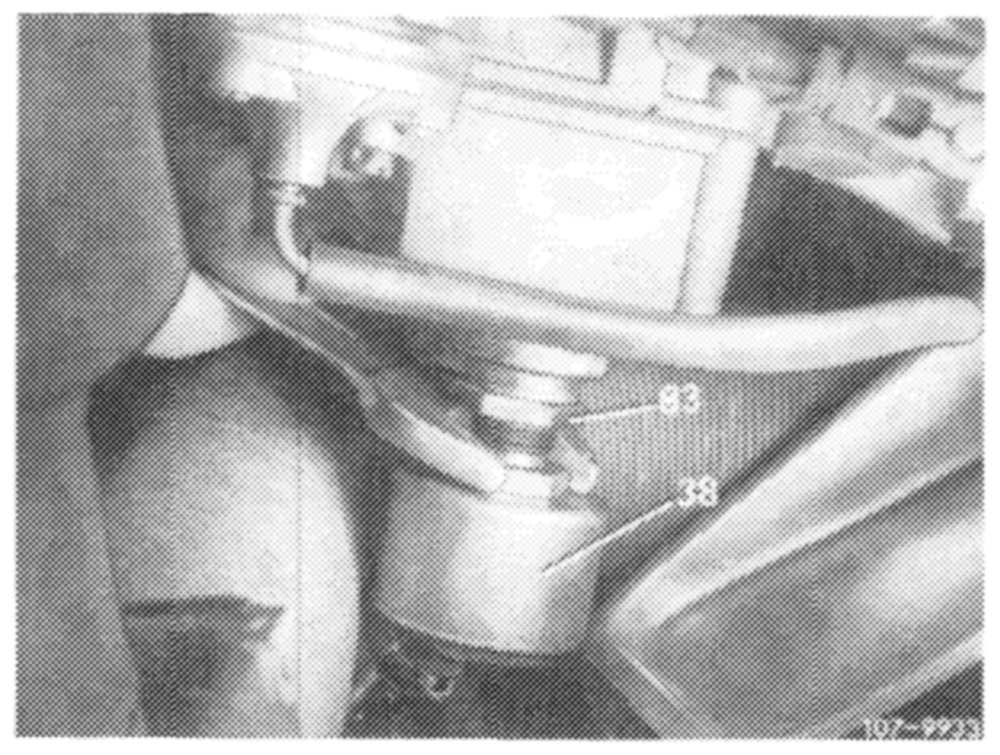
Adjust idle speed CO value:
a) Model 115 standard and national version
Adjust idle speed CO value with idle speed shutoff valve (38).
Screwing out = richer
Screwing in leaner
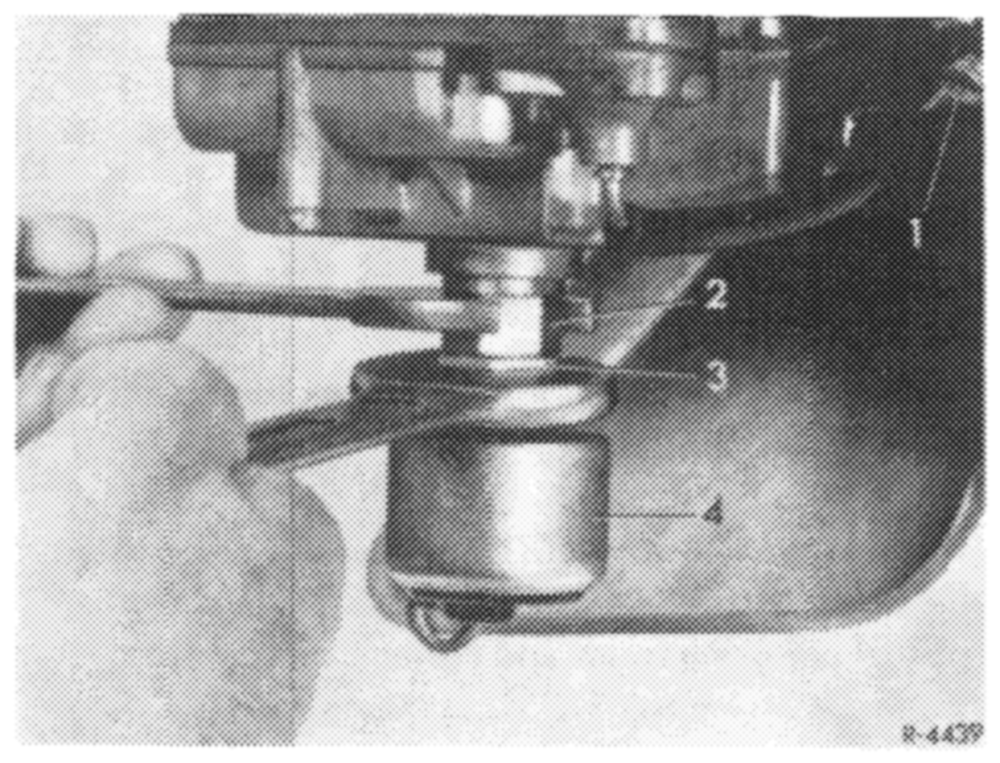
Accelerate for a short moment, check idle speed CO value once again.
On carburetors with holding screw (2) apply counterhold to holding screw when loosening hex. nut (3).
Note: On carburetors without idle speed shutoff valve, adjust idle speed CO value by means of knurled screw.
b) Model 123 standard version
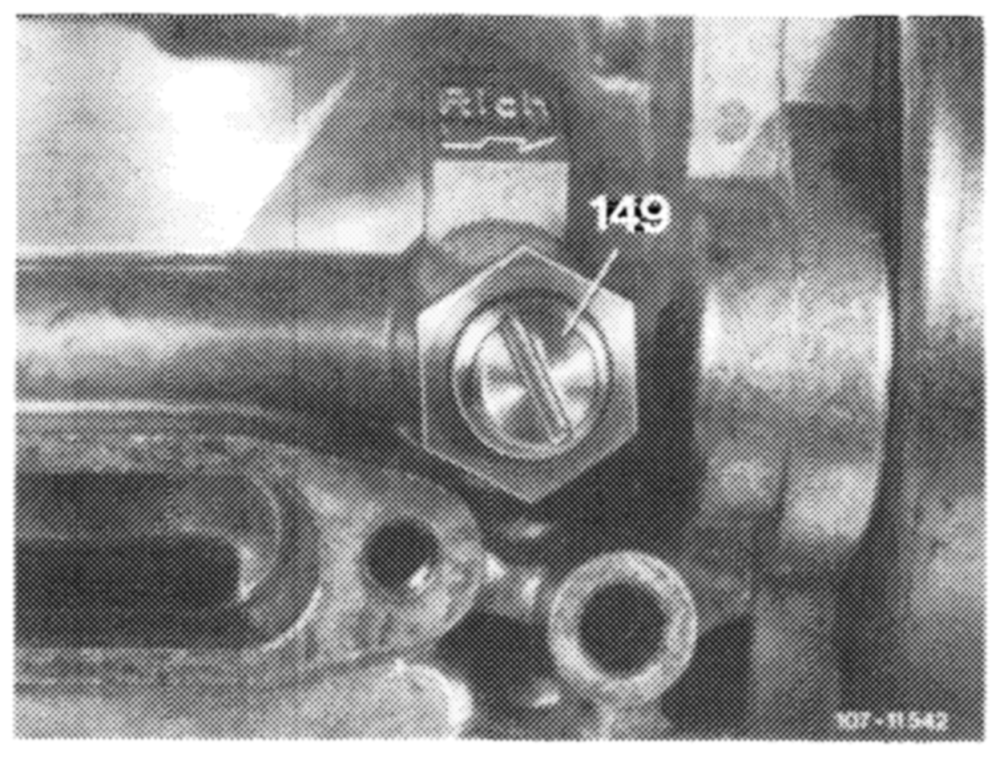
Screw adjusting screw (149) completely in and counterlock with hex. nut.
Attention! This adjusting screw must remain closed.
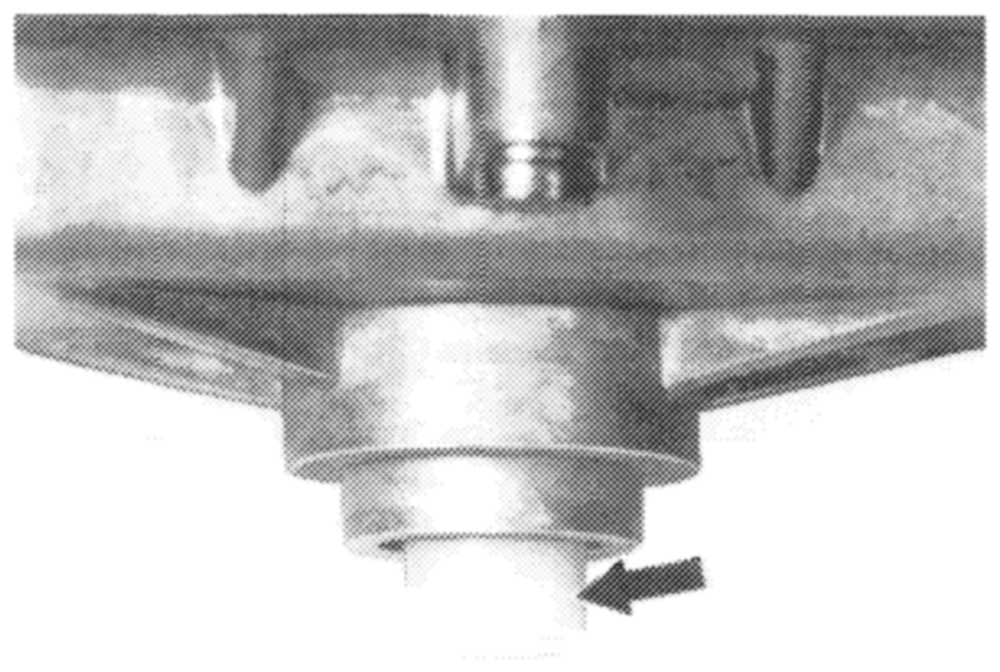
If idle speed CO value is not within tolerance, pull safety cap (arrow) from fuel adjusting screw.
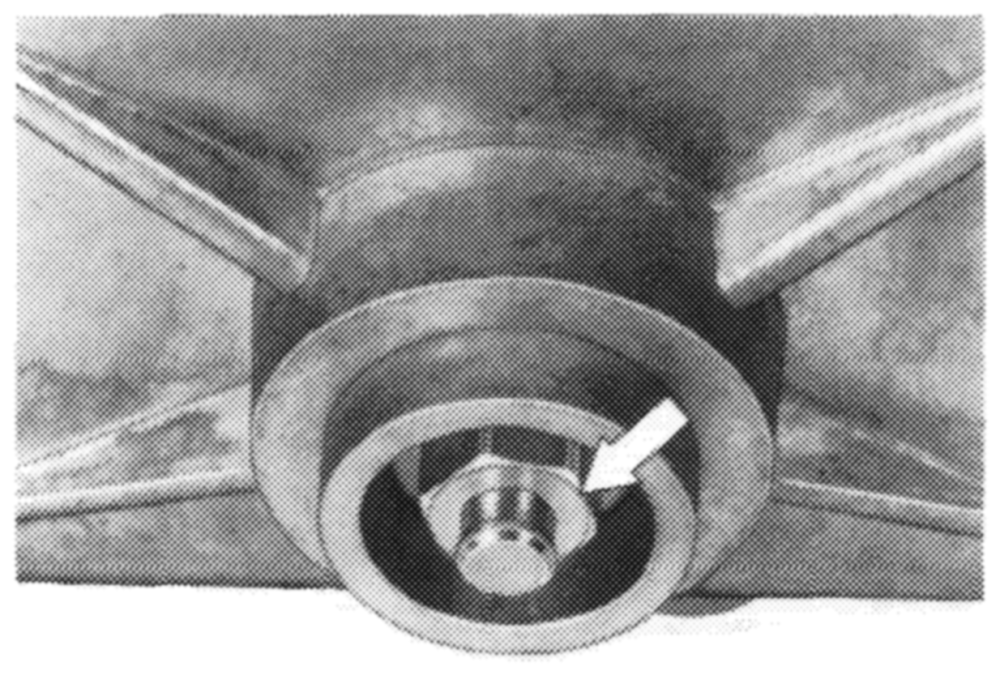
Adjust idle speed CO value with fuel adjusting screw (arrow).
Screwing out = richer
Screwingin = leaner
Accelerate for a short moment, check idle speed CO value once again. Mount new safety cap.
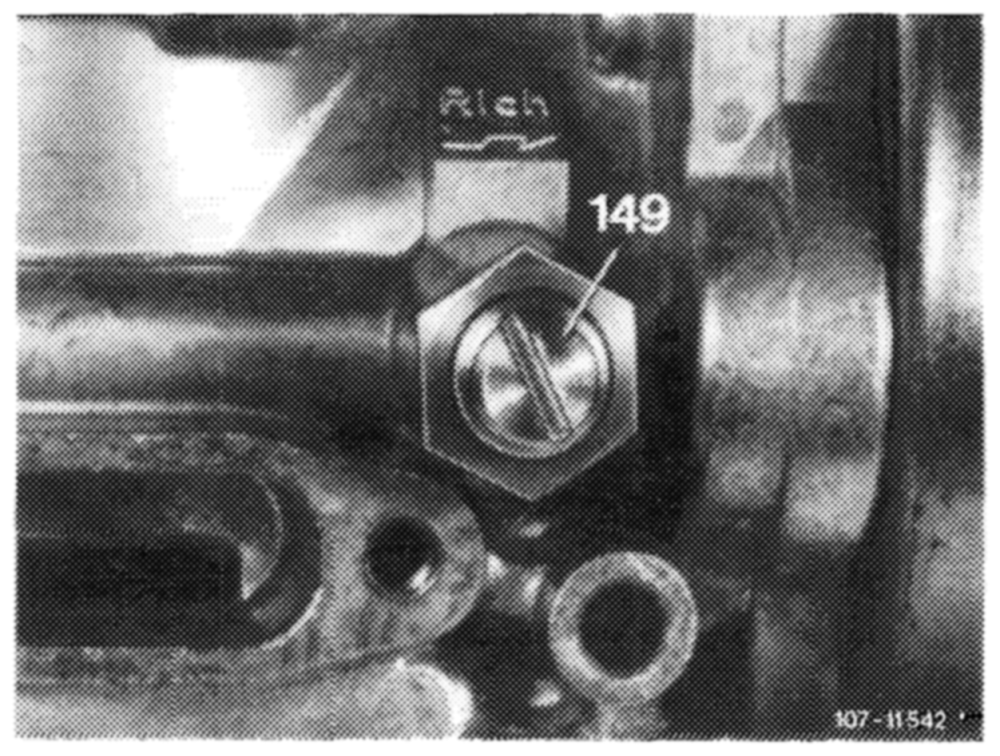
c) Model 123 G5) GCS) Gs)
Adjust idle speed CO value with adjusting screw (149).
Screwing out = Seaner
Screwingin = richer
Accelerate for a short moment, check idle speed CO value once again.
Note: If the idle speed CO value cannot be adjusted by means of adjusting screw, check basic adjustment of fuel adjusting screw and correct, if required (07.2–107).
Plug vacuum hoses for air injection on again (air injection operating).
Check idle speed CO value once again. Value should
be below value previously set.
15 Adjust regulating rod:
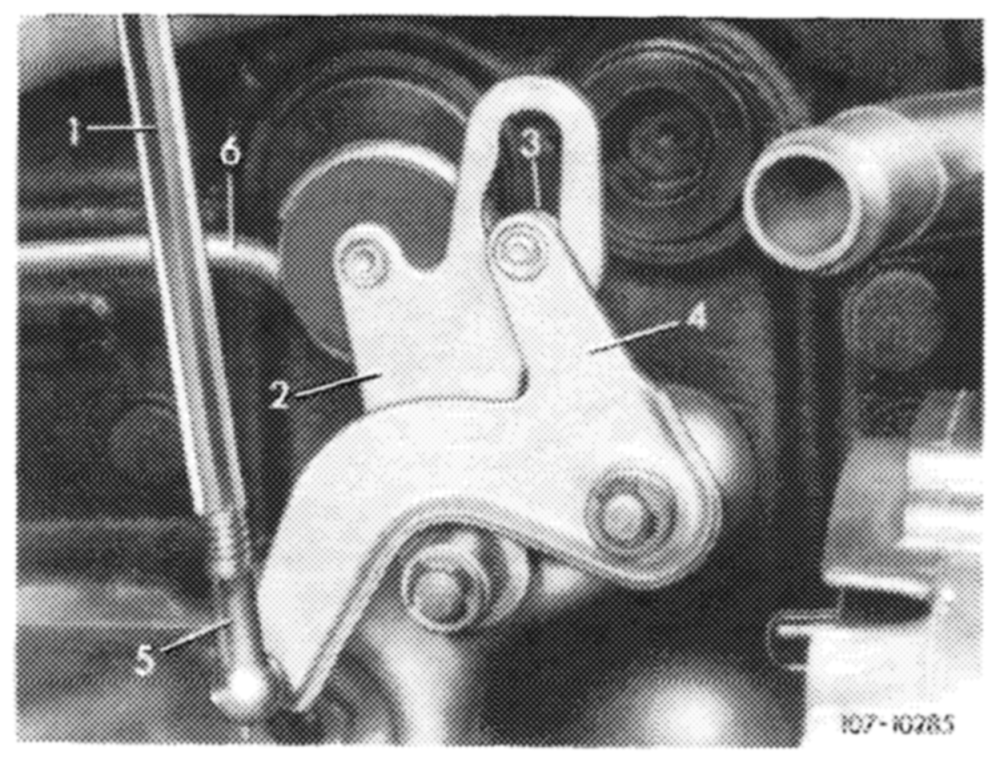
a) Model 115 with manual transmission
Adjust regulating rod (1) in such a manner that roller (3) rests free of tension against limit stop.
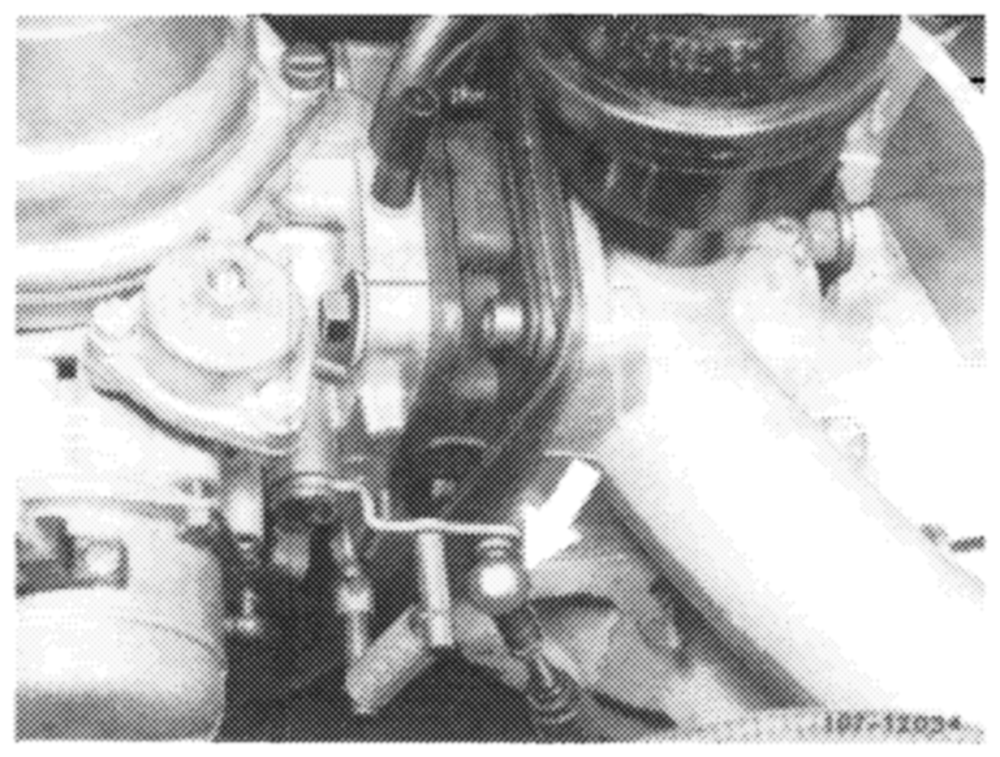
b) Model 115 with automatic transmission
With engine running, adjust regulating rod by means of ball socket (arrow) in such a manner that rod can be connected free of tension in completely extended condition (idle path).
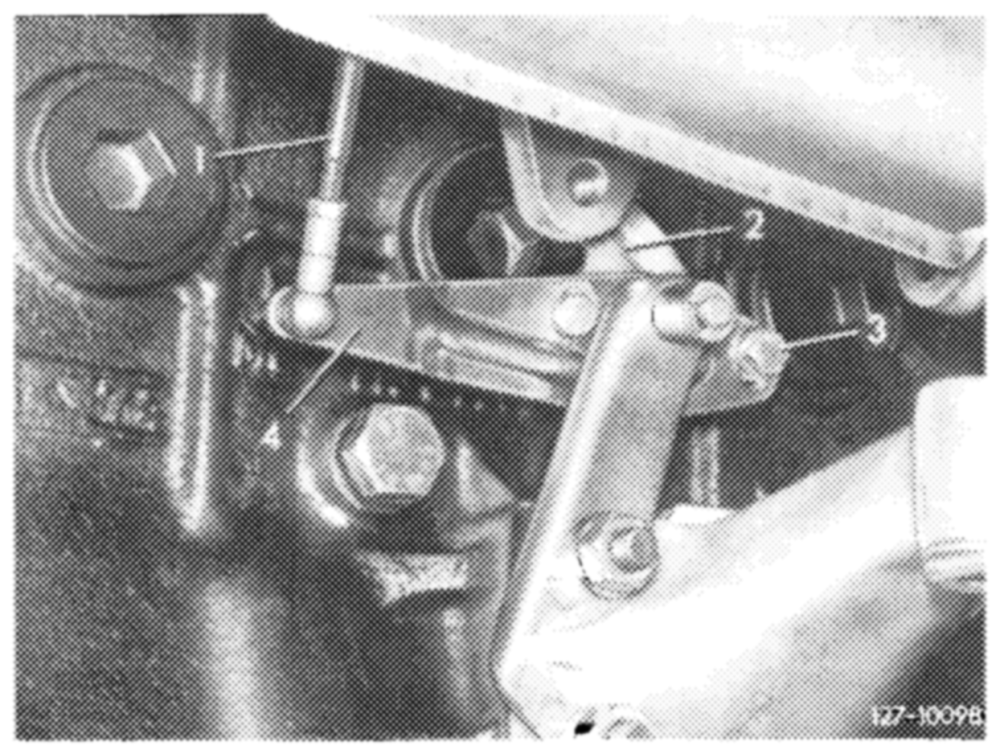
c) Model 115 Gs) California version 1975/76
With engine running, disconnect regulating rod (1) on carburetor and push down against stop. Adjust bal! socket to permit connection to throttle valve lever free of tension.
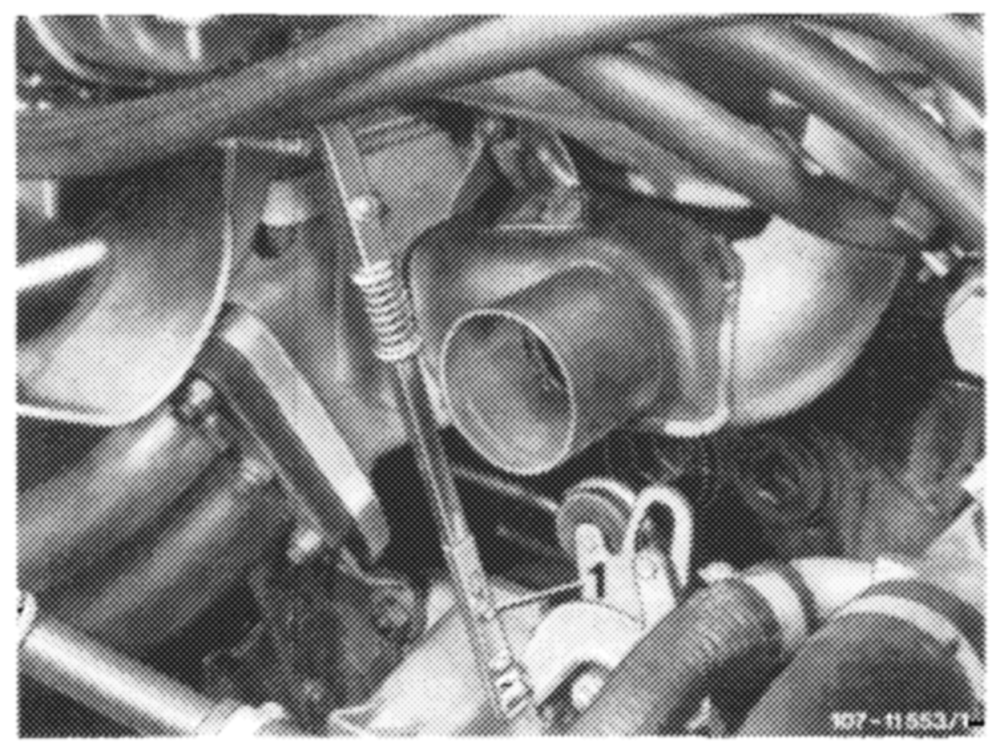
d) Model 123 with manual transmission
Adjust regulating rod (1) in such a manner that roller in guide lever rests free of tension against limit stop. \f required, loosen clamping screw (arrow) and adjust regulating rod accordingly.
e) Model 123 with automatic transmission
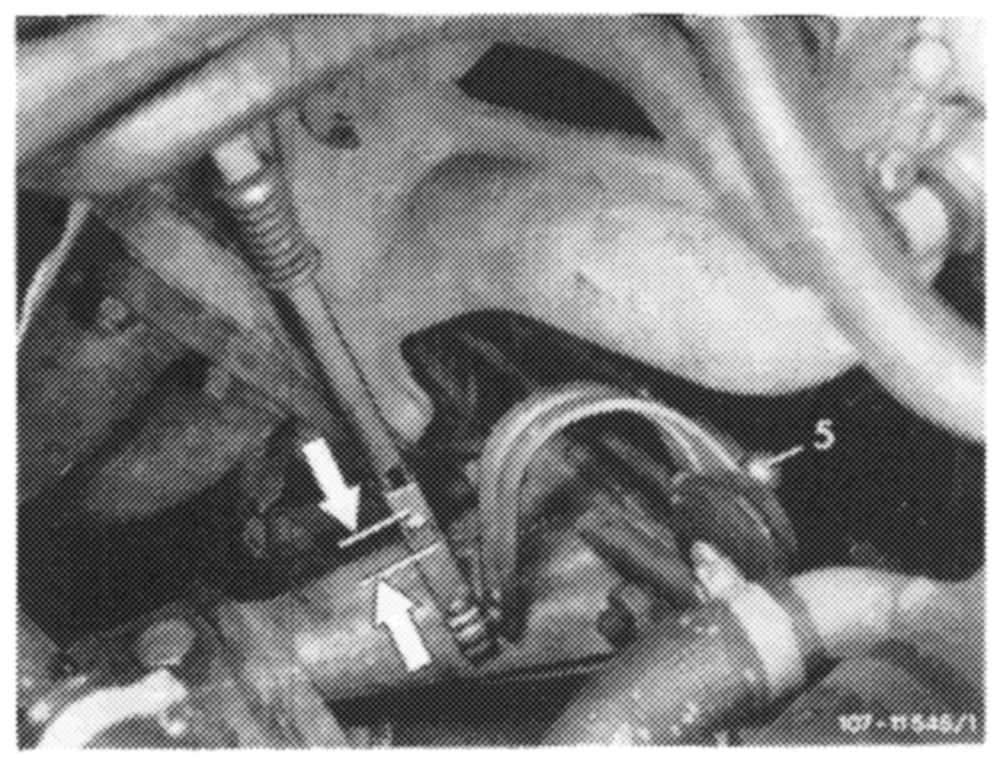
With engine running, adjust regulating rod in such a manner that rod can be connected free of tension in completely extended condition (arrow). If required, adjust length of control pushrod with ball socket (5) accordingly.
f) Model 123 with automatic transmission and air
conditioning system
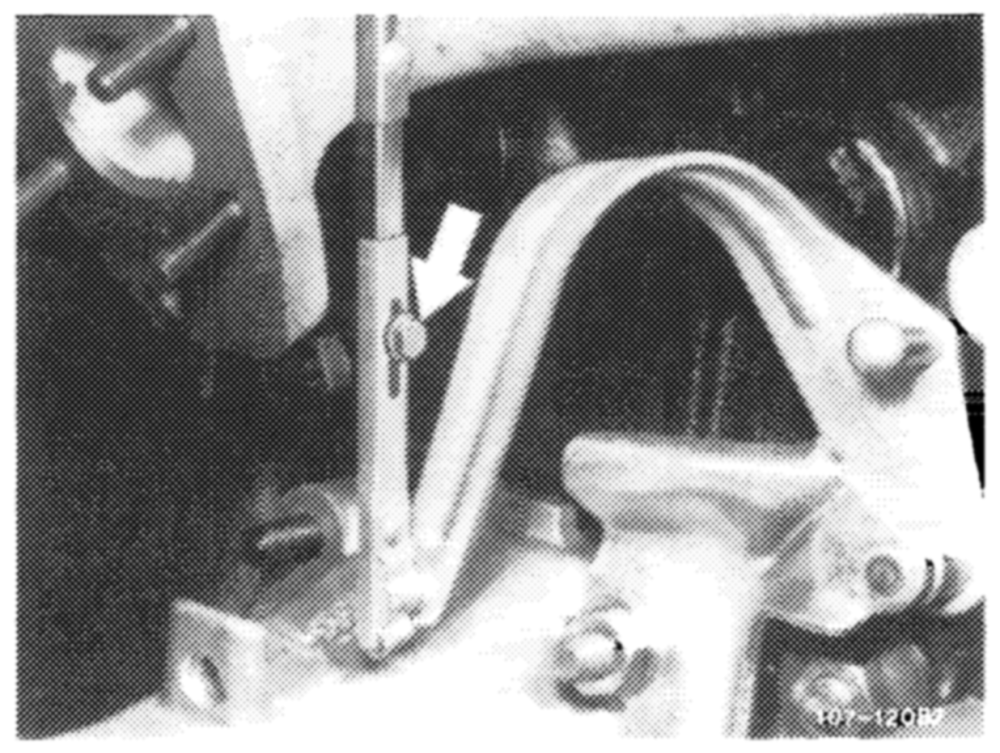
With engine running, adjust regulating rod in such a manner that rod can be connected free of tension in completely extended condition. If required, loosen clamping screw (arrow) and adjust regulating rod accordingly.
g starting model year 1977
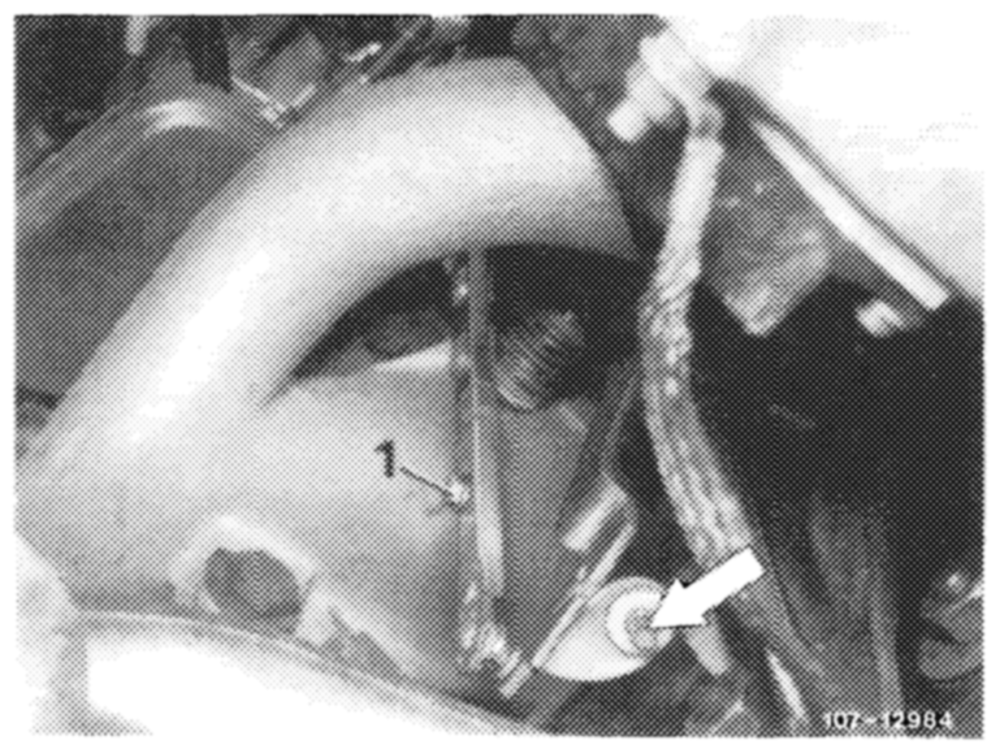
With engine running, adjust regulating rod in such a manner to permit connection free of tension in completely extended condition. If required, loosen clamping screw (1) and adjust regulating rod as required.
16 Adjust vacuum governor.
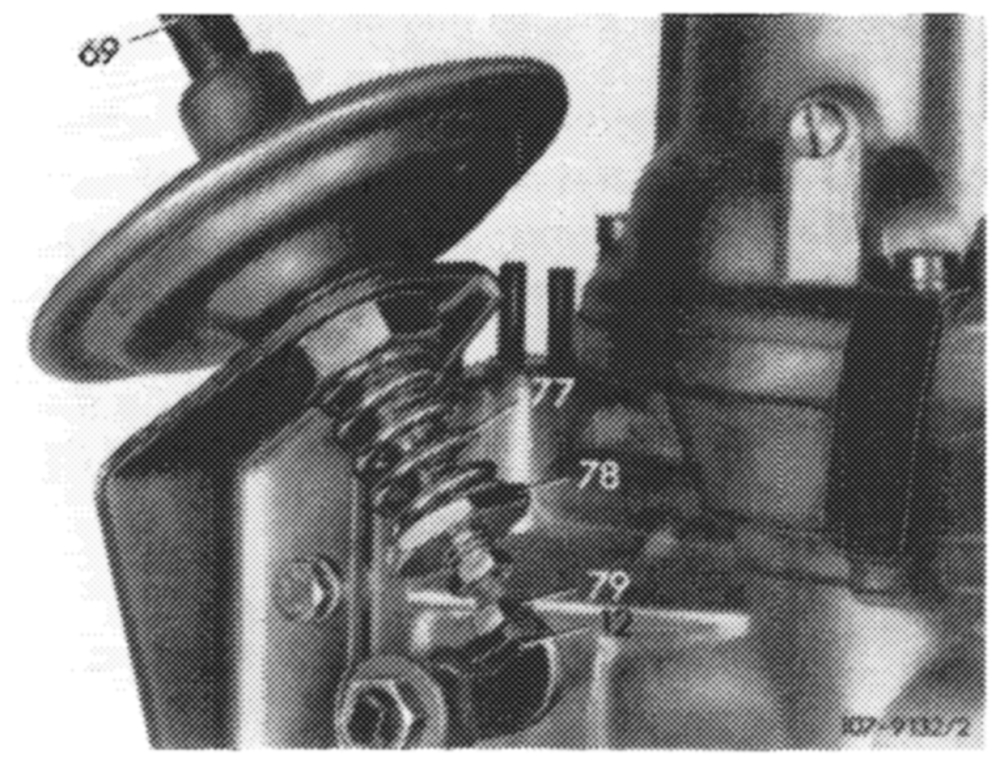
For this purpose, run engine at idle, pull off vacuum hose (69), adjust to specified speed by means of adjusting screw (79), plug on vacuum hose.
Attention! Apply counterhold to diaphragm rod when loosening counternut.
Check whether specified distance between adjusting screw (79) and throttle valve lever (12) is available. If required, adjust by means of adjusting nut (78).
Move selector lever into driving position. Turn power steering to full lock and switch on air conditioning system, engine should still run smoothly. If required, readjust speed by means of adjusting nut (78).
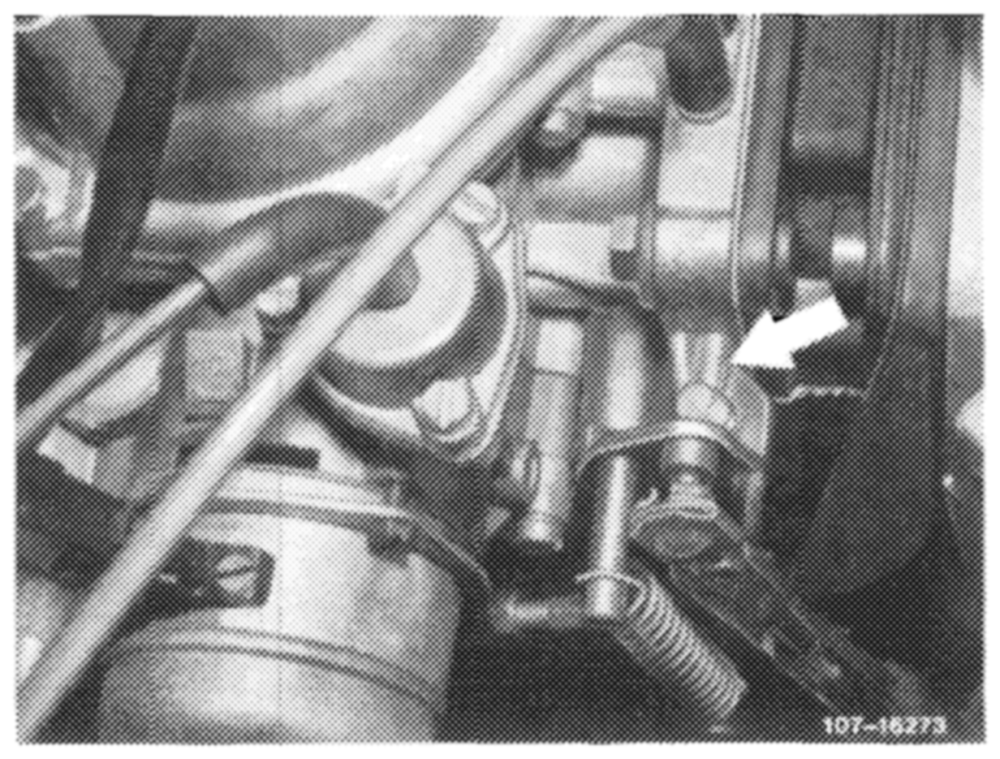
On vehicles with manual transmission, step down fully on accelerator pedal! with engine stopped. In this position, the throttle valve lever should rest against full load stop (arrow) of carburetor.
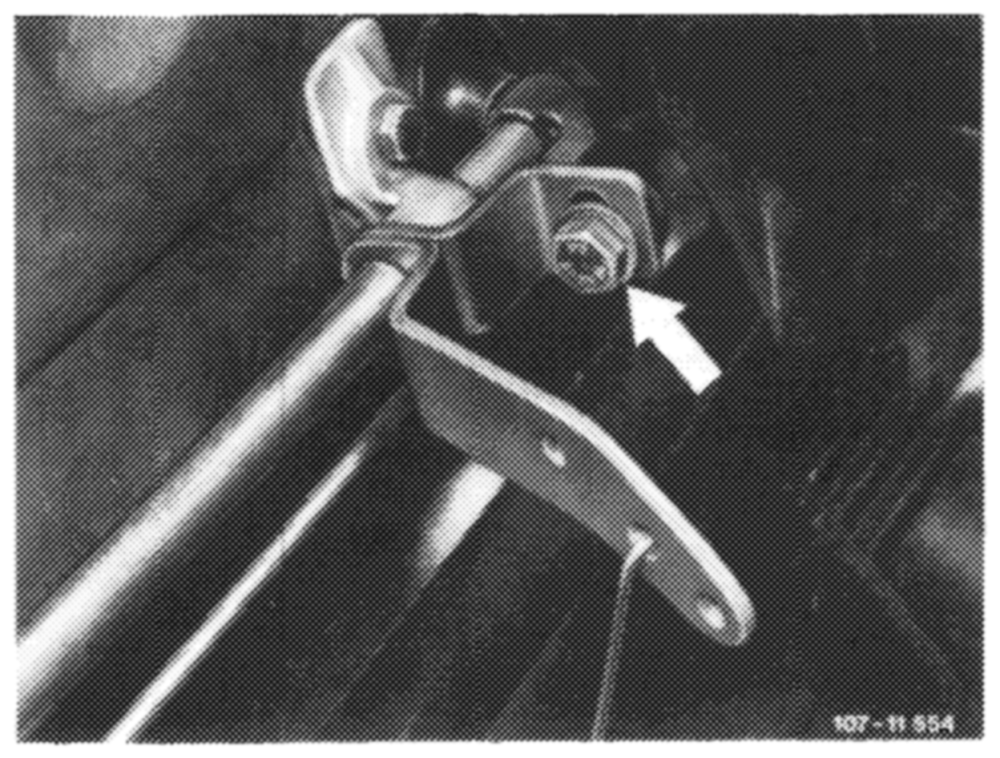
On vehicles with automatic transmission, step down on accelerator pedal up to stop on kickdown switch only (do not operate kickdown switch), with engine stopped. In this position, throttle valve lever should rest against full throttle stop (arrow) of carburetor.
Lefthand steering
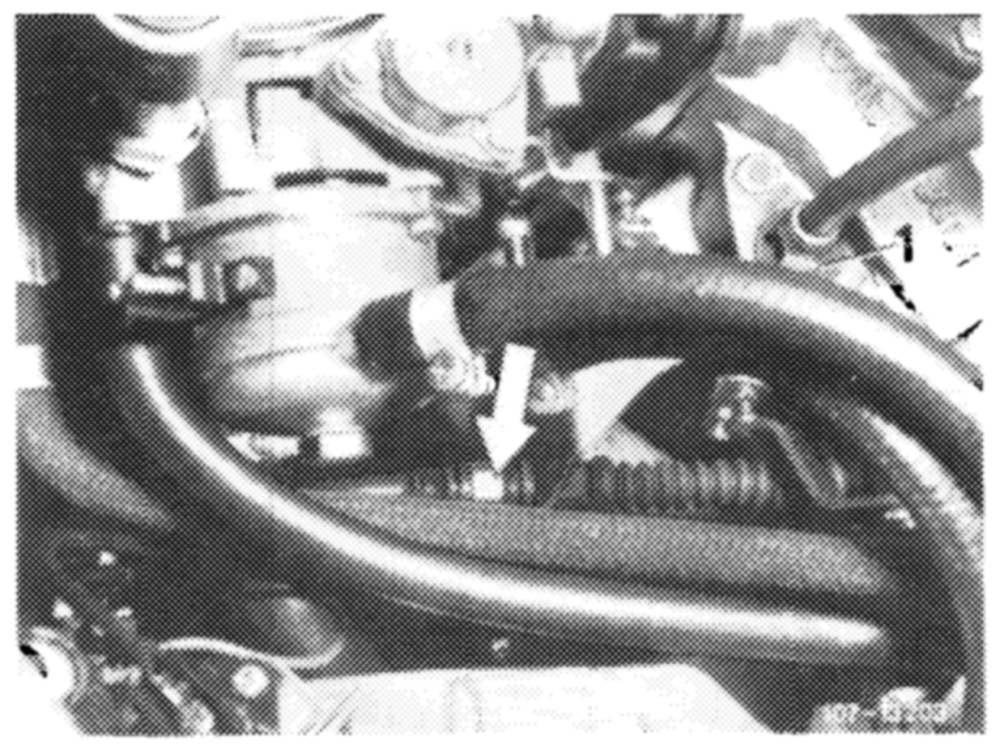
\f full throttle stop is not attained, loosen clamping screw (arrow) on regulating shaft. Slightly release accelerator pedal and tighten screw again. Check full throttle stop once again and repeat adjusting procedure, if required.
Righthand steering
If full throttle stop is not attained, adjust by means of adjusting nut of Bowden wire (arrow).