Mounting of crankshaft
WIS 03-320
Data
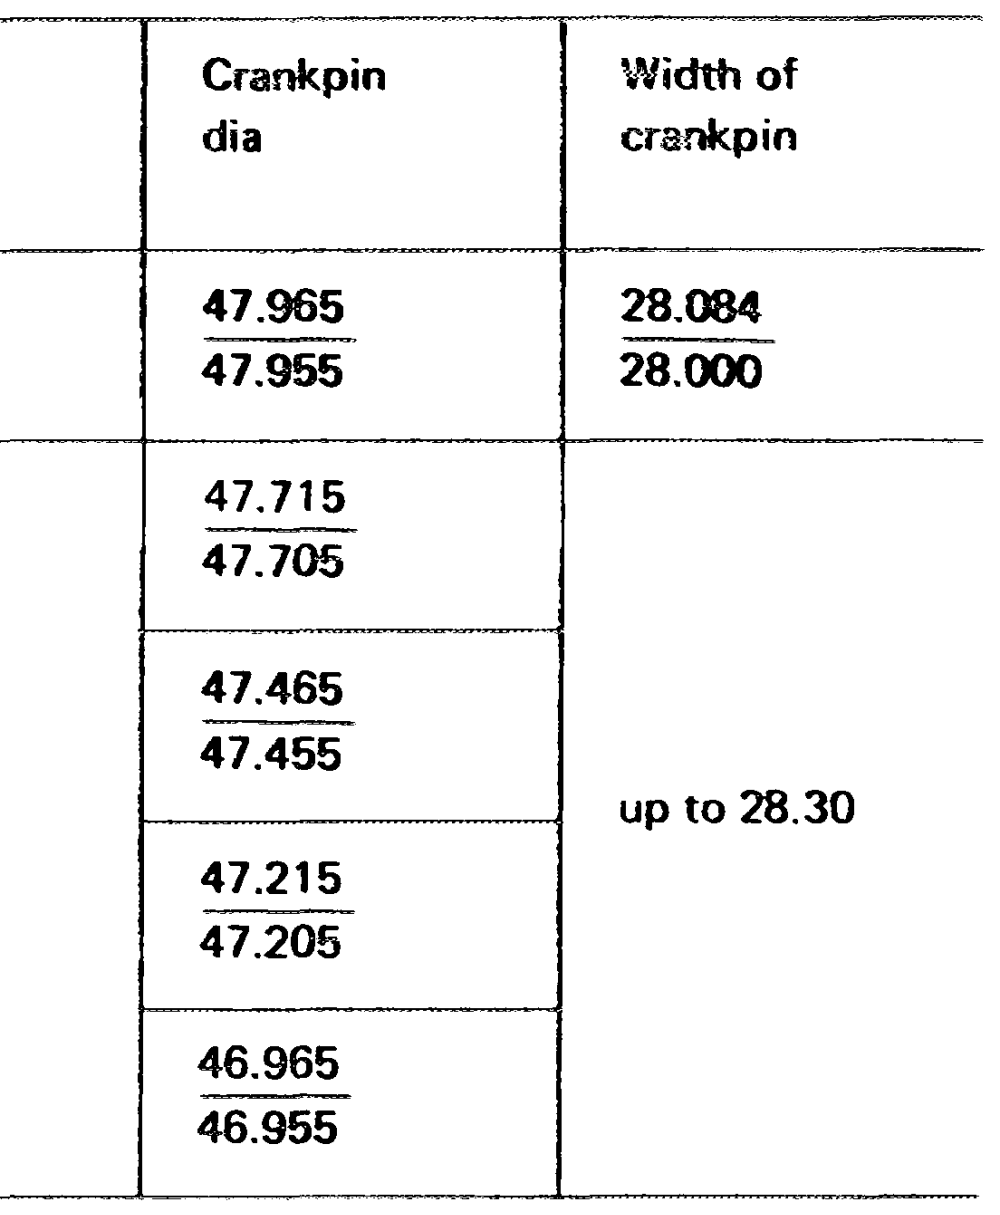
| Crankshaft standard dimension and repair stages | Crankshaft bearing journal dia | Width of journal on fitted bearing | ||||
| Standard dimension | 59.965 59.955 | 29.021 29.000 | ||||
| Ist repair stage 2nd repair stage | 59.715 9.705 59.465 59.455 | up to 29.60 | ||||
| 3rd repair stage | 59.215 59.205 | | 47205, | | ||||
| 4th repair stage | 58.965 58.955 | ‘eas | ||||
| Basic bore and bearing play | Crankshaft bearing | Connecting rod bearing | ||||
| Basic bore dia | 67.00 67.02 | 51.60 51.62 | ||||
| Perm. out-of-round and conicity of basic bore | 0.01 | |||||
| Radial bearing play | when new | 0.031 to 0.053!) | 0.025 to 0.065′) | |||
| wear limit | 0.08 | |||||
| Axial bearing play | when new | 0.10–0.24 | 0.11–0.23 | |||
| wear limit | 0.30 | 0.50 | ||||
| ’) Try for mean value of radial play (vertical runout). | unout). | |||||
| Bearing shells | Wall thickness crankshaft bearing | Width of fitted bearing shells | Wall thickness connecting rod bearing | |||
| Standard dimension | 3.500–3.513 | 28.78–28.90 | 1.804—-1.814 | |||
3.625–3.638 1st repair stage 1.929–1.939 2nd repair stage 3.750–3.763 2.054–2.064 29.4–29.6°) 3rd repair stage 3.875–3.888 2.179–2.189 4th repair stage 4.000–4.013 2.304–2.314
1) Measured at apex of bearing shell. 2) The fitted bearing shells for 1st to 4th repair stage are supplied in oversize width and should be refinished in accordance with ground crankshaft bearing journal.
Nm
Tightening torques
| Crankshaft bearing bolts | |
| Connecting rod nuts | initial torque angle of rotation torque |
| Balancing disc to crankshaft | |
| Necked down screws for flywheel or driven plate | initial torque angle of rotation torque |
Special tools
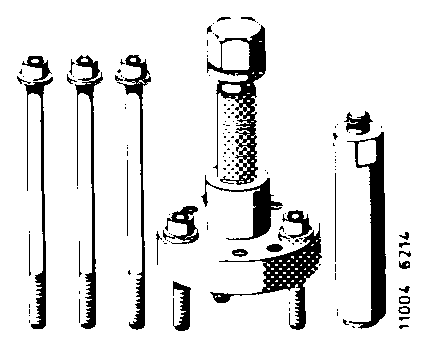
Puller for balancing disc – 116 589 10 33 00
Puller for crankshaft gear 615 5¢9 01 33 00
Detent – 110 589 00 40 00
Countersupport for internal puller – 000 589 33 33 00
Internal puller 14.5–18.5 mm fe 3 it . ee for radial ball bearing #0047247 – 000 589 25 33 00
Dial gauge holder for measuring end play 19006 6373 – – 116 589 12 21 00
Note Engine removed and disassembled.
Main oil duct in crankcase open (if with steel balls, refer to 01–130). Oil ducts in crankcase and in crankshaft carefully cleaned.
Test crankshaft for cracks, accuracy and hardness (03-318).
When grinding crankpins a difference of one repair stage only permitted per crankshaft.
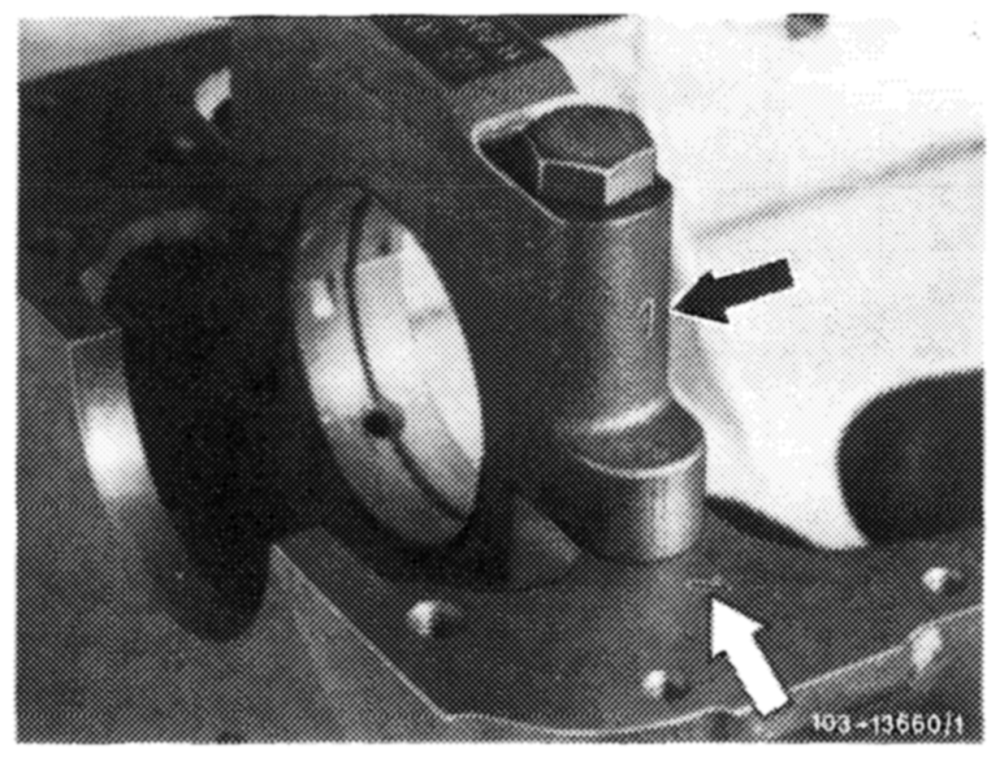
1 Install crankshaft bearing cap. Pay attention to identification, 1 is at front (arrows).
Do not mix up crankshaft bearing caps.
2 Tighten bolts to 80 Nm.
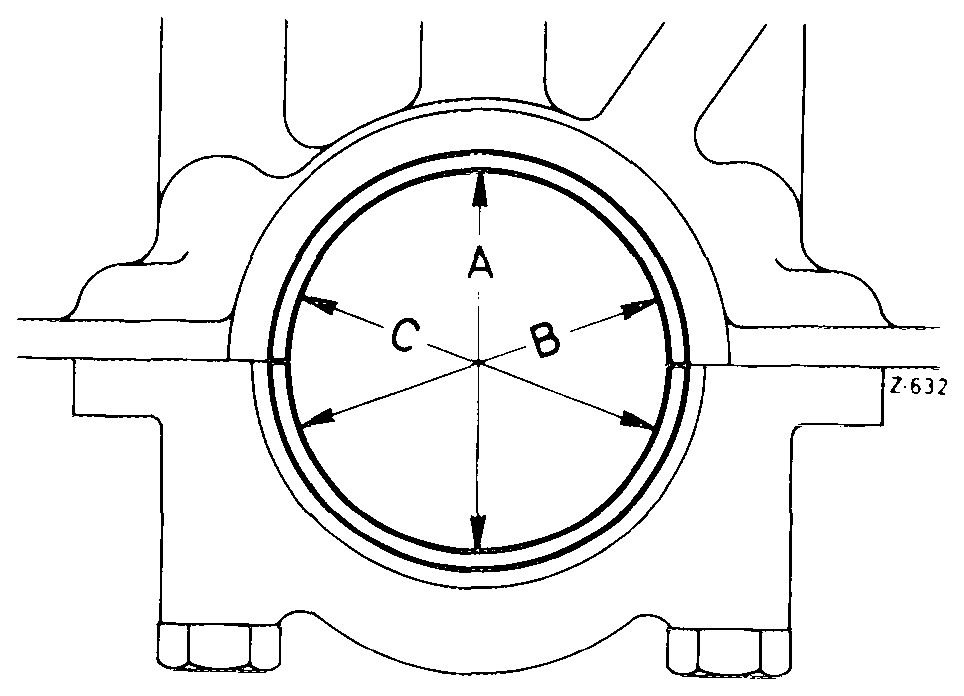
3 Measure basic bore in direction A, B and C in two levels (conicity).
If a basic bore exceeds the specified value or is conical, touch up bearing cap at its contact surface on a surface plate up to max. 0.02 mm.
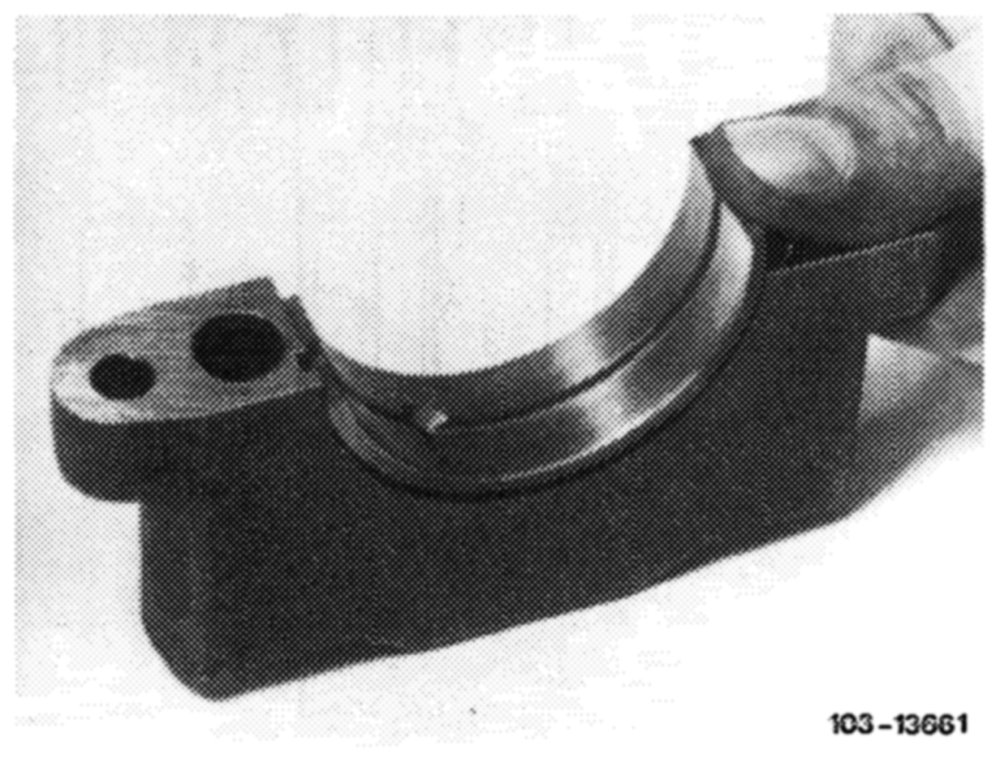
4 Insert crankshaft bearing shells and mount bearing cap. Tighten bolts to 80 Nm torque.
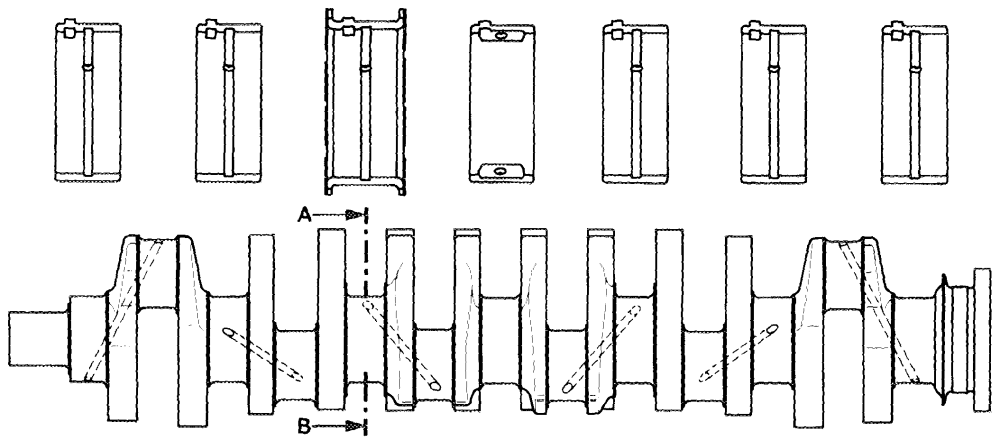
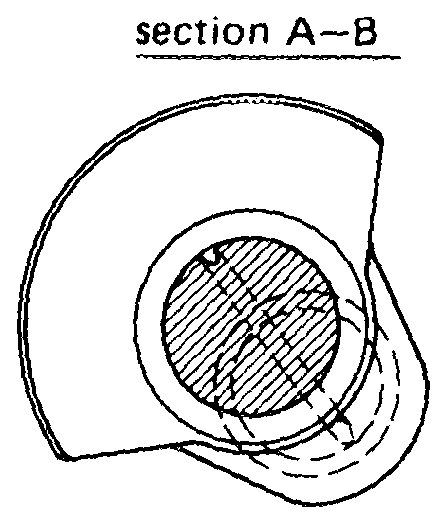
Attention! When associating crankshaft bearing shells, observe the two different crankshafts.
On crankshafts with tapered bore (2nd version) install crankshaft bearing shells with 360° oil groove.
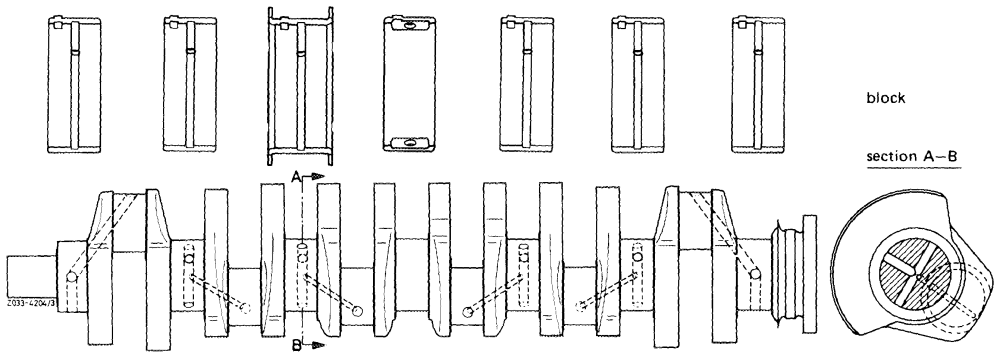
cap
——o —~o. ———D 3} == =o
1 2 3 4 5 6 7 fitted bearing
Ist version
Crankshaft with T-bore, bearing shells with 180° oi! groove.
block
cap
3 = = 5 = —o — 0 |= —o —-o <0. ee
1 2 3 4 5 6 7 fitted bearing 2nd version
Crankshaft with inclined bore, bearing shells with 360° oil groove.
03,.2–320/4 F2
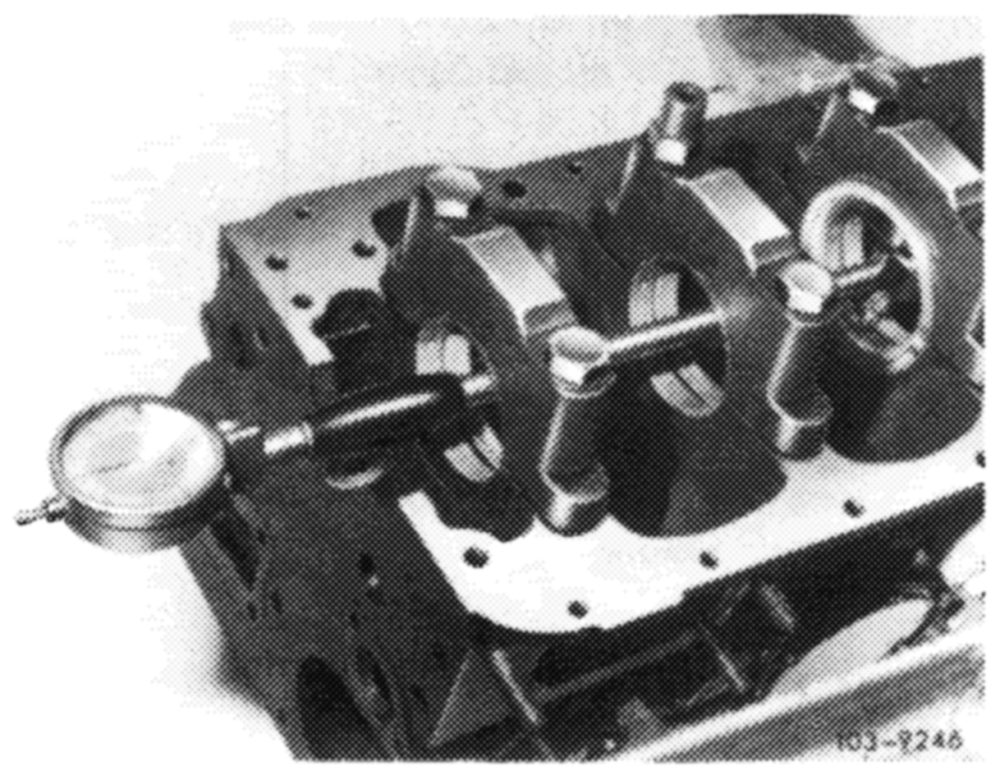
5 Measure bearing dia and write down.
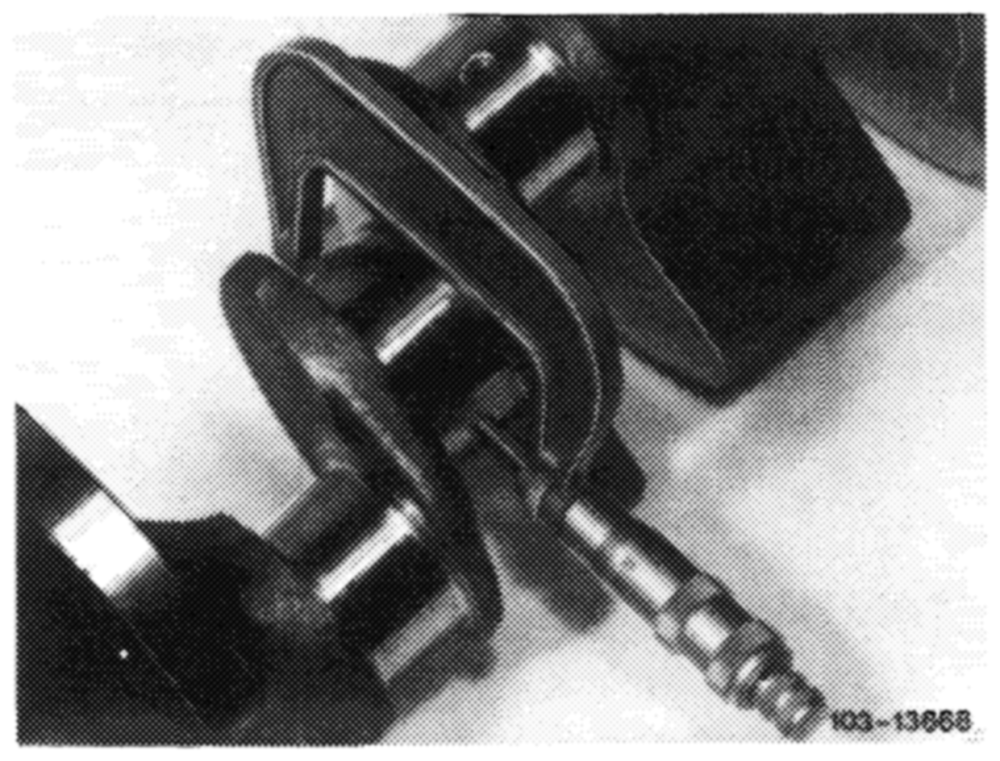
6 Measure crankshaft bearing journal, find radial crankshaft bearing play (vertical runout).
Note: The bearing play can be corrected by exchanging bearing shells, while trying for lower value (0.031 mm) of specified bearing play. Crankshaft bearing shells without color code are thicker than those with a blue color code, but the fact must be taken into consideration that a wall thickness without and one with color code may overlap.
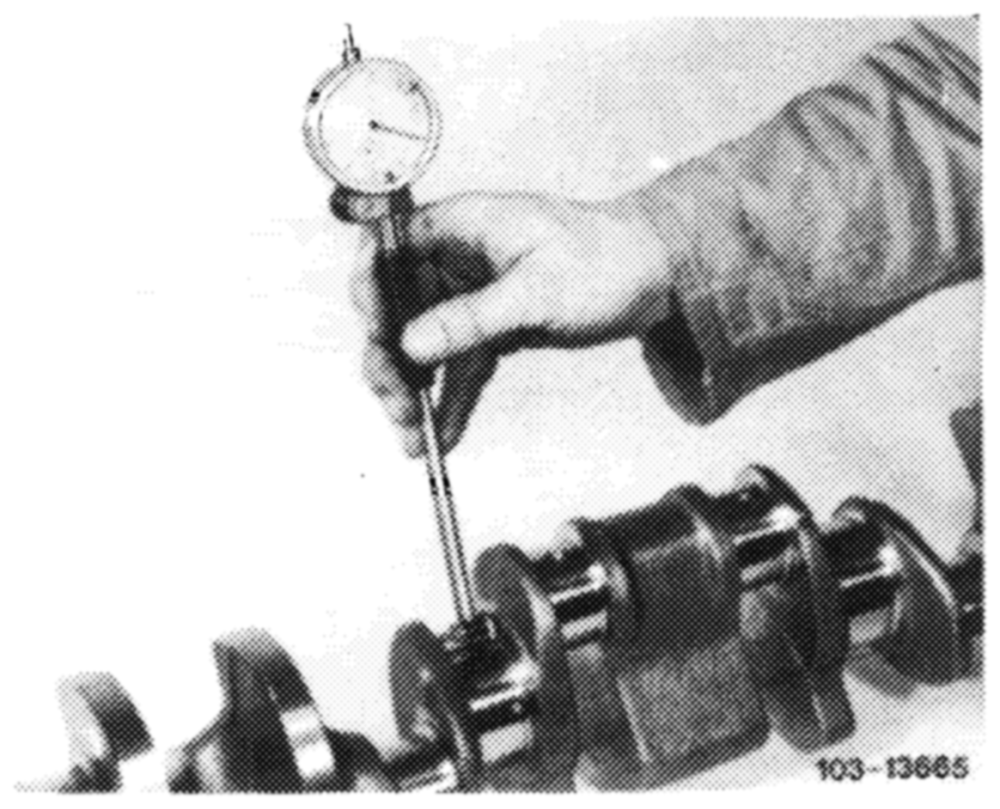
7 Measure width of fitted bearing journal and fitted bearing.
Measure crankshaft bearing end play.
Note: The fitted bearing shells of the repair stages are supplied at oversize.
Both fitted bearing shells must be machined on both sides down to width of fitted bearing journal minus end play. Try for lower value of 0.10 mm.
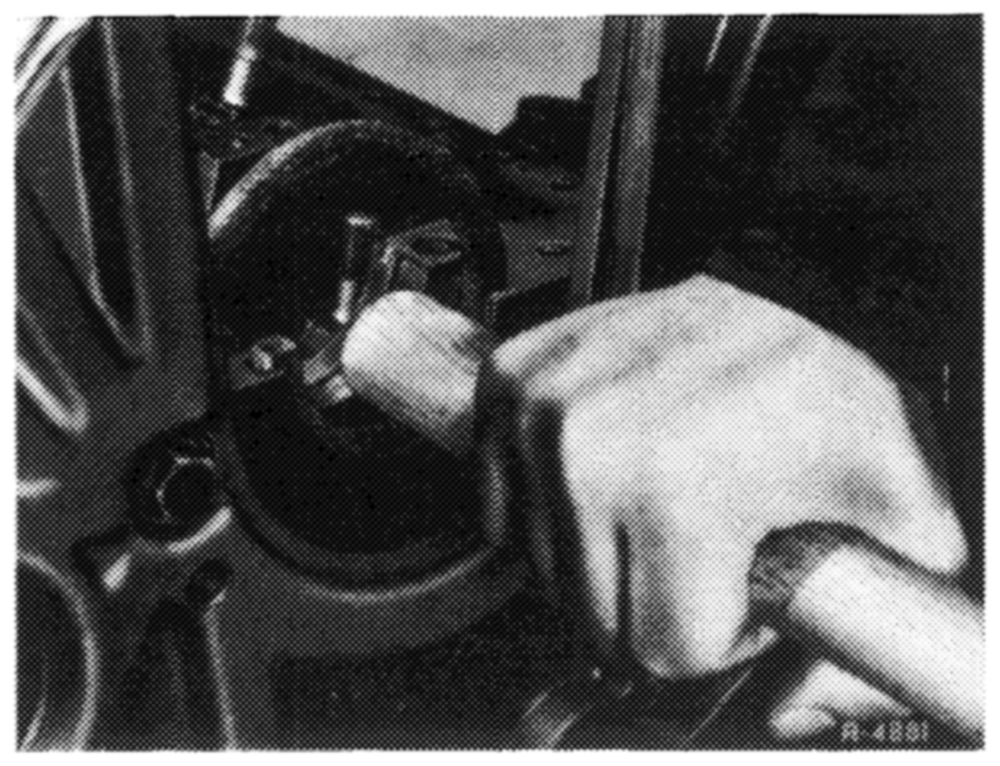
8 Replace rear crankshaft radial sealing ring (03-327).
9 Provide bearing shells, crankshaft and radial sealing ring with engine oil and install crankshaft.
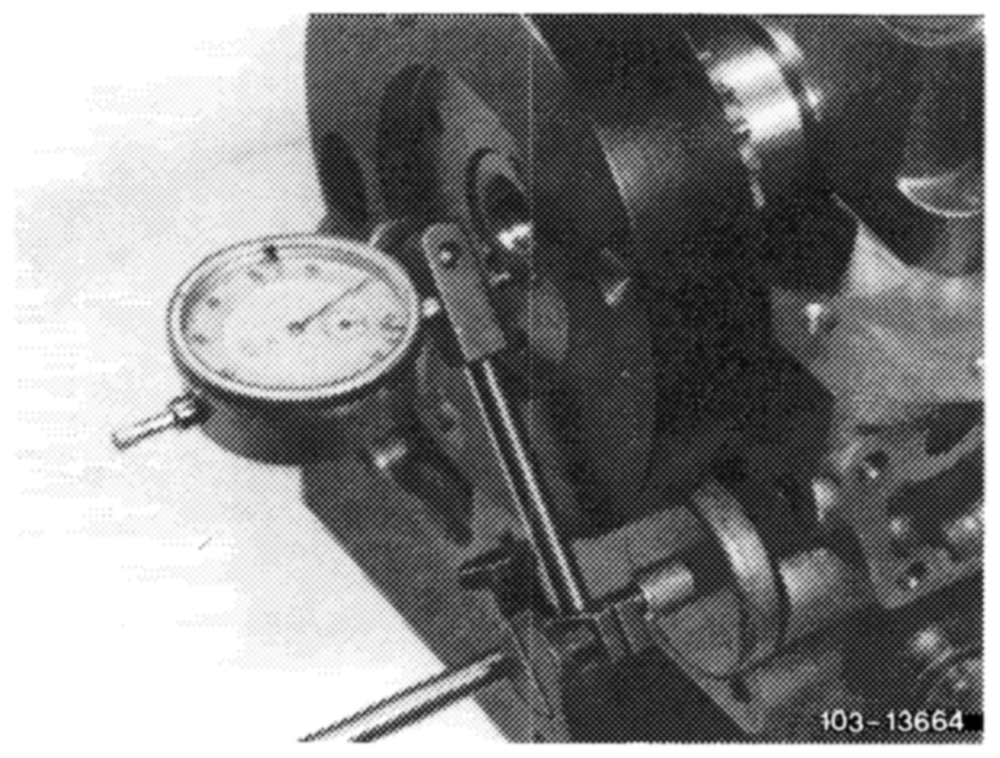
Note: Since January 1976 there are no more washers on crankshaft bearing bolts.
11 Measure end play of crankshaft bearings.
12 Rotate crankshaft manually and check whether shaft is freely running.
Associating connecting rod bearings and installing
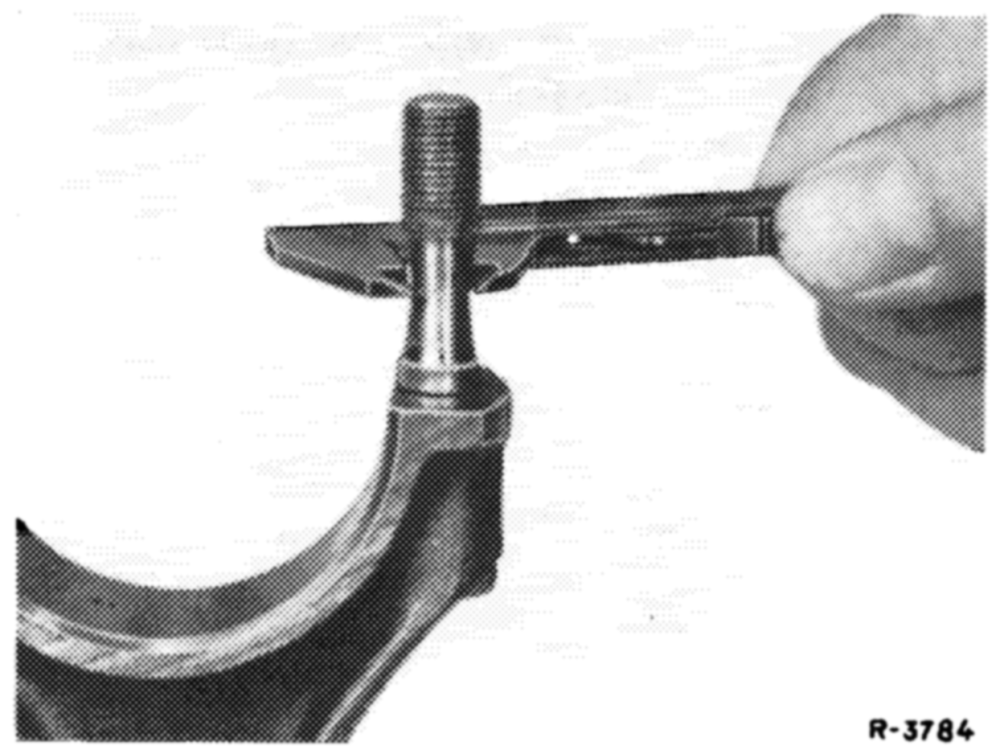
connecting rods
13. Check connecting rod bolts (03–310).
14 Recondition connecting rods and square (03-313).
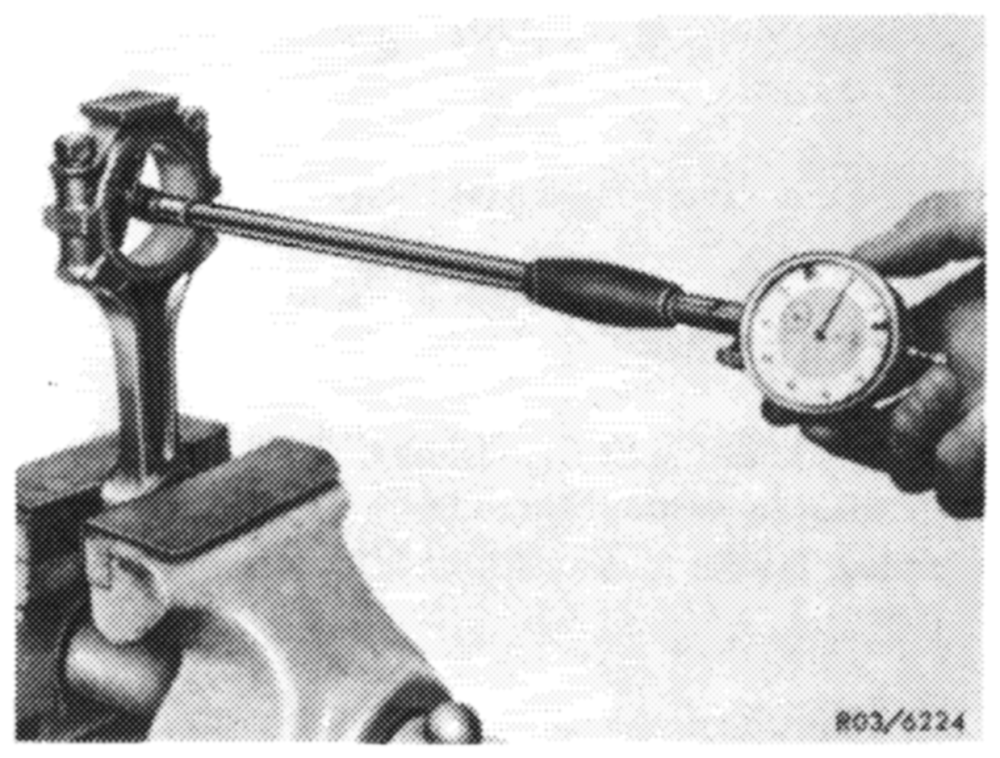
16 Mount connecting rod bearing caps while paying attention to identification. Tighten connecting rod nuts to 40-50 Nm.
16 Measure basic bore in two directions. If a basic bore exceeds the specified value or is tapered, touch up bearing cap at its contact surface on a surface plate up to max 0.02 mm.
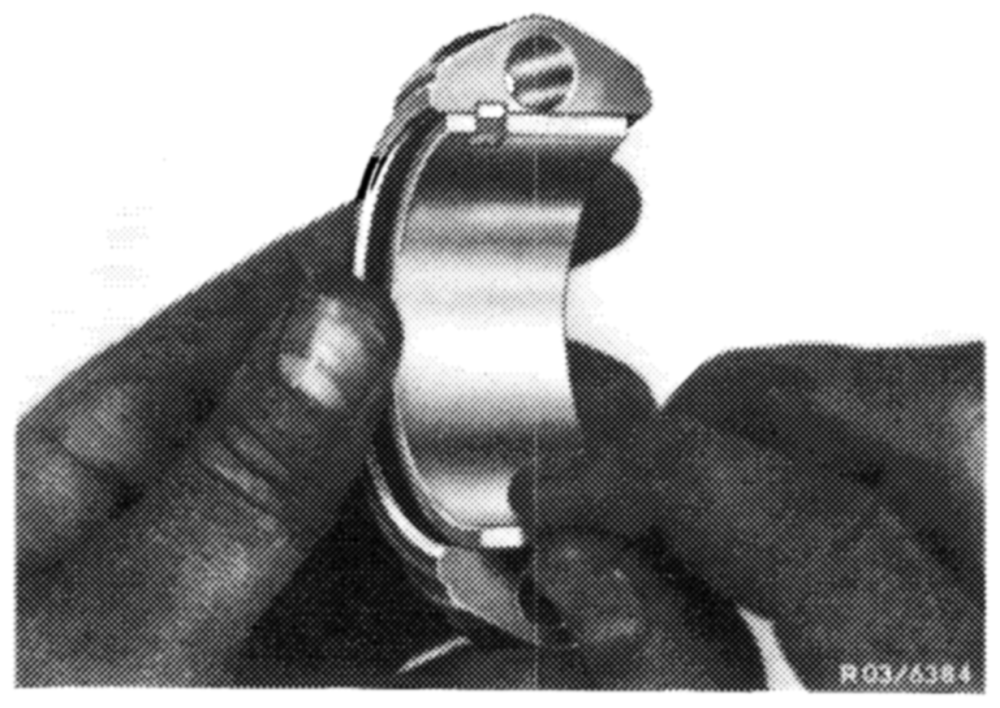
17 Insert connecting rod bearing shells, mount connecting rod bearing caps with bearing shells and tighten connecting rod nuts to 40—50 Nm.
Attention! Connecting rod bearing shell in connecting rod has an oil bore for lubricating piston pin.
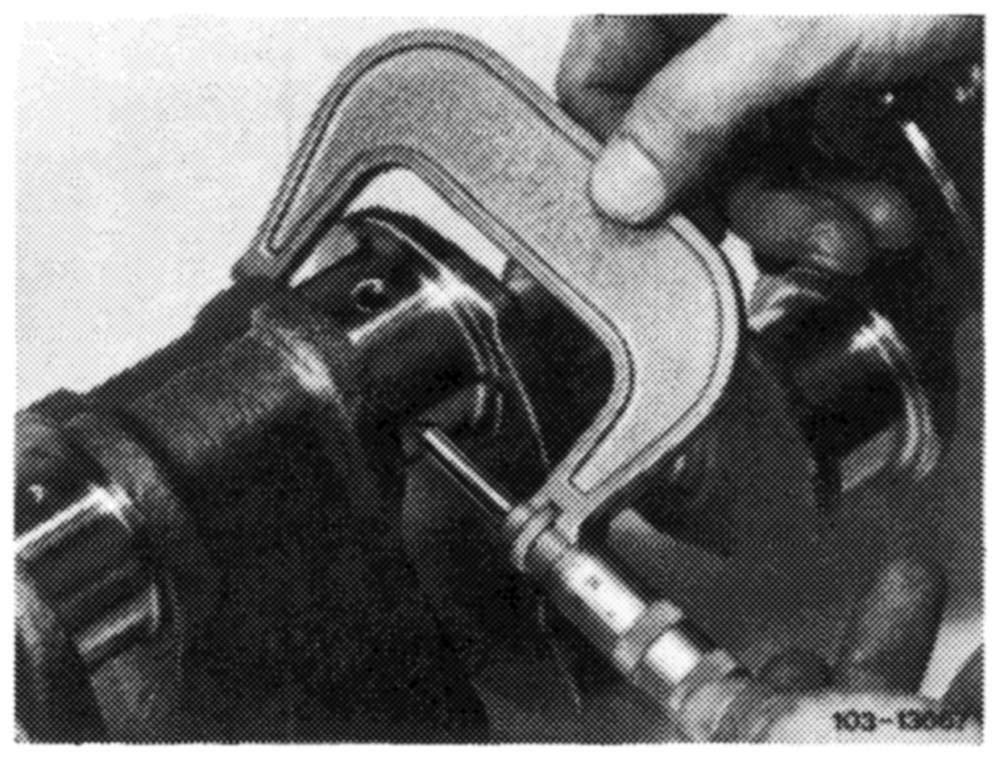
19 Measure crankpins, determine radial play (vertical runout) of connecting rod bearings.
Note: The bearing play can be corrected by exchanging bearing shells, while trying for mean value (0.04 mm) of specified bearing play. Crankshaft bearing shells without color code are thicker than those with a blue color code, but the fact must be taken into consideration that a wall thickness without and one with color code may overlap.
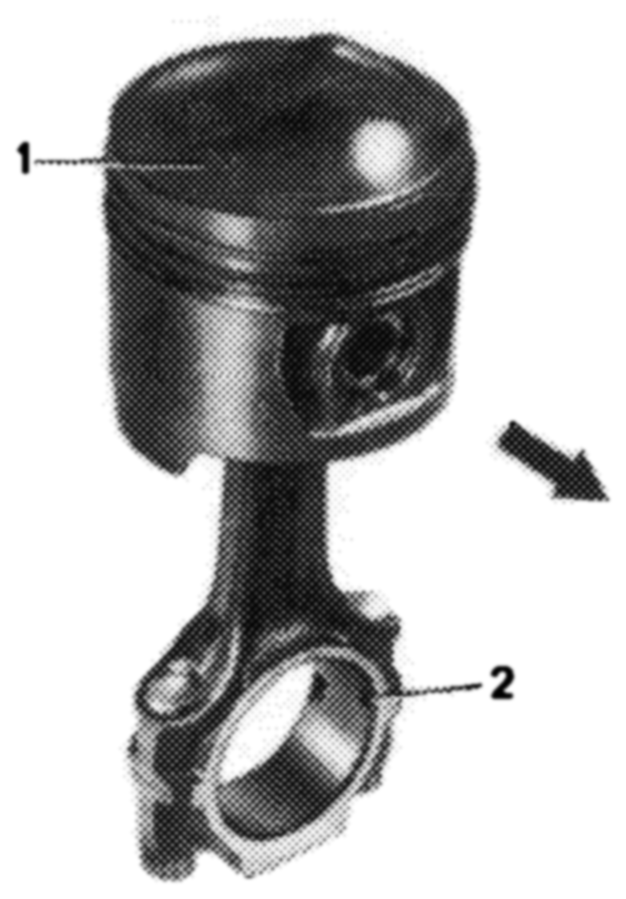
20 Mount piston on connecting rod (03—316).
21 Provide bearing shells, crankshaft, piston and cylinder with engine oil. Install connecting rod with piston (03-316).
Pay attention to identification.
03-8714″
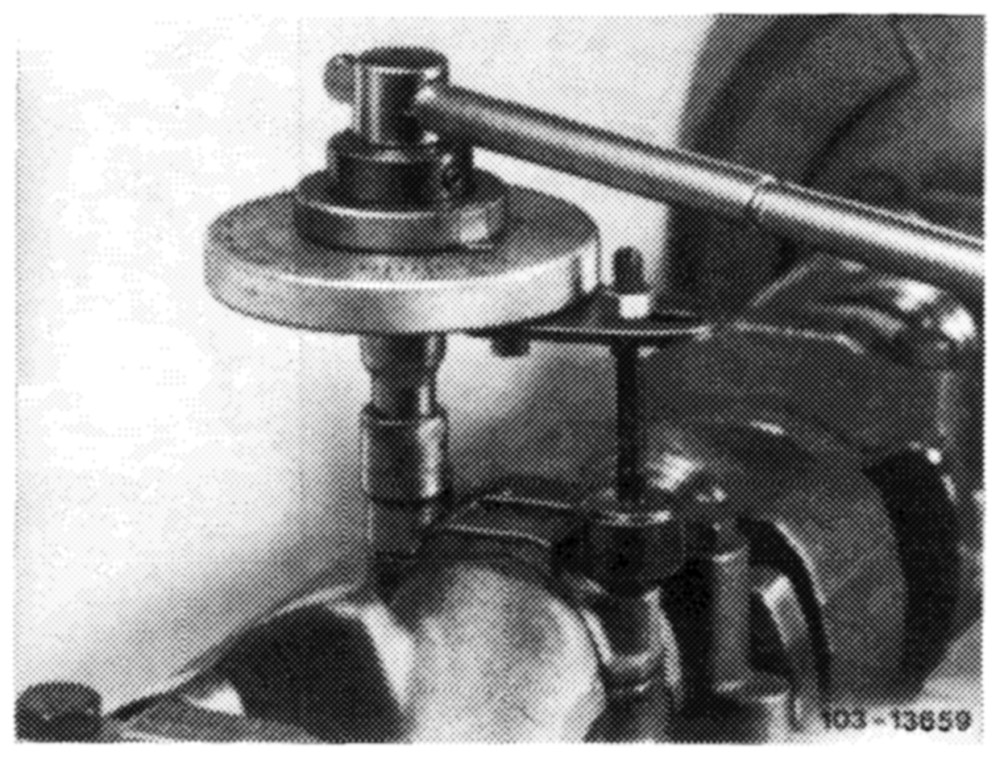
22 Tighten connecting rod nuts to 40—50 Nm initial torque and 90—100° angle of rotation.
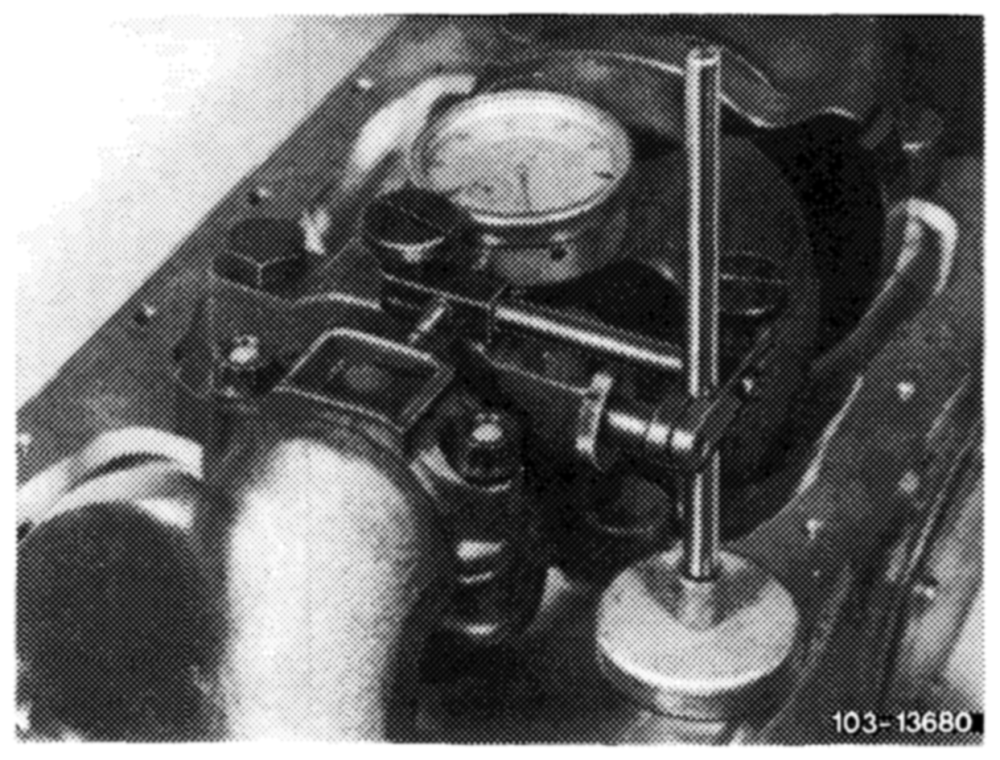
23 Measure end play of connecting rod bearing. Check connecting rod in piston for unobstructed operation.
Attention! Disassemble and clean oil pump, renew if required. Renew oil pressure relief valve. Disassemble oil filter top and clean. Carefully clean air-oil cooler.
Install initial operation oil filter element. Change engine oil and oil filter element after 1000–1500 km.
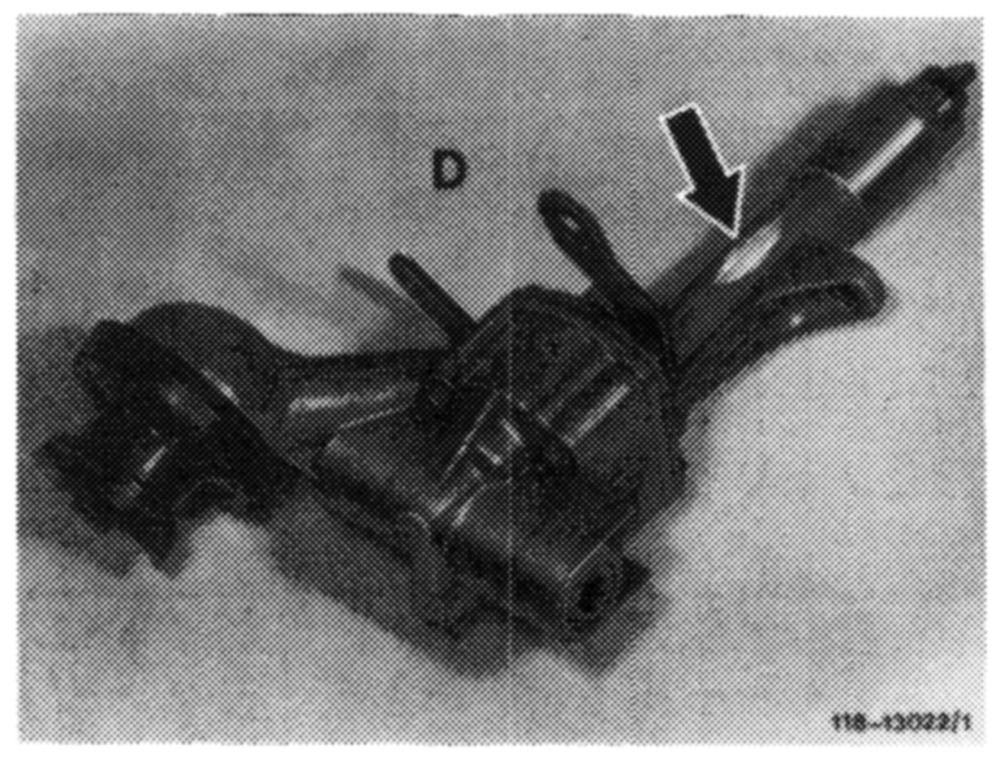
Crankshafts with riveted-on additional weight may not be used together with oil pumps, which are provided with a recess (arrow) on housing shaft.
Crankshaft and bearing shells
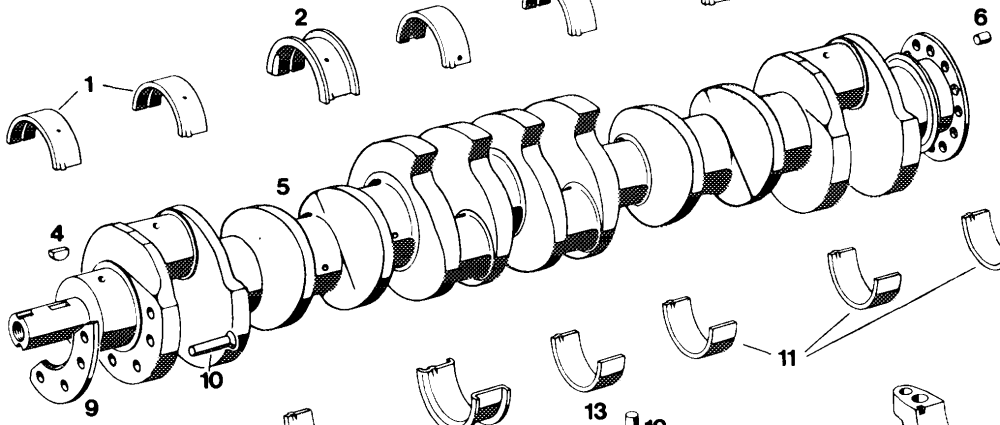
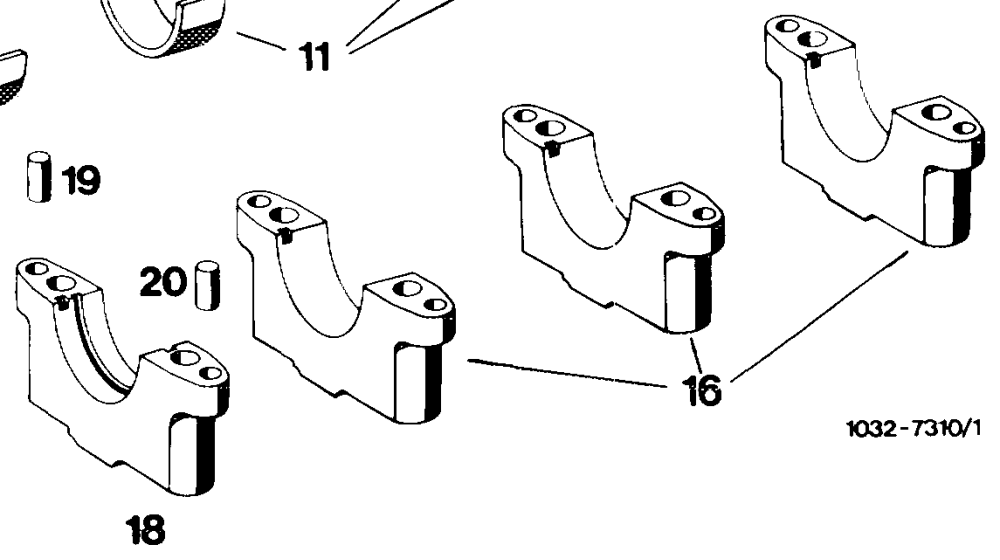
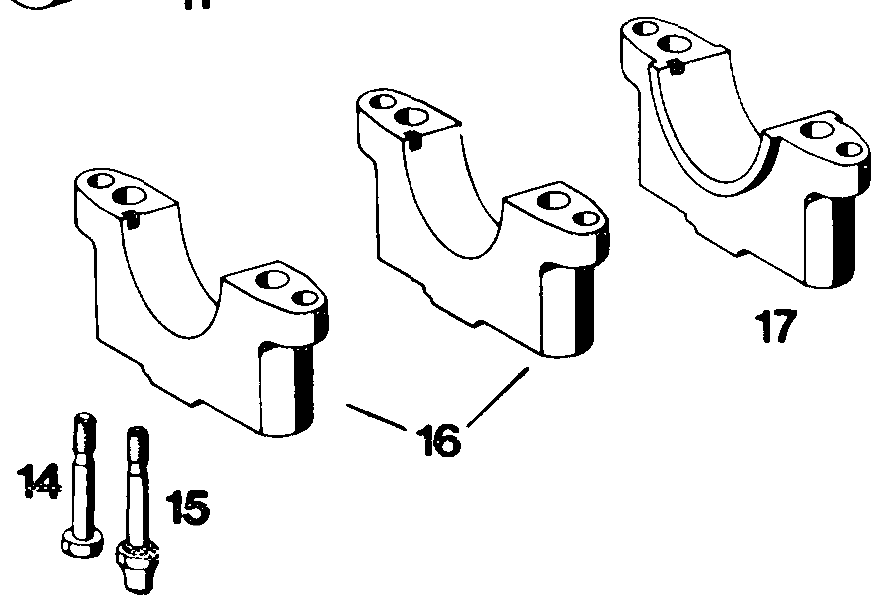
1. Crankshaft bearing shells with oil groove and oil bore 12 1st version fitted bearing shell without oil groove 3 for bearing 1, 2,5,6 and 7 and oil bore for crankshaft with T-bore bene shell with oil groove and oil bore for 2nd version fitted bearing shell with oil groove and 3. Crankshaft bearing shell with 2 oi! pockets and 2 oil oil bore for crankshaft with 360° tapered bore bores for bearing 4 13. Crankshaft bearing shell without oil groove and oil
4 Woodruff ke bore for bearing cap 4
5 Crankshaft v 14 12 screws for crankshaft bearing cap
6 Cyl. pin 10h8 x 18 15 2 screws for crankshaft bearing cap (for fastening oi! pump)
3 Cosmo 16 Crankshaft bearing cap 1, 2,5,6 and 7
9 Additional weight 17 Crankshaft bearing cap 4 (fitted bearing) 10 4 Countersunk rivets 6 x 28 mm DIN 661 MUSt 34 18 Crankshaft bearing cap 4 (with oil groove) 11. 1st version crankshaft bearing shells without oil groove Be ; ev pins 3. mo * 16 and oil bore for bearing cap 1, 2,5, 6 and 7 and cyl. pins 8 m6 x 16 crankshaft with T-bore 2nd version crankshaft bearing shells with oil groove and oil bore for bearing cap 1, 2, 5, 6 and 7 and crankshaft with 360° tapered bore