Removing and installing overflow reservoir
WIS 20-4540
Operation no. of operation texts and work units or standard texts and flat rates:
A. Model 124
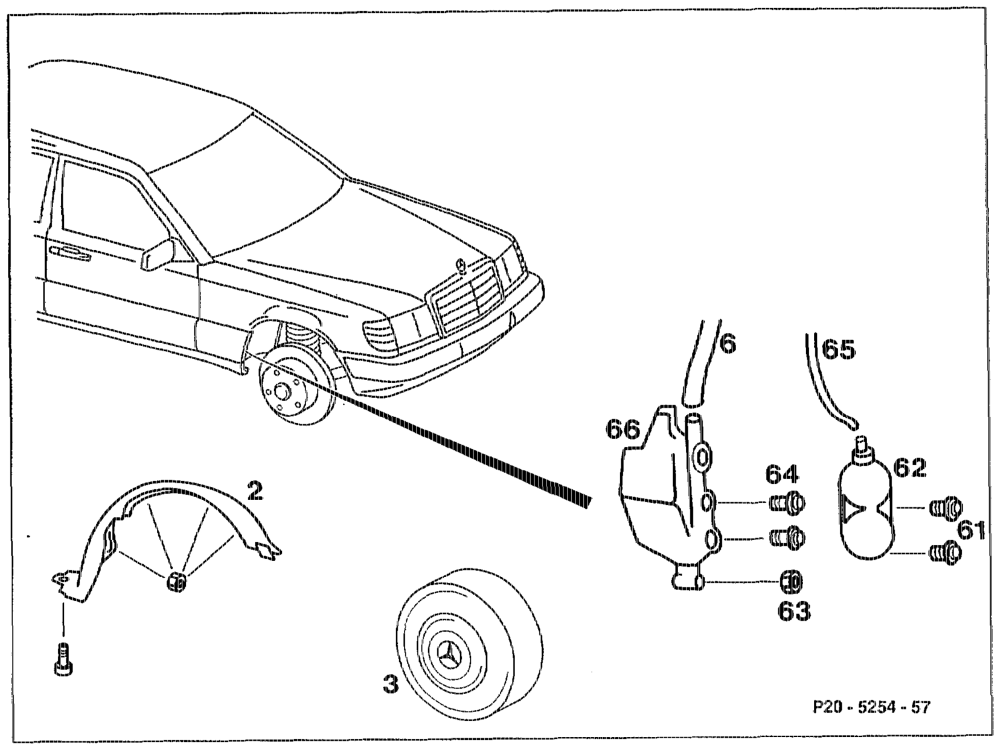
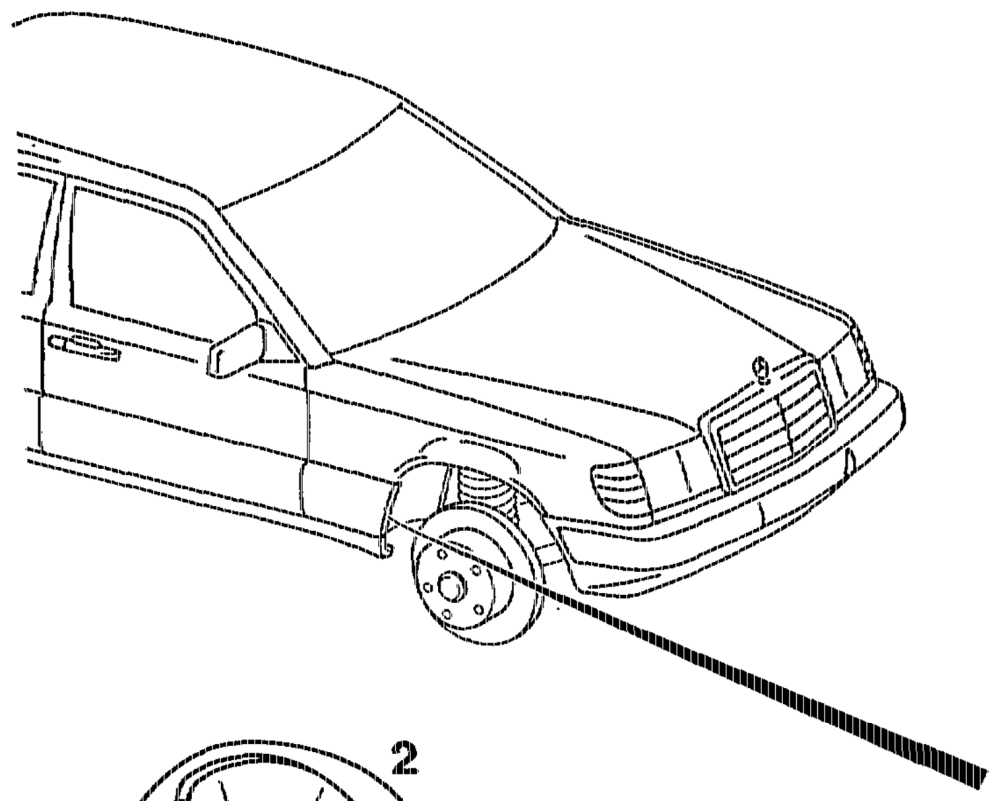
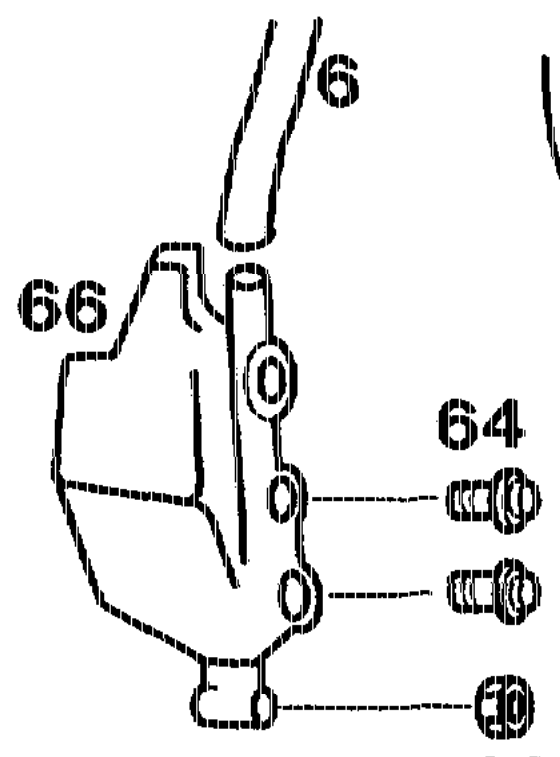
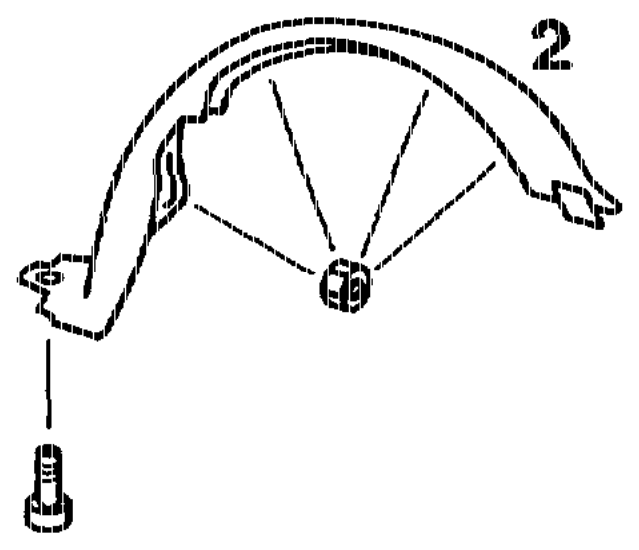
Front right wheel (3)… 6. ee sects take off, fit on. Partition (2) below front fender ………+-+6remove, install. Bolts (61) sees eee ee eee eee unscrew, screw on. Vacuum hose (65) 6… eee ee ee eee os detach, fit on. Vacuum reservoir (62) 0… 25… ee tee eeee remove, install. Nut (63) and bolts (64) ………– seen eee unscrew, screw on. Coolant hose (6)… 2. ce eee eee ee pull off, fit on. Overflow reservoir (66) 66. eee ee ee ees remove, install.
shh = RA 20.1201-4540/4
B. Model 129
Operation no. of operation texts and work units or standard texts and flat rates:
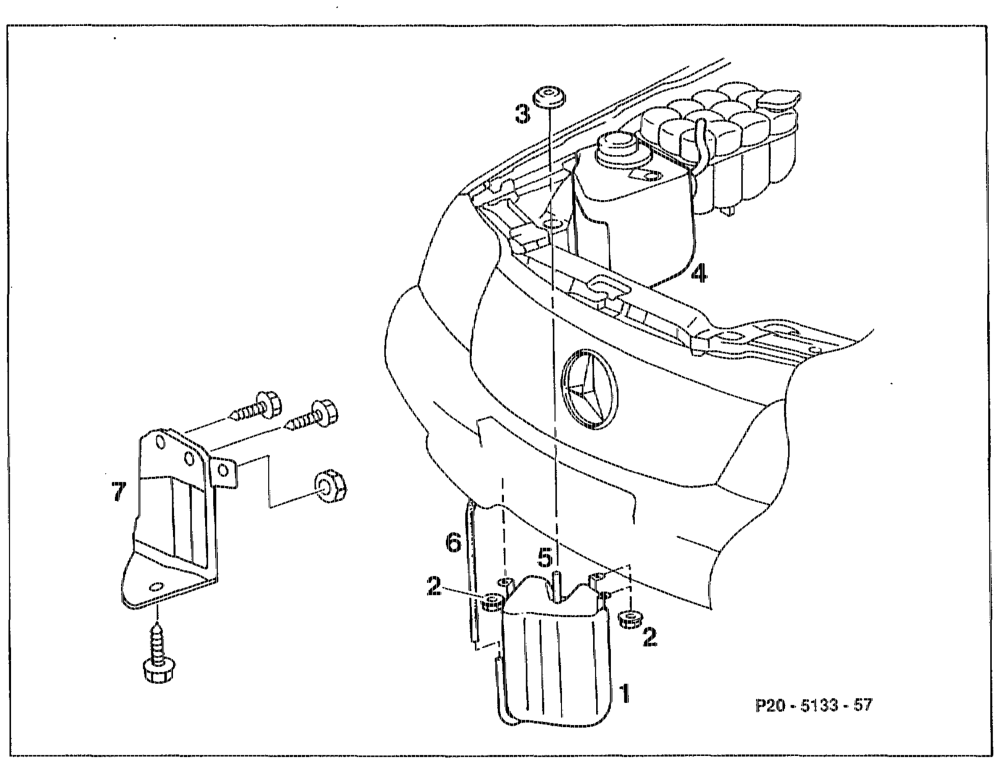
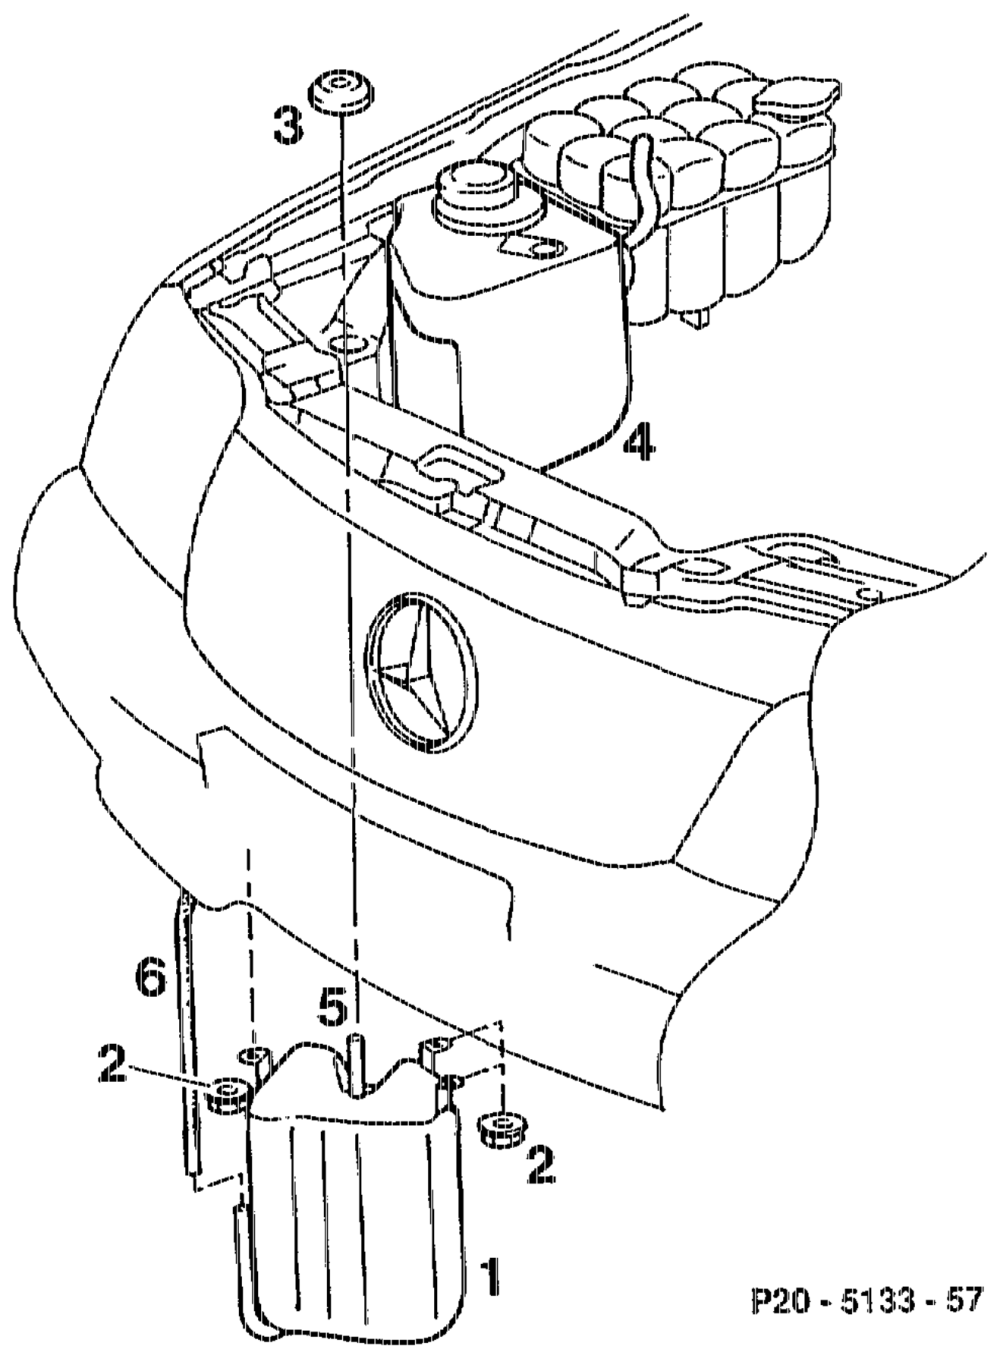
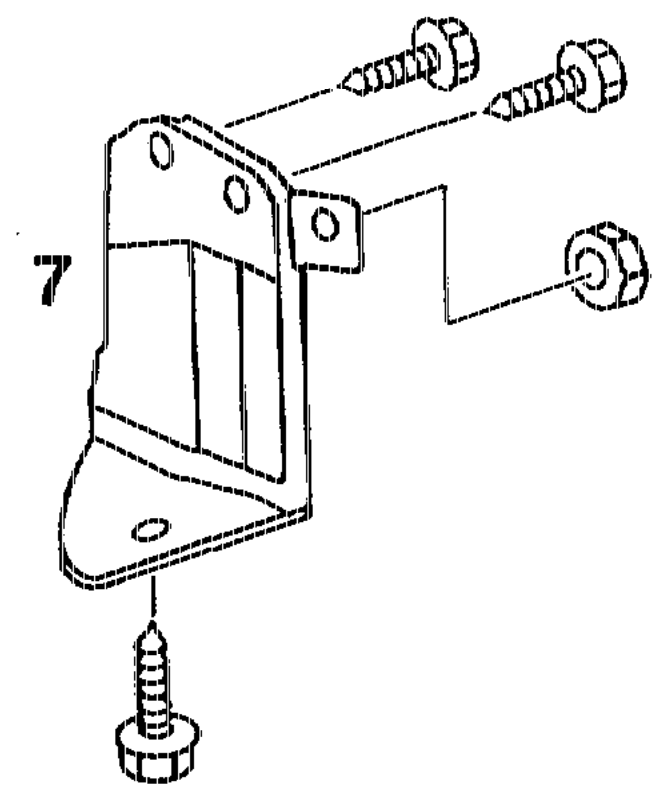
Vehicle 2… ee ee ee eee drive onto lift platform or inspection pit. Front right panel (7) 2… ee ee remove, install. Coolant hose (6) at overflow reservoir …….. pull off, install.
LN When removing the overflow reservoir (1), protective cap (3) of air admission connection (5) remains lying at top next to spray water reservoir (4). Overflow reservoir (1) …….. see eee eee remove, install. Protective cap (8) oo… ec ce ee eee ee eee fit on.
uhh §=RA 20,.1201-4540/2
C. Model 202
Operation no. of operation texts and work units or standard texts and flat rates:
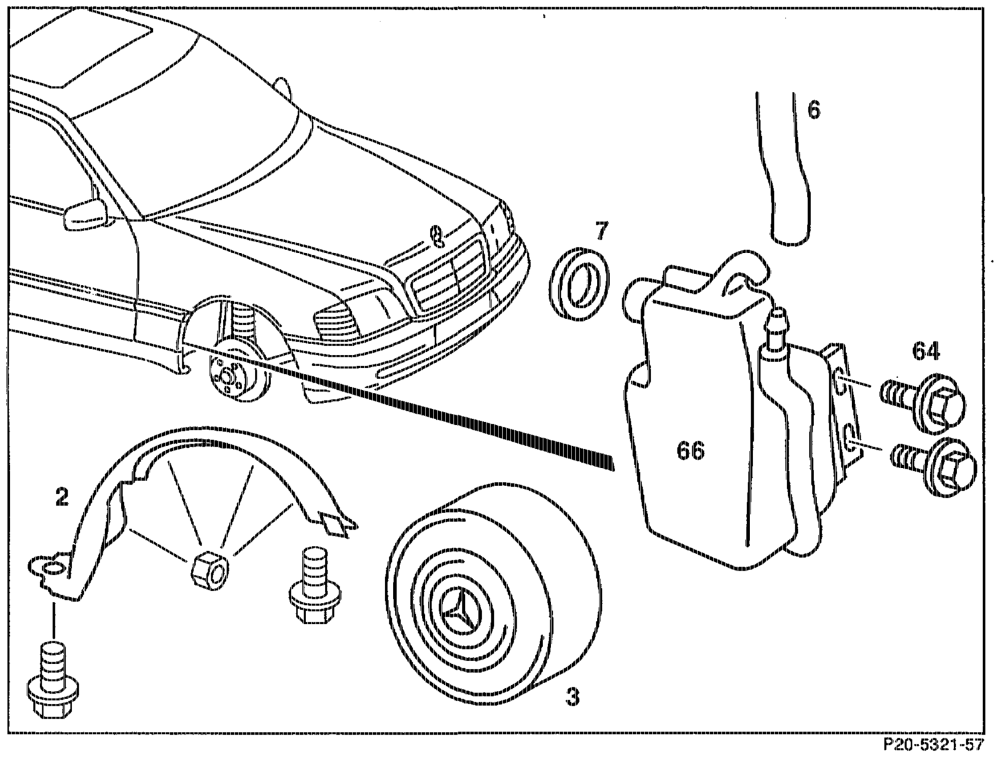
Front right wheel (3) …….6. seen see . take off, fit on. Partition (2} below front fender ………..005 remove, install. BoltS (64)… cc cece ee ee eee unscrew, screw on. Coolant hose (6) 2… ee eee wee pull off, fit on. Overflow reservoir (66) ….. scence eee remove, install.
AN Pay attention to rubber mount (7).
thie = RA, 20.1201-4540/3