Replacing timing chain
WIS 05-3200

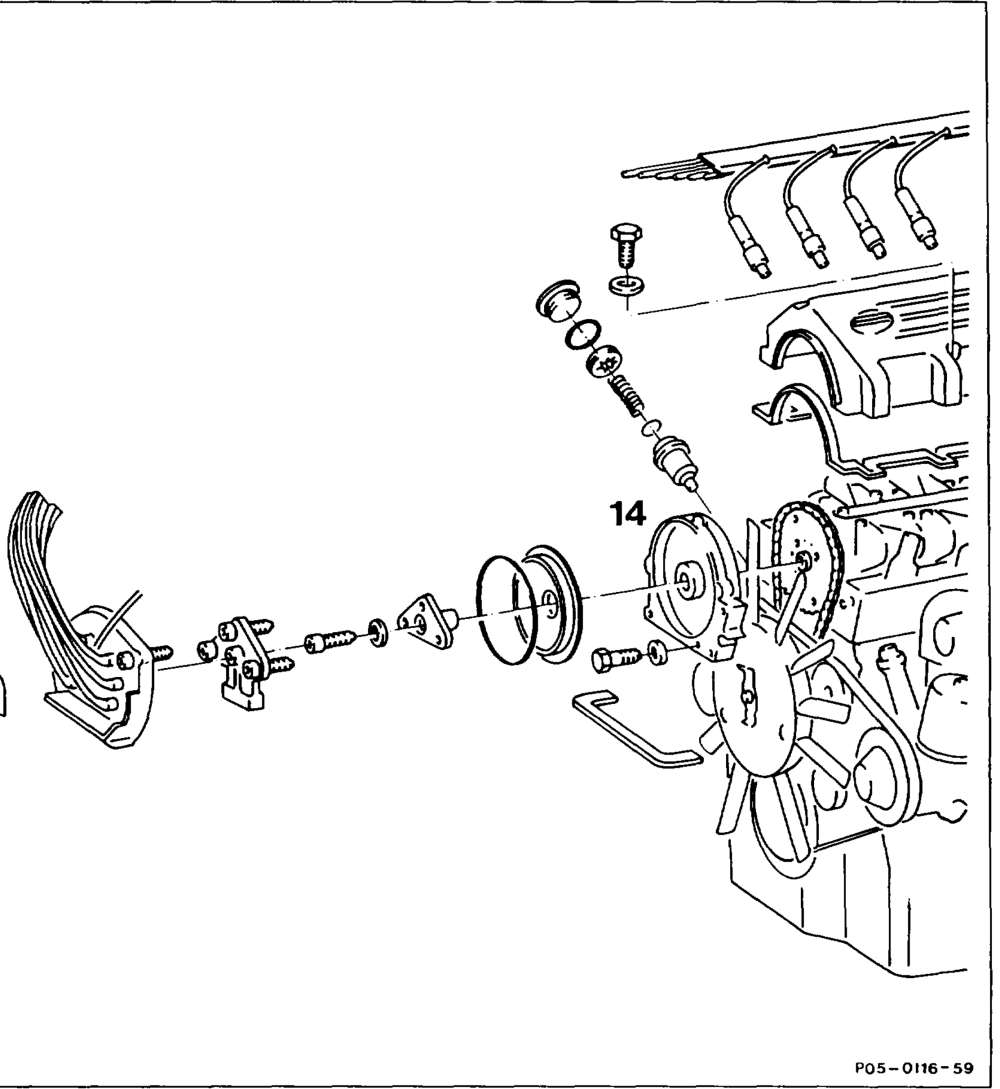
Preceding work: Operation no. of operation texts and work units of standard texts Front cover at top removed (01-2120). and flat rates Chain tensioner removed (05-3100). 05-7601
All spark plugs 0002.00 eee remove, install (15-1031) Chain pin 2.0… 0… eee eee grind open (step 4). New timing chain to old timing chain ………. connect, draw in (steps 5 7). New timing chain to rivet link 2. connect (step 8). Plate 2… eee insert into rivet set 103 589 01 63 00 and rivet too! 000 589 58 43 00, press on (steps 9 – 13).
wie = =RA 05.1123-3200/1
Riveting tool 2.6… eee ee eee eee take off, change over (step 14). Pins of rivet link 2.2… 0.2.0… .22 2200000. rivet individually, 30 Nm (steps 15 and 16). Installation 2… 2.2.0… eee ee eee eee in the reverse order.
Note
Modifications to timing chain
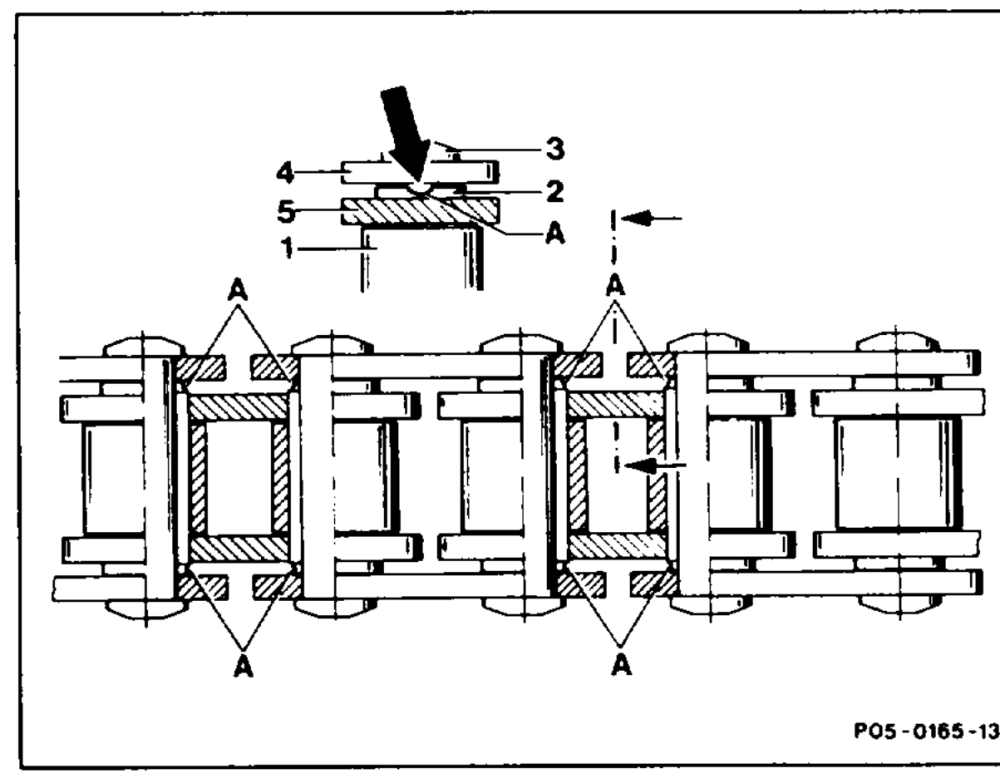
The sleeves (2) have recesses (jogs, arrow and A) and widened sleeve ends. This results in improved oil supply and reduced : oe :
friction between sleeves (2) and pins (3).
Improved timing chain, production breakpoint: 08/1988
Model Engine Engine End No. Vehicle Ident End No. manual automatic transmission transmission A F 107.041 103.982 002026 008832 * *
124.026 103.940 023017 051576 . .
124.030 103.983 025192 130645 ‘ . 124.050 124.090
124.226 103.943 000298 000677 . * 124.230 103.985 001409 005003 * * 124.290
126.020 103.941 003581 012074 * * 126.024 103.981 006008 064685 * * 126.025
201.029 103.942 011021 014791 * not recorded
wim RA 05.1123-3200/2
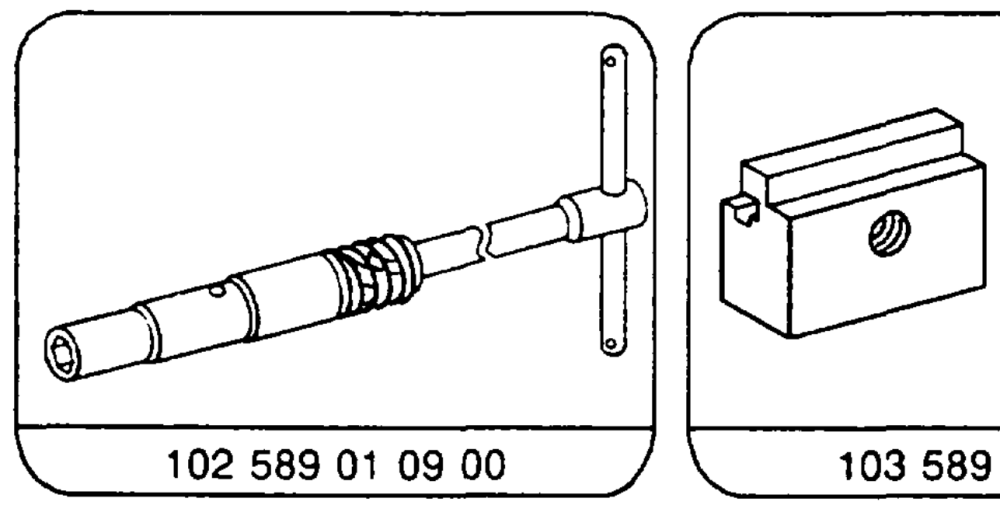
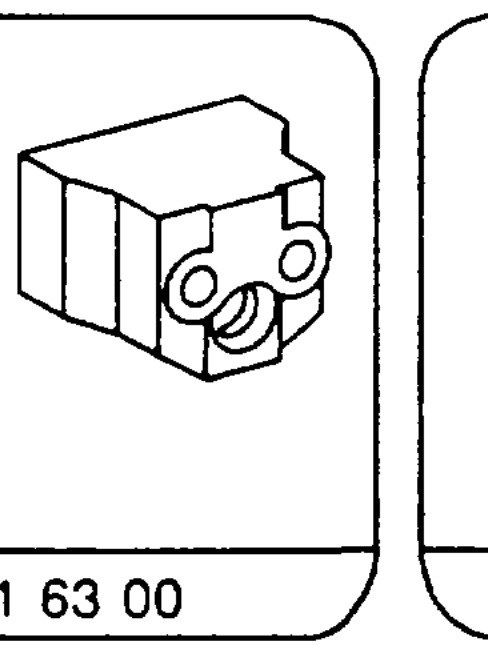
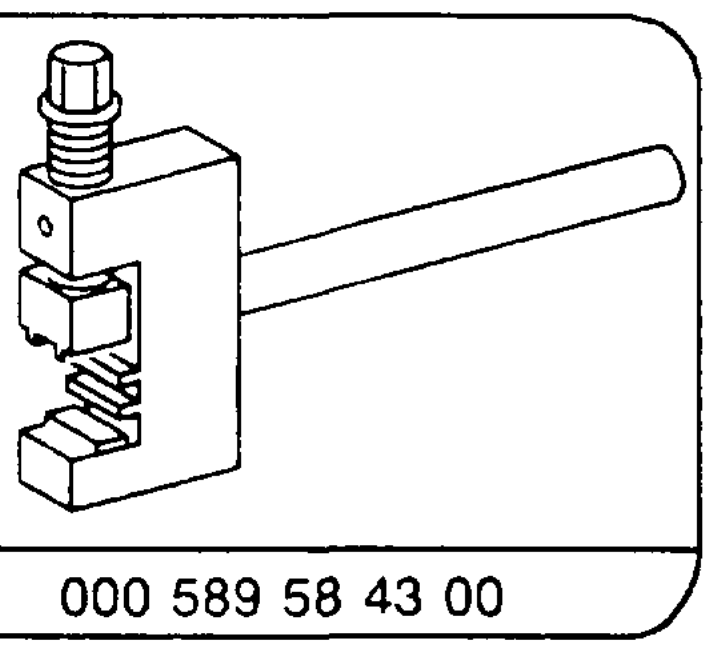
Special tools
103589016300
Renewal
1 Detach ail spark plug connectors.
2 Blow out spark plug recesses with compressed air.
3 Unscrew ail spark plugs.
Installation instruction
Tightening torque 20 Nm.
over over the exposed part of the chain
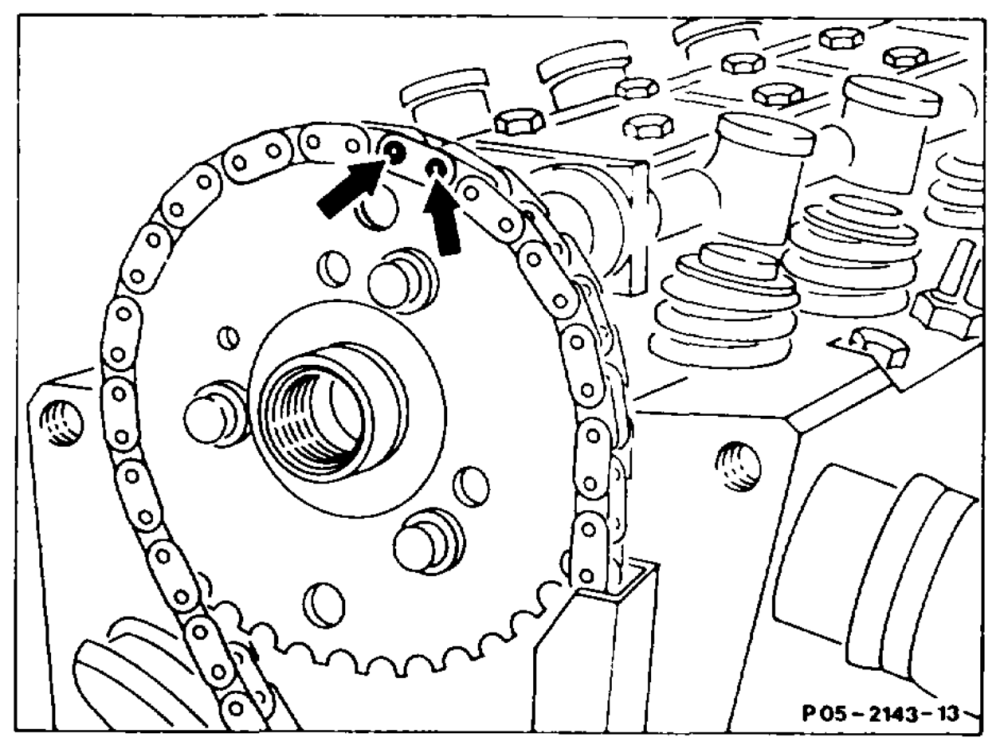
4 Co hi f i box with a clean cloth and grind open both chain pins (arrows) at a double link of the timing chain.
5 Attach new timing chain with the rivet link to the old timing chain. This is done by pressing out the ground-open double link.
wale RA 05.1123-3200/3
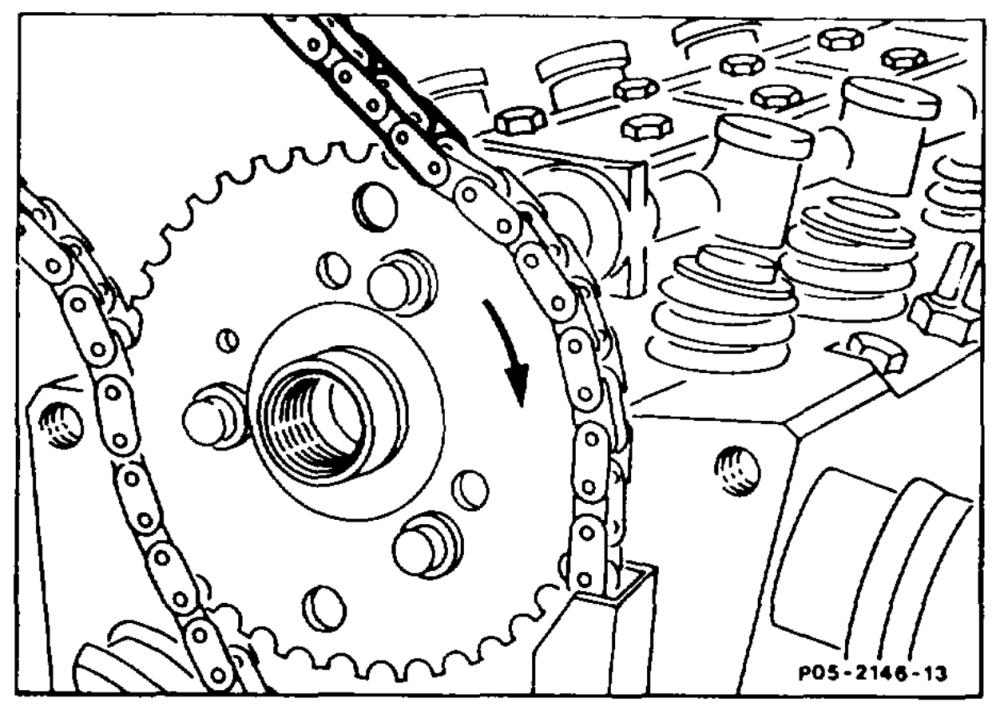
6 Fit new timing chain connected to old timing chain onto the camshaft gear. Slowly rotate crankshaft in direction of rotation of engine.
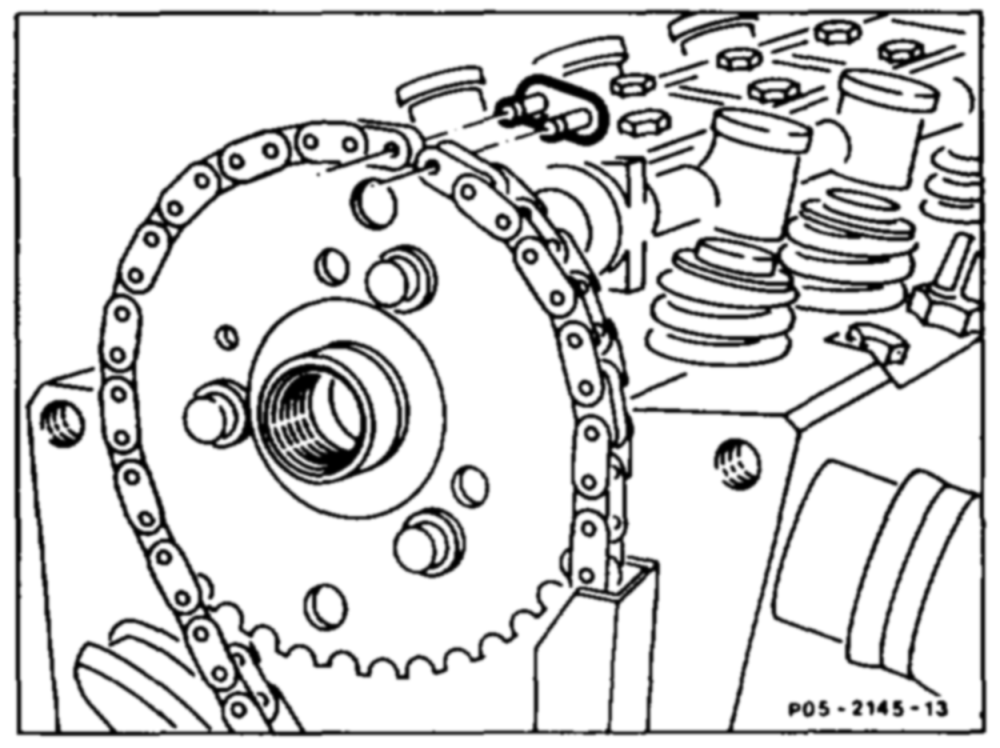
A The timing chain must remain meshed when turning the camshaft gear.
7 Pull out the exposed end of the old timing chain evenly to the same extent as the new timing chain is drawn in.
8 Continue rotating crankshaft long enough until the ends of the new timing chain can be connected to the rivet link.
Note Rivet link must be inserted from behind.
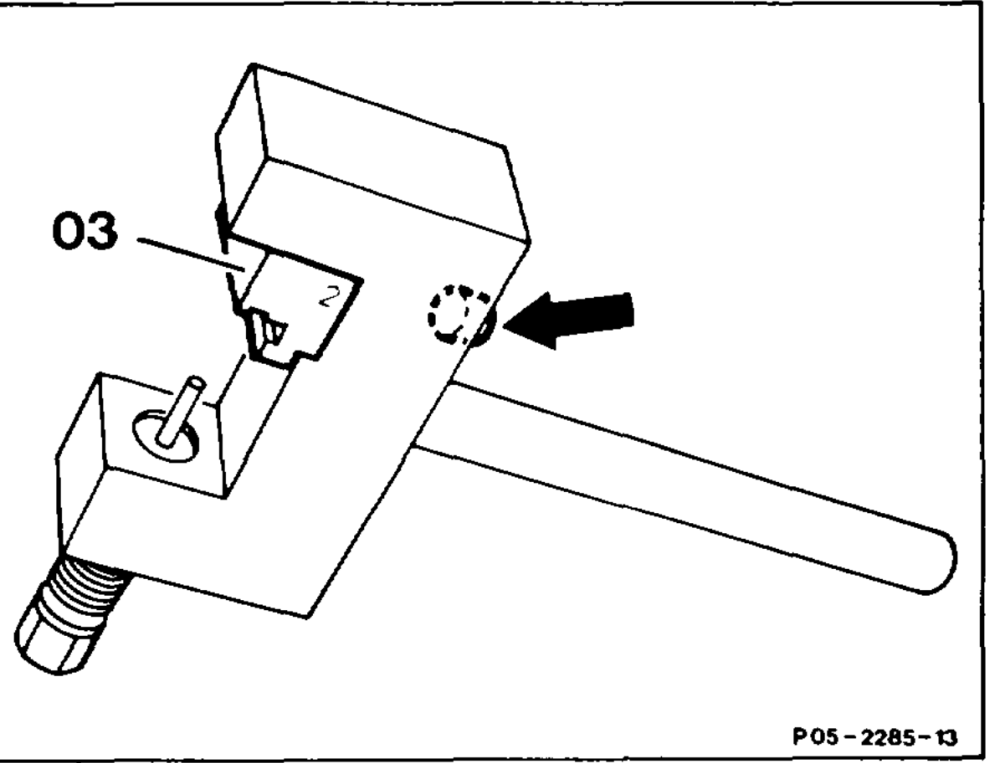
9 Insert cheek pieces (03) 103 589 01 63 00 into the rivet tool 000 589 58 43 00 as shown in drawing and tighten with the screw (arrow).
Note The number 2 is stamped on the side of the cheeks (03) 103 589 01 63 00.
wile §=RA 05.1123-3200/4
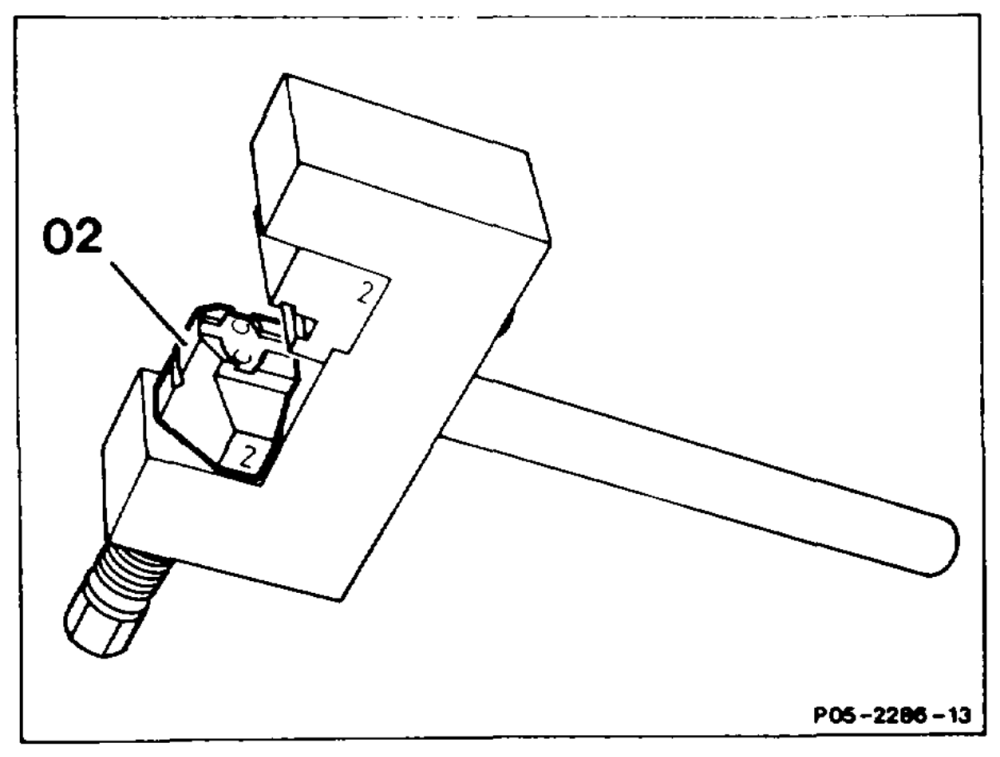
103 589 01 63 00 with the number 2 into the rivet tool 000 589 58 43 00 as shown in the drawing.
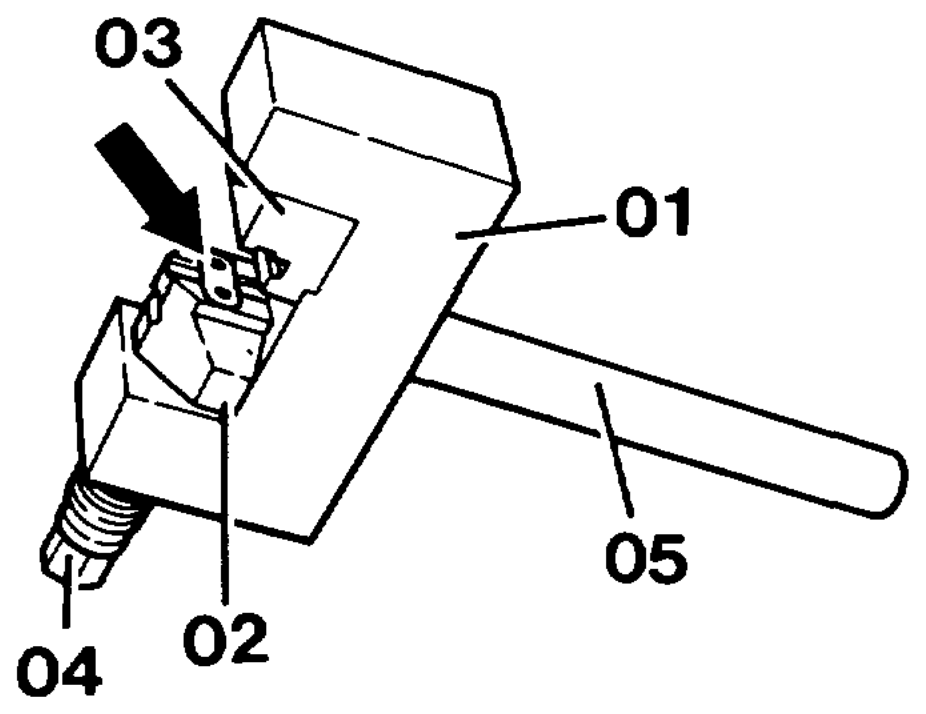
11. Insert plate (arrow) into the moving thrust piece (02) 103 589 01 63 00.
POS-2123–13
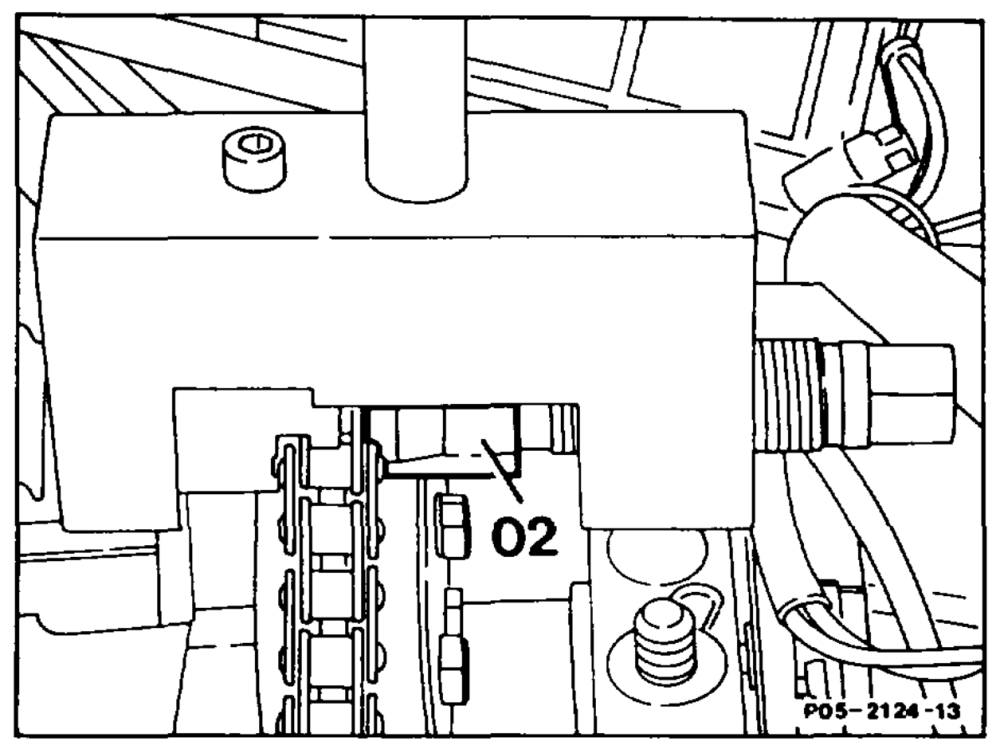
12 Fit web (arrow) onto both rollers on the rivet link.
Note Rivet heads of the rivet link pins must be guided into the slot (C).
13 Screw in spindle (04) until a firm resistance is felt.
Note When screwing in, ensure that the pins of the rivet link can be guided into the holes of the plate.
ue =A 05.1123-3200/5
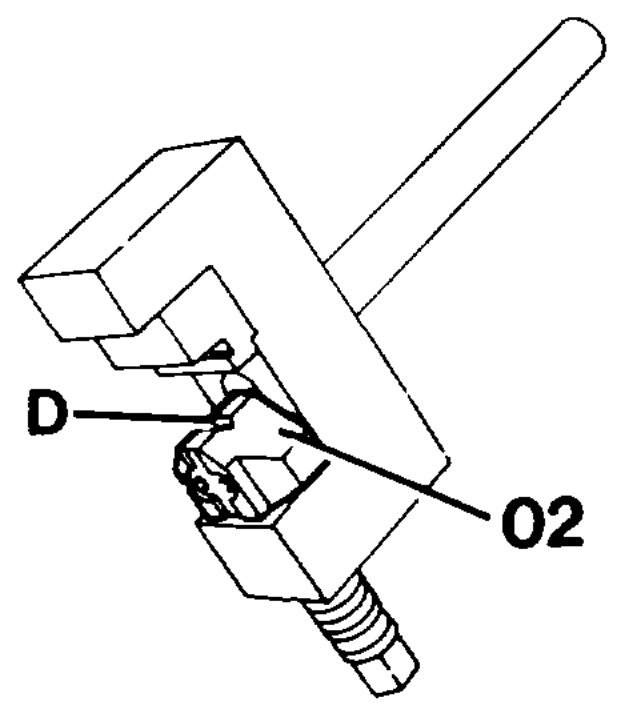
change over the moving thrust piece (02) 103 589 01 63 00 to the rivet profile (D).
POS-2125–13
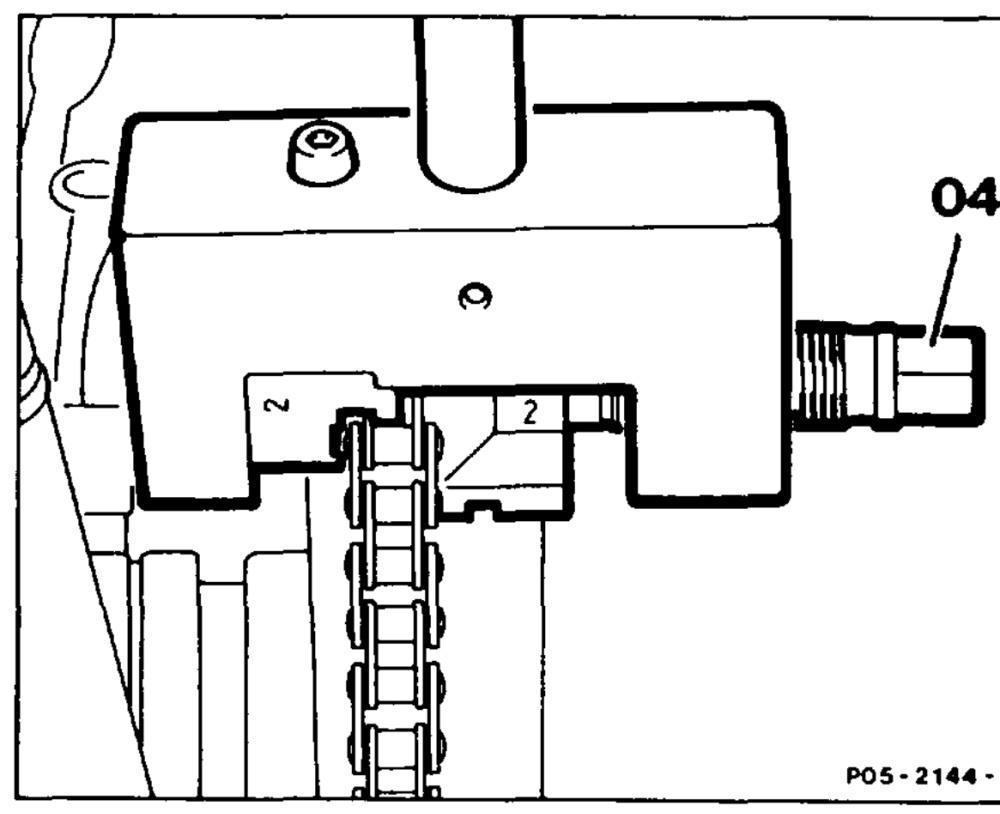
15 Position riveting tool 000 589 58 43 00 exactly over centre of pin. Rivet pins of the rivet link individually by tightening the spindle (04) to approx. 25 Nm.
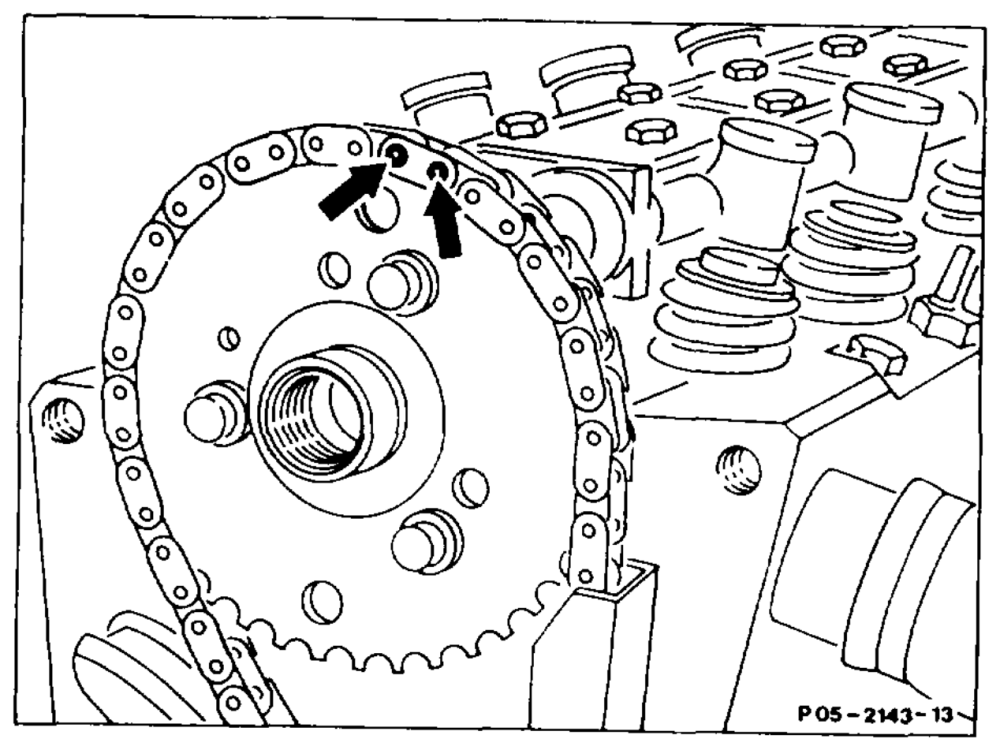
16 Check riveting (arrows); re-rivet if necessary.
Installation is performed in the reverse order.